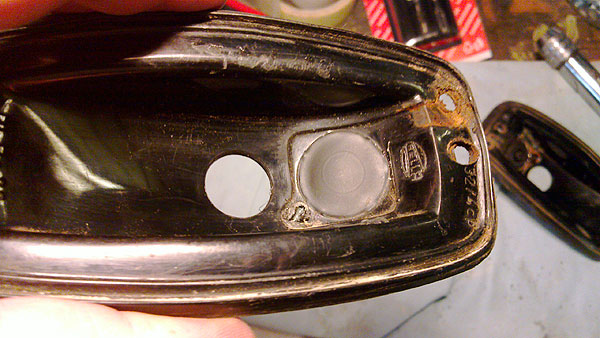
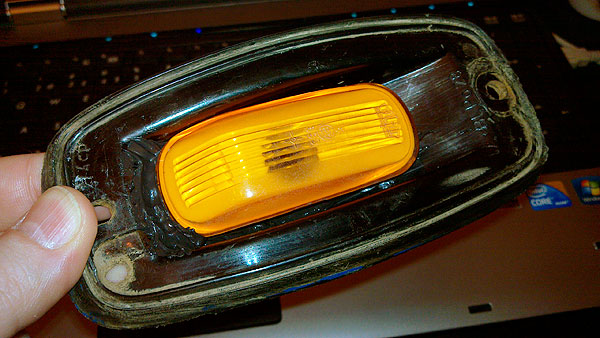
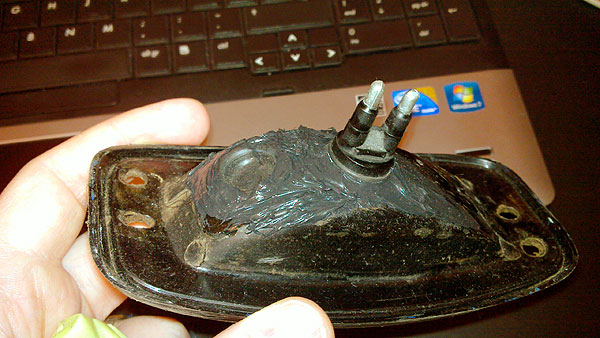
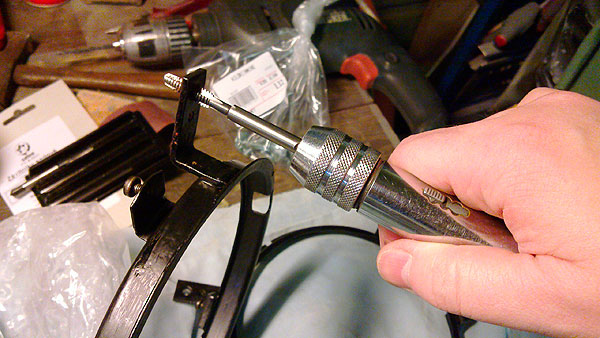
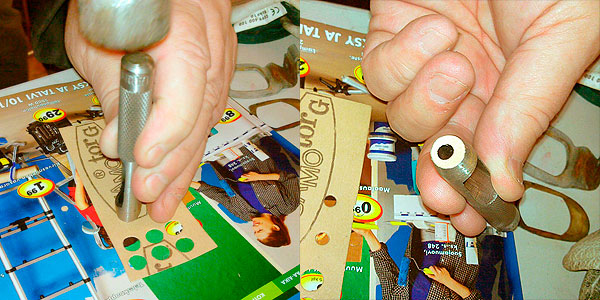
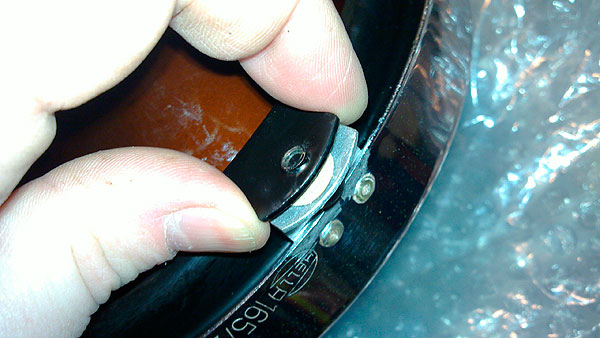
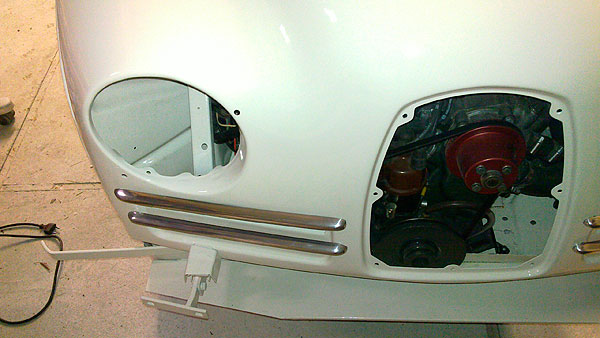
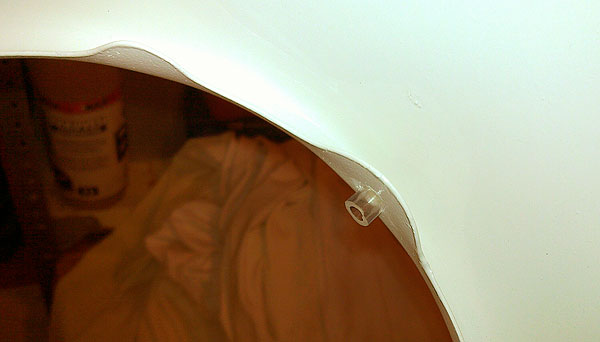
I wasn’t really satisfied with the directional light mods I did earlier – so I did a few changes that I think work better and suit the car better (not that they are visible).
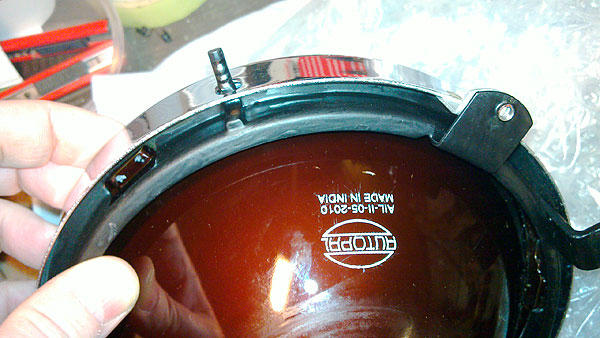
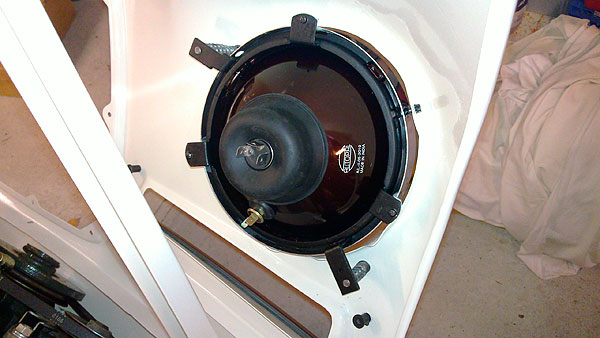
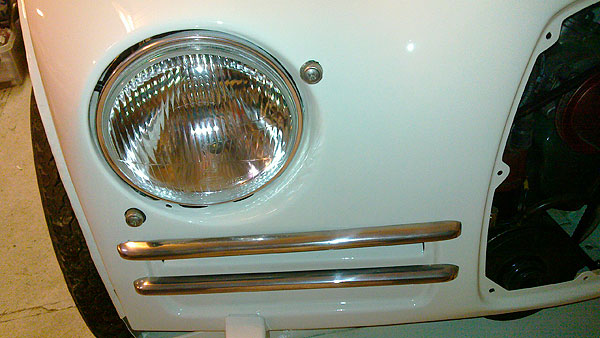
I also installed the headlights.
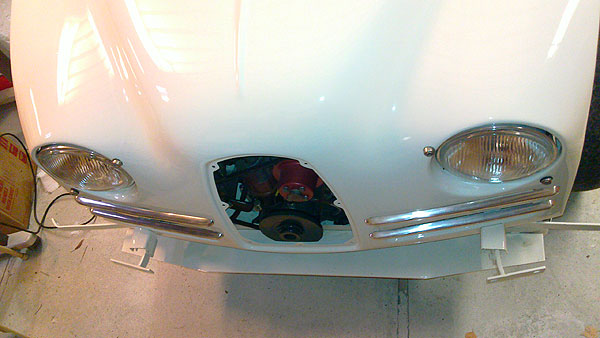
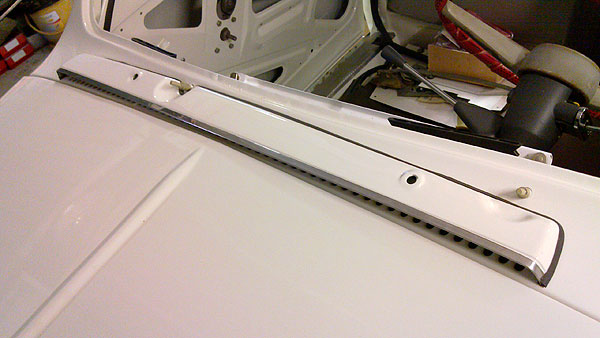
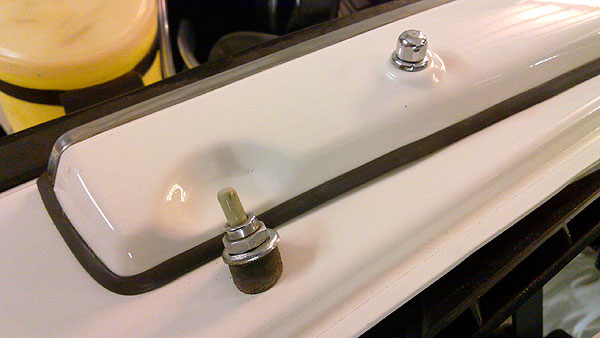
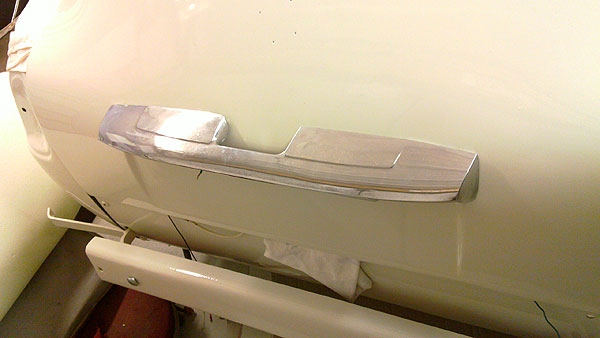
We also fitted some other pieces:
A Blog From Two-Stroke To Turbo
I wasn’t really satisfied with the directional light mods I did earlier – so I did a few changes that I think work better and suit the car better (not that they are visible).


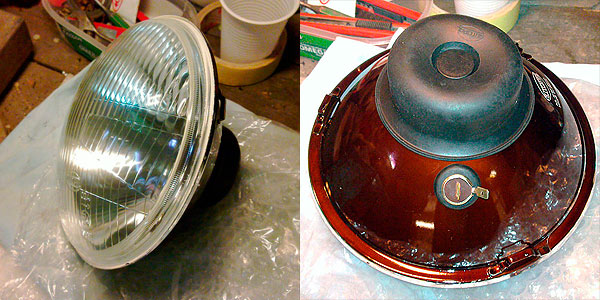
I also installed the headlights.


We also fitted some other pieces:


Hi, Nice pages on twostroke restoration – I have a 63 model myself – If you need new window rubbers you can find these -and many other parts- on my website