I have seen body solder used in some custom car shows over the years, but have not tried it myself. It’s sometimes also called “lead loading” since in the golden age of Hot Rodding lead was used to fill and shape body panels. Epoxy fillers (“bondo”) were not really available back in the day so body solder was used instead to even out the surface for paint.
Here’s an example:
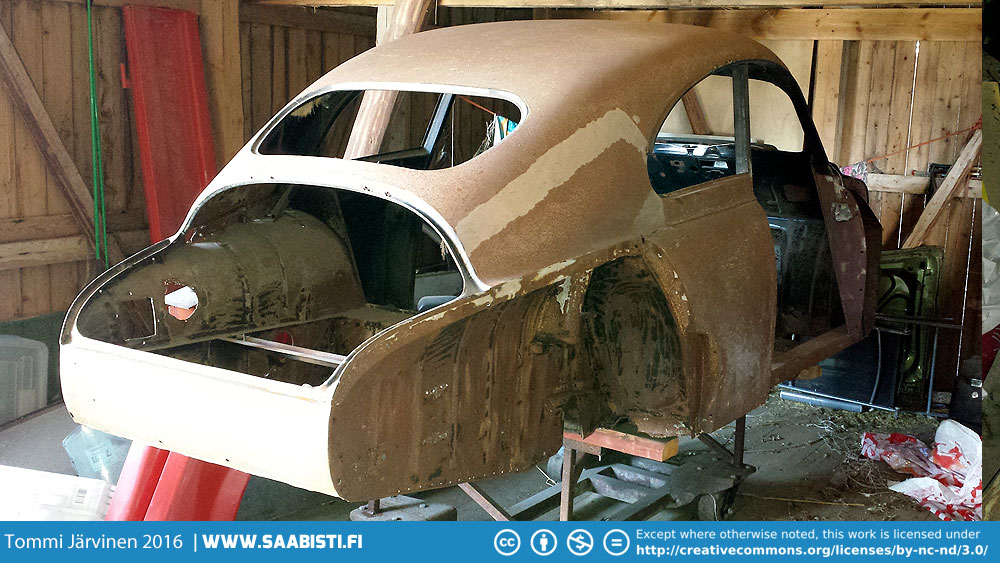
People usually describe body solder use as difficult and a “lost art”, so I kind of thought it as too time consuming to start learning it. But as a fellow Saab enthusiast decided to use it on his project car – a 1965 Saab Special – I decided to give it a go myself. Body solder does have some advantages over epoxy filler – it doesn’t attract moisture and it’s flexible. You can still work with a body panel after solder has been applied as it will form with the steel unlike bondo (it will crack).
But the more important thing is the fact that bondo will suck in moisture if it’s not completely sealed in. Danger spots are weld seams that may have minor holes or cracks in them where the water can come in from the back of the panel. This of course will ruin the paint some time later. Body solder on the other hand will fill the seam and keep the moisture from seeping under the paint.
So – how hard can it be? As it turned out – not hard at all.
Unleaded or leaded body solder?
There are basically two types of body solders. Lead free and leaded. There’s bit of a trade-off between these:
- Unleaded is a lot safer but it is more difficult to use and requires more heat to melt. This in turn may cause the body panel that is worked on to warp from heat (happened to me on the rear quarter). It’s also a harder material which equals more work when sanding it down. And because of the high melting point it doesn’t stay in a malleable form so it’s near impossible to shape when applied.
- Leaded body solder on the other hand contains lead, which is indeed poisonous. You definitely need to use glowes with it and preferably not breathe in any fumes. But it is a lot easier to use in my experience. It’s softer than the lead free solder so it’s faster to sand down. It is also relatively easy to keep in a buttery state by applying just the right amount of heat. This means you can shape, spread and smooth it out when working with it.
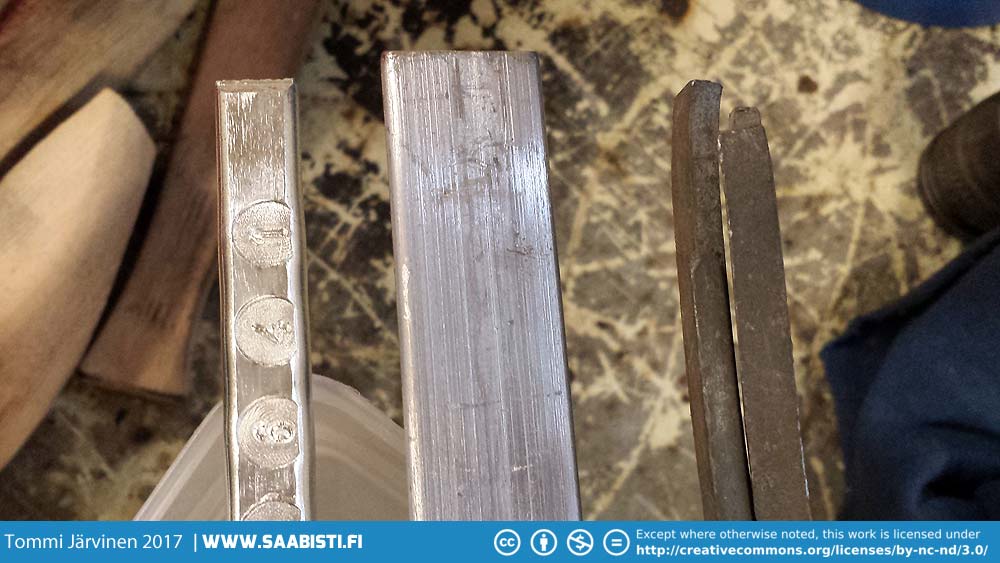
My recommendation: Try them both and see which you prefer.
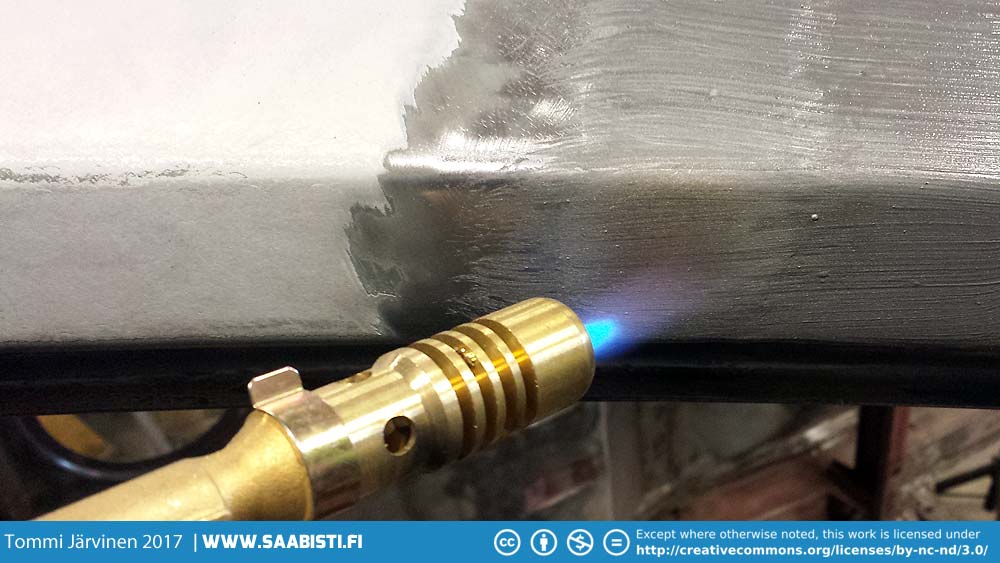
In addition to the solder bars you need a small torch – a typical butane torch will do – and a wooden paddle to spread the solder around. You can soak the paddle in parafin or food oil to keep the solder from sticking to it.
Also soldering paste is needed for priming the surface. The paste is basically acid (flux) with a bonding agent and powdered solder. It also comes in leaded and lead free mixes. You also need some baking soda mixed with water to neutralize the acid after priming.
The process
Youtube is filled with videos on body solder usage – just search “body solder”. Many guys there have a lot more experience than me so this is basically just for inspiration – even a complete beginner can get some pretty nice results.
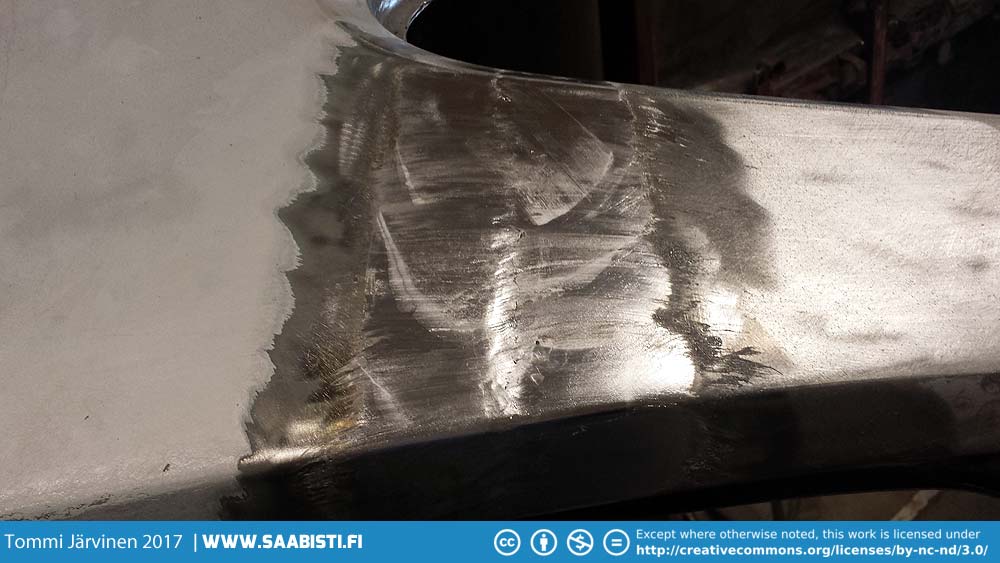
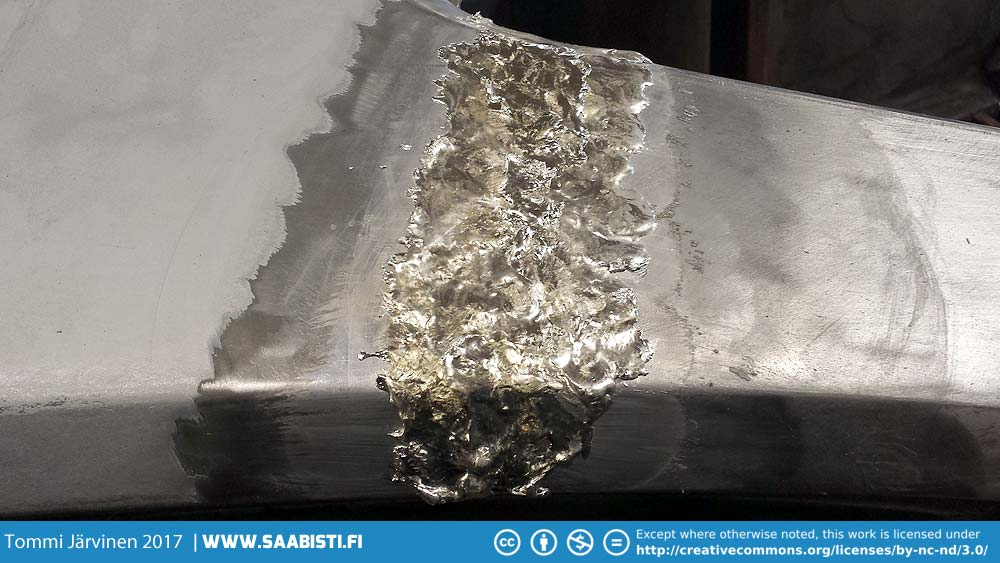
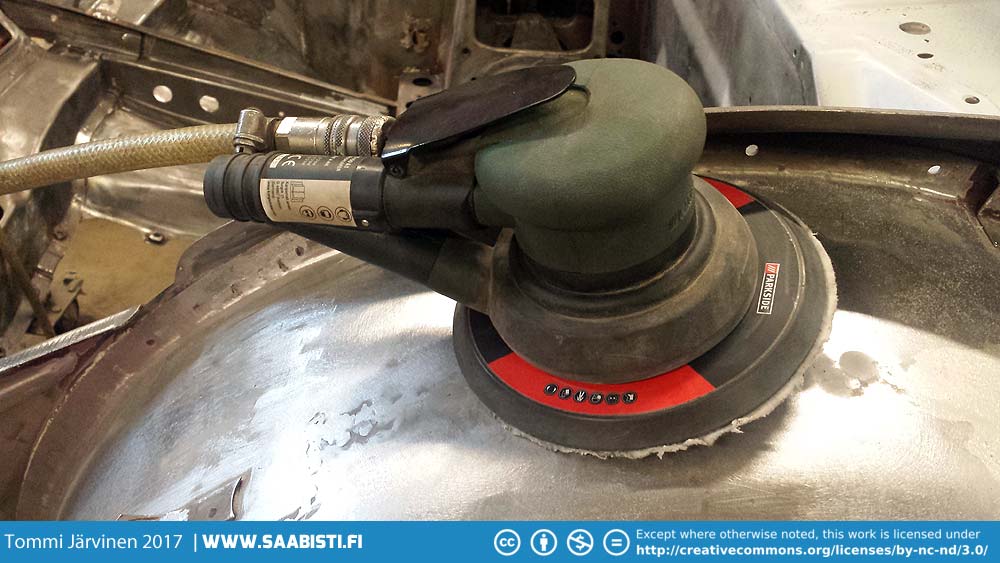
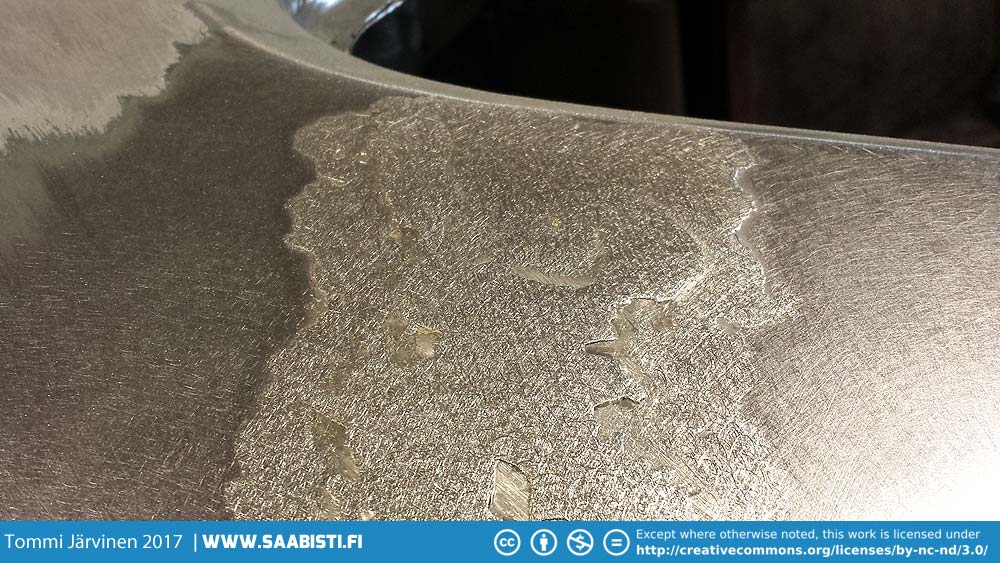
The most difficult part is learning to control the heat. Use the torch with a small flame first. I used the lead free solder here as I only needed to fill a low spot and there was no need to shape the solder. Only to sand it down.
So – it’s not as difficult as some say. Now that I have some experience in using it I actually quite enjoy using body solder. And prefer to use it where I can. Of course epoxy filler still has it’s uses to fine tune the surface but from now on I will use body solder as much as possible.
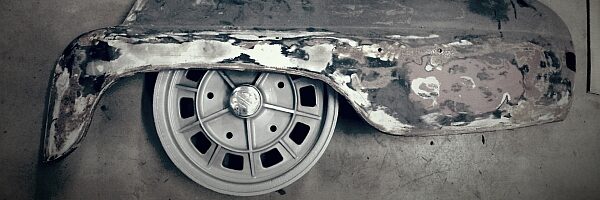
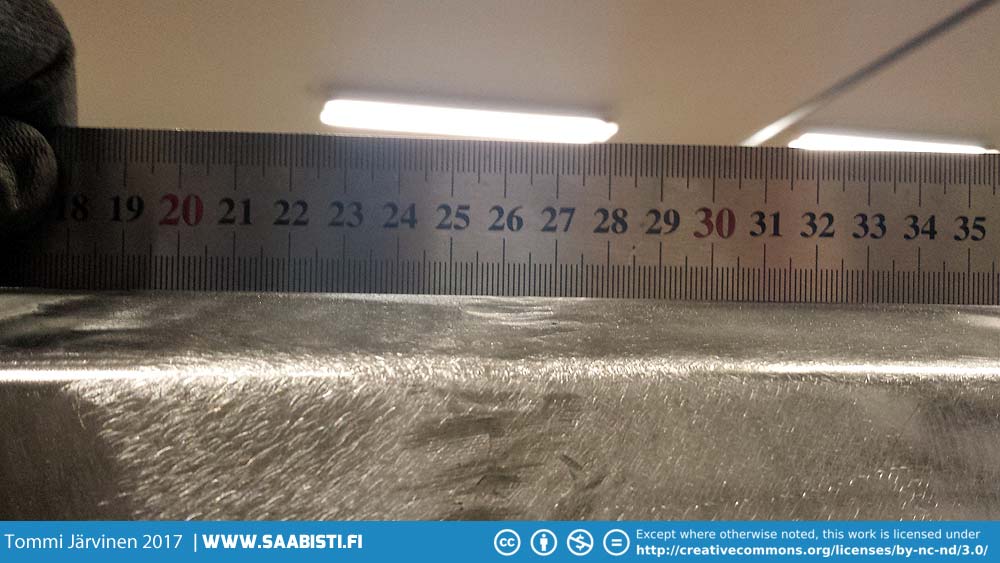
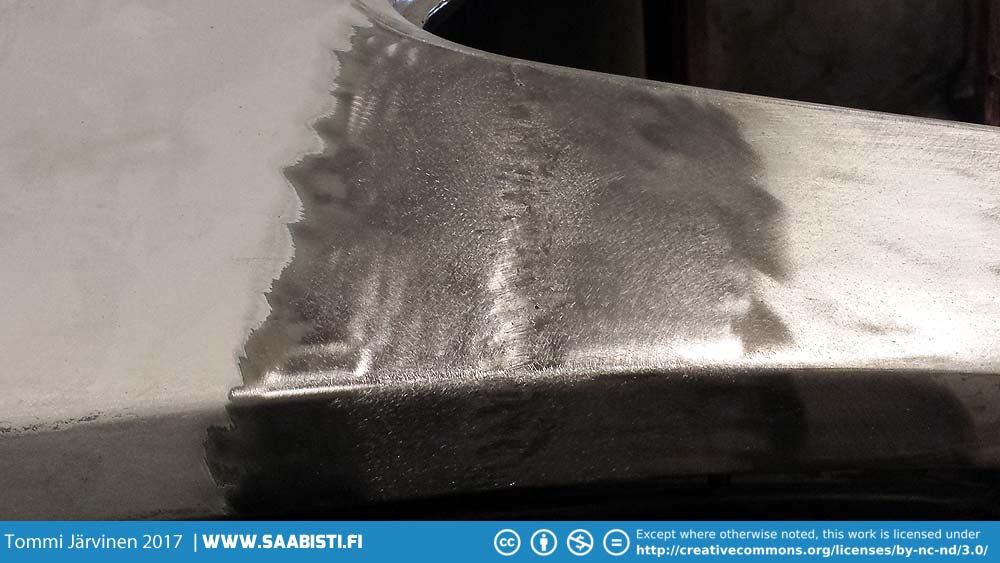
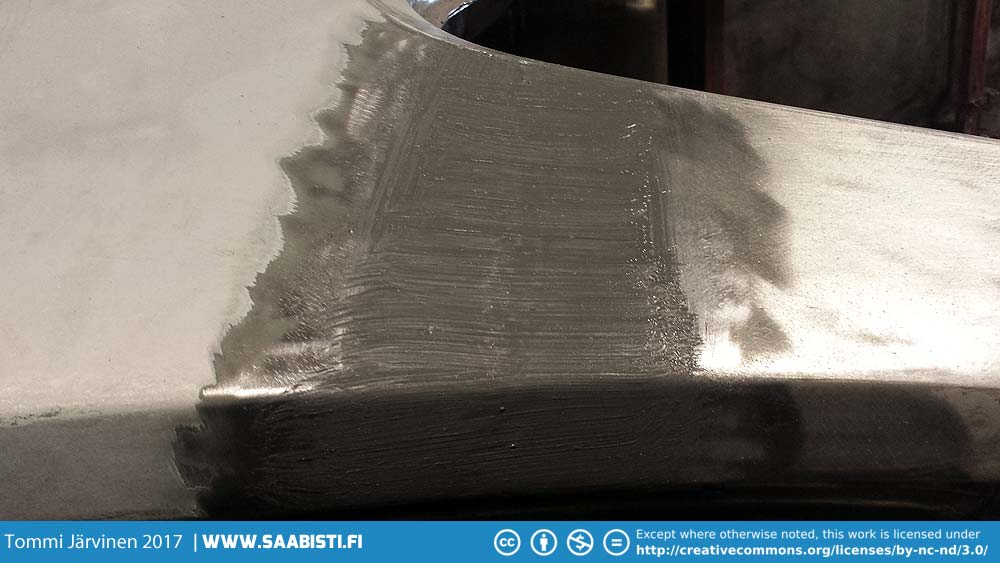
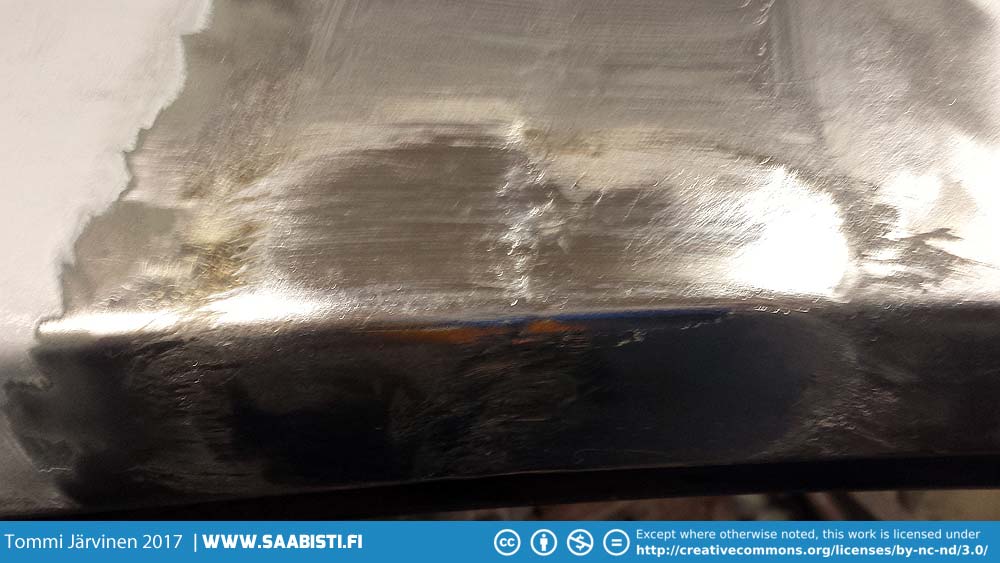
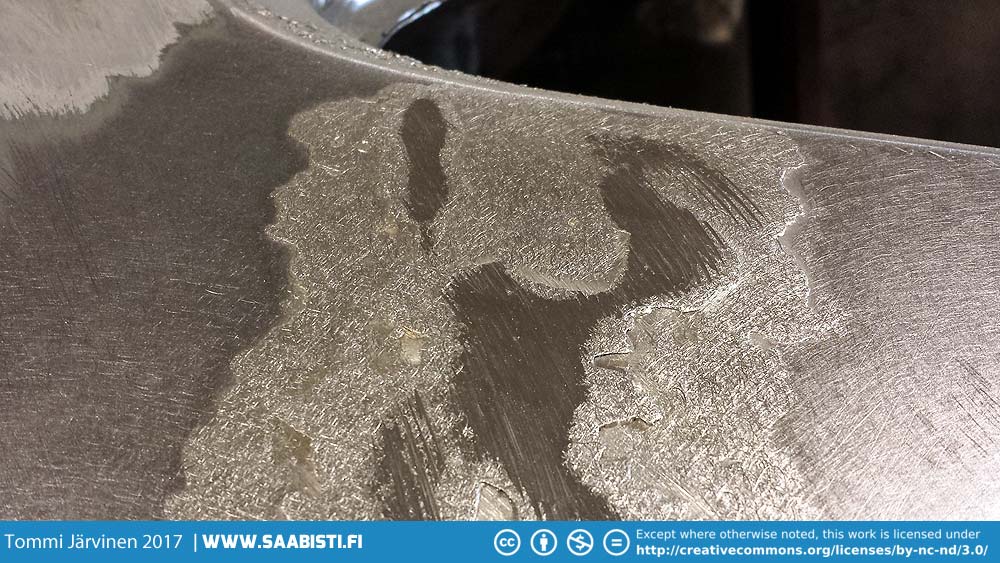
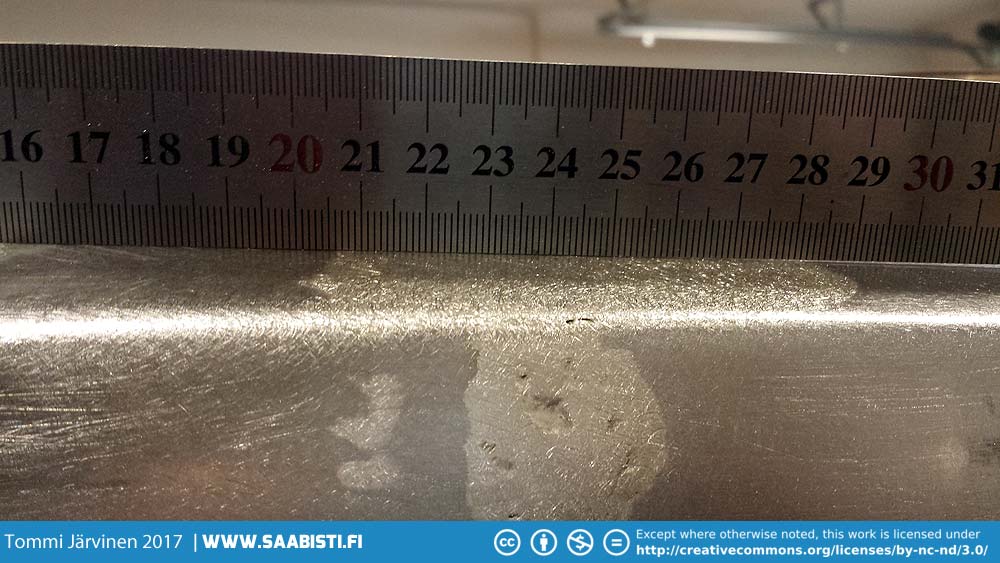
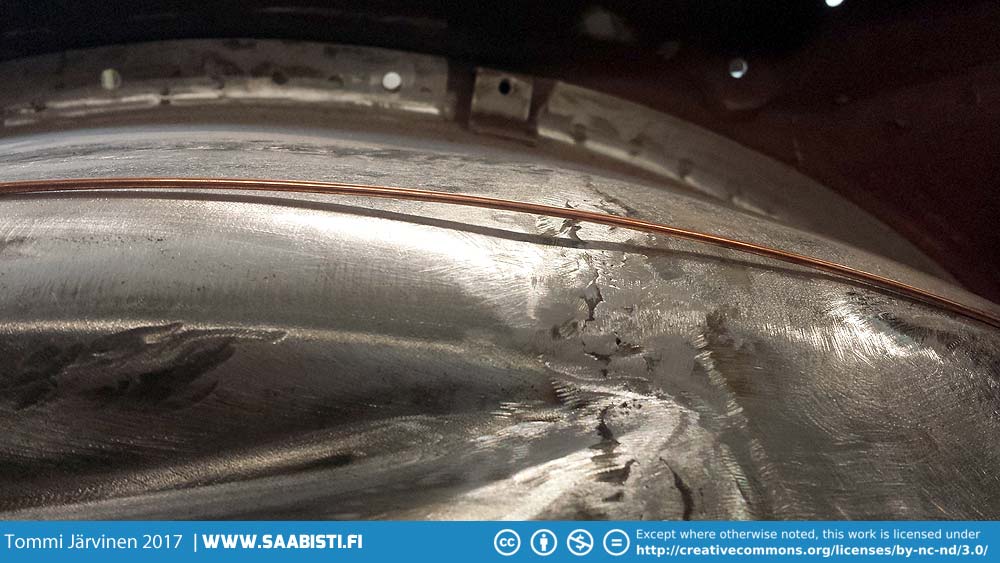
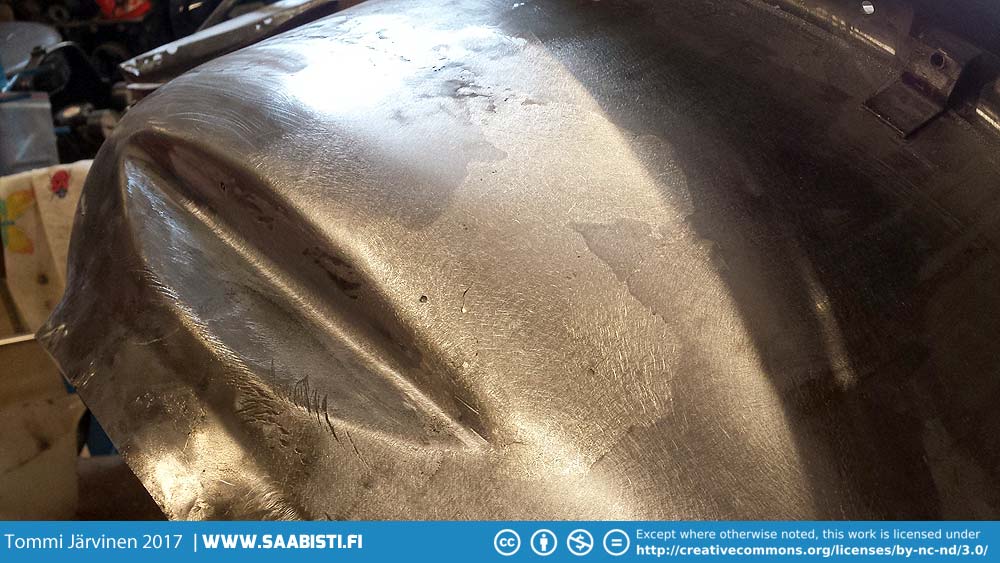
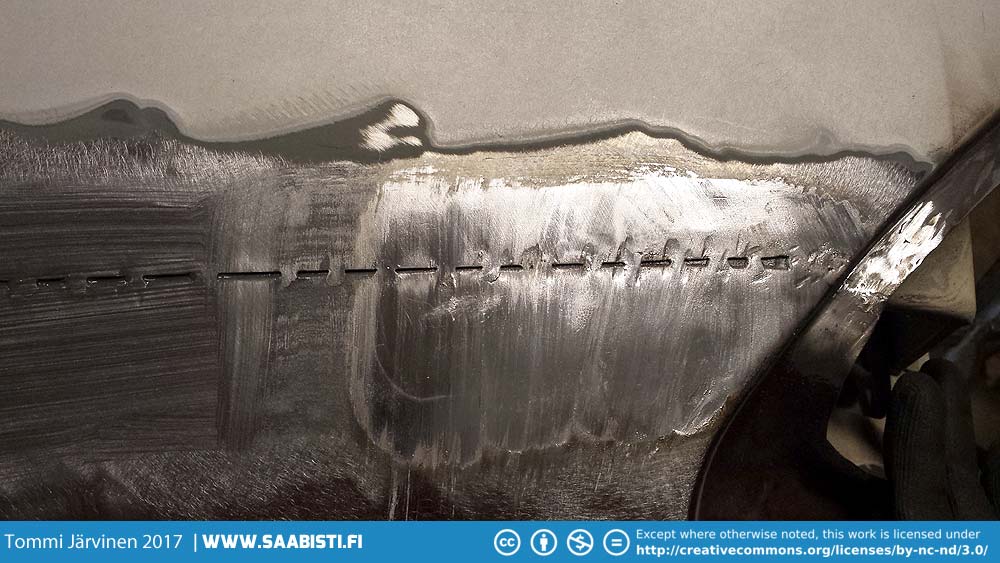
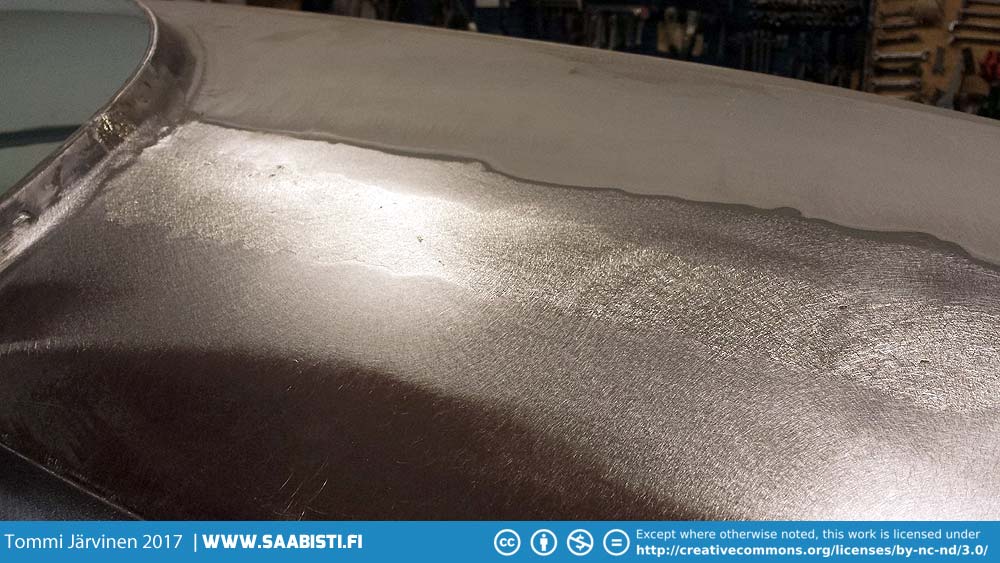
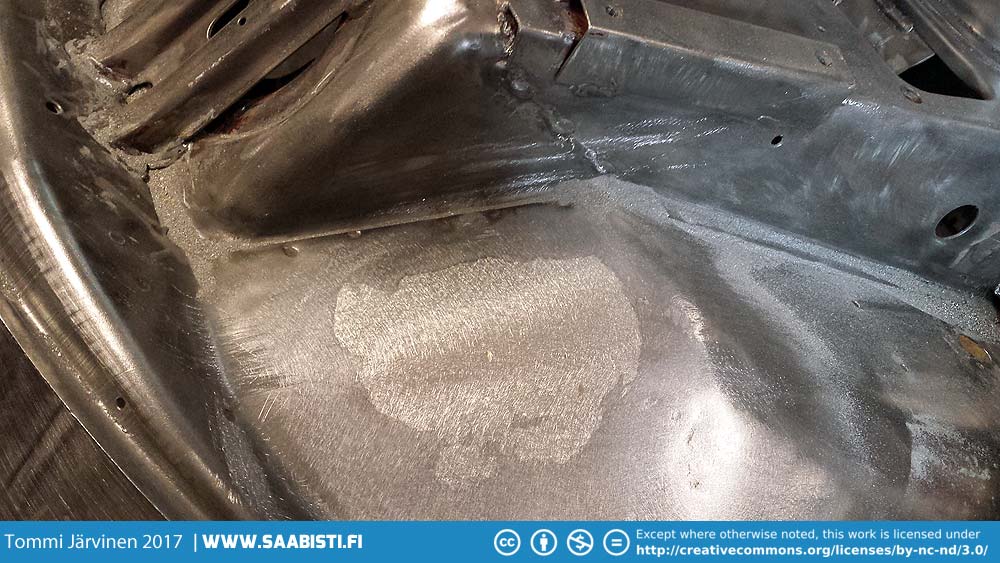
A few more examples:


fantastic! this looks great, nice work