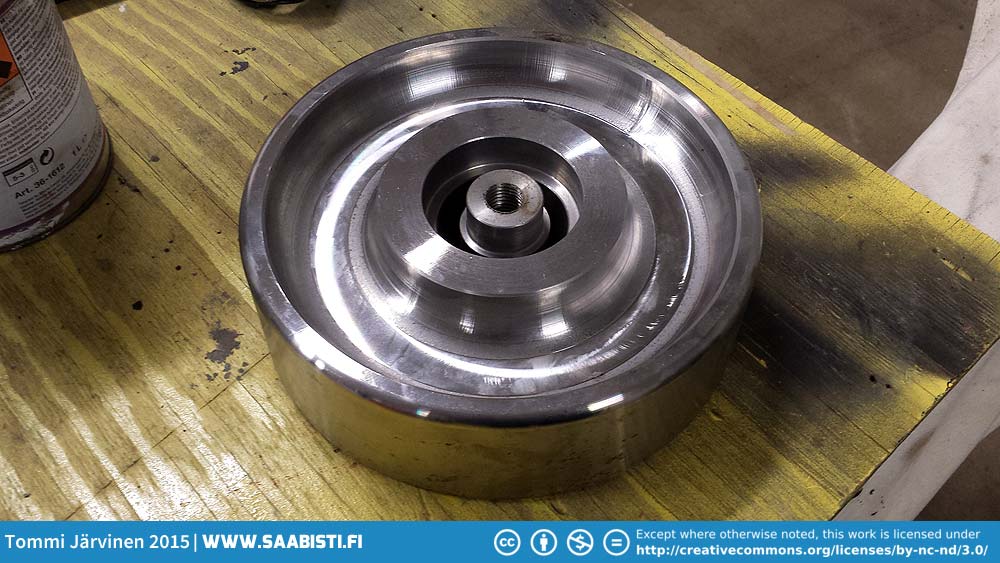
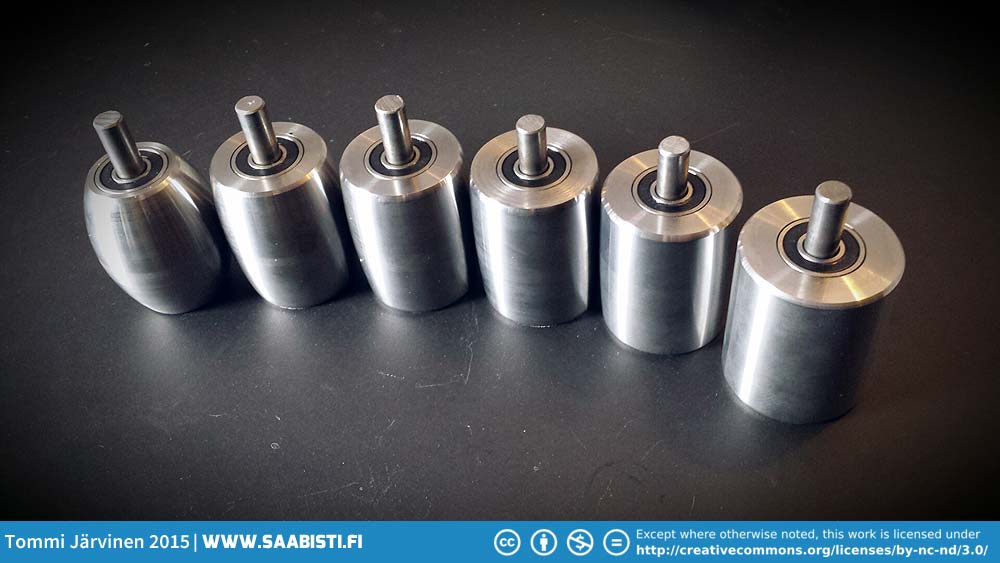
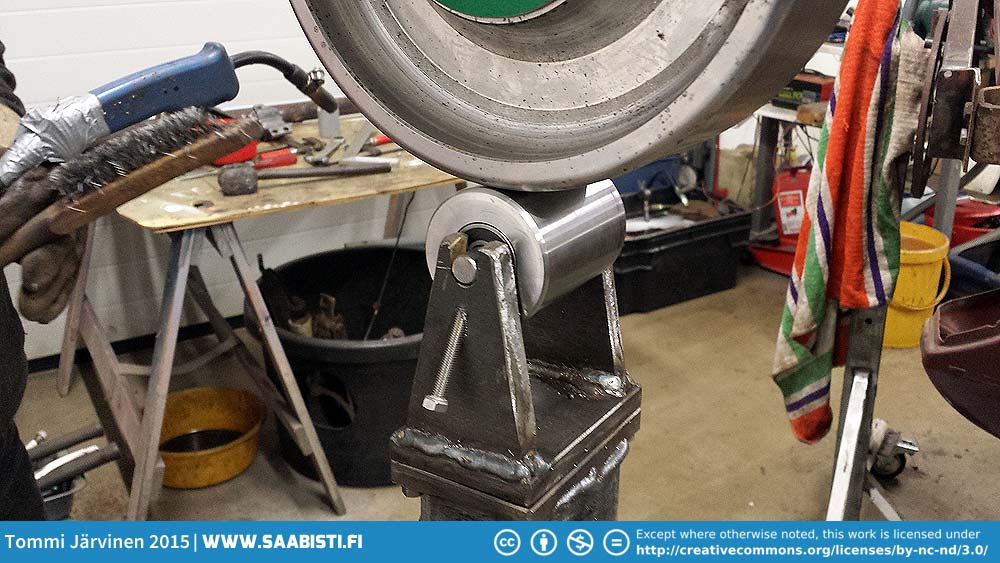
The anvil wheels I got from UK through eBay (Just search for English Wheel anvil wheels or bottom rollers).
I’ve been wanting an English Wheel for a long time, but they are pretty costly pieces of equipment, and I didn’t have room for one earlier. But some suitable scrap metal came my way and I decided to use it to build one – thus saving a a little money. Of course you can get a made-in-china English Wheel for about 400 to 500 euro, but I really didn’t like spending that much. So – we made use of what ever metal we had.
There’s a ton of instructions on making an English Wheel on the internet so this is not a tutorial on how to make one. Just a few pics of what we did.
There’s also a ton of videos on how to use one on Youtube, so check those out if you want more info. That’s basically how I figured this stuff out.
We used some scrap metal to build the English Wheel.
Welding the frame pieces.
The frame welded together. It only needs the wheels…
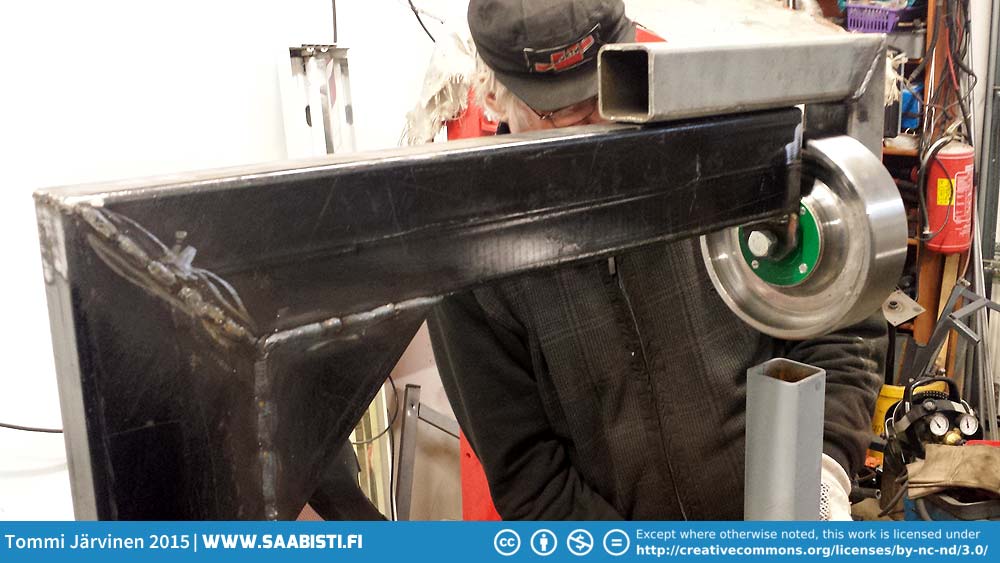
I got the upper wheel from a fellow Saab enthusiast.
The anvil wheels I got from UK through eBay (Just search for English Wheel anvil wheels or bottom rollers).
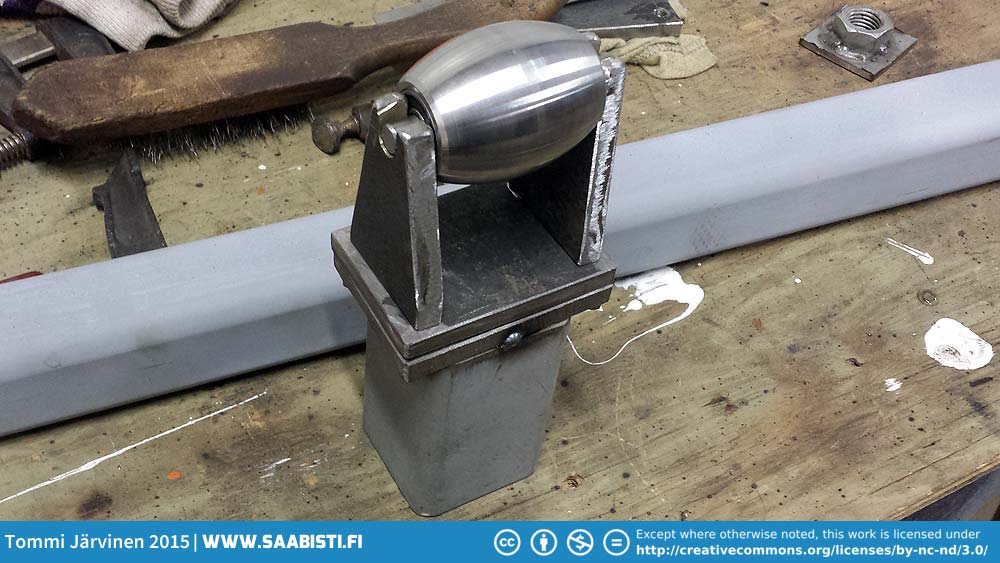
Making a holder for the anvil wheel.
Planning a position for the upper wheel.
The anvil wheel holder has an adjustment screw that makes it possible to tilt the wheel.
A holder for the rollers when they are not in use.
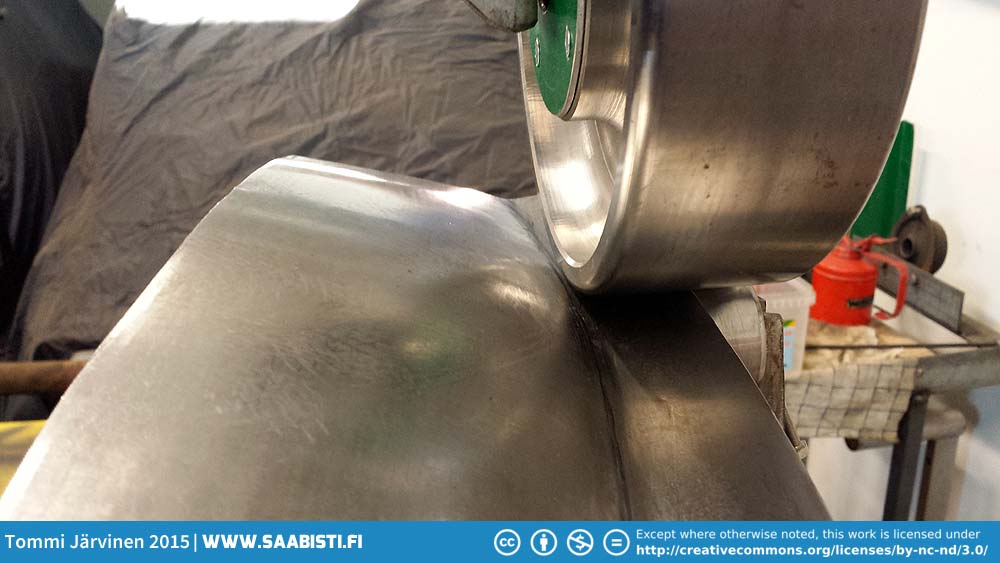
Time for the very first test piece.
Looks like the English Wheel does it’s job. The metal bends nicely.
Ramping up the pressure on the bottom wheel made the frame flex a little, so we added some extra metal to reduce it. More pressure makes the forming easier.
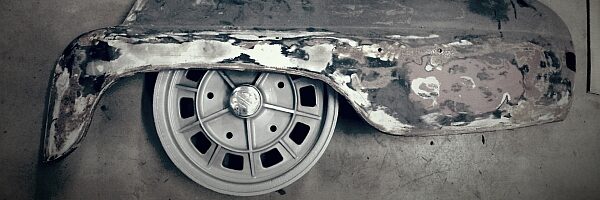
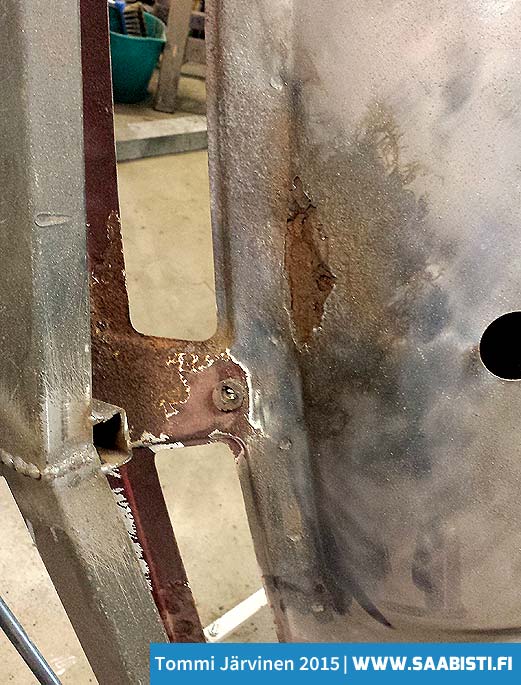
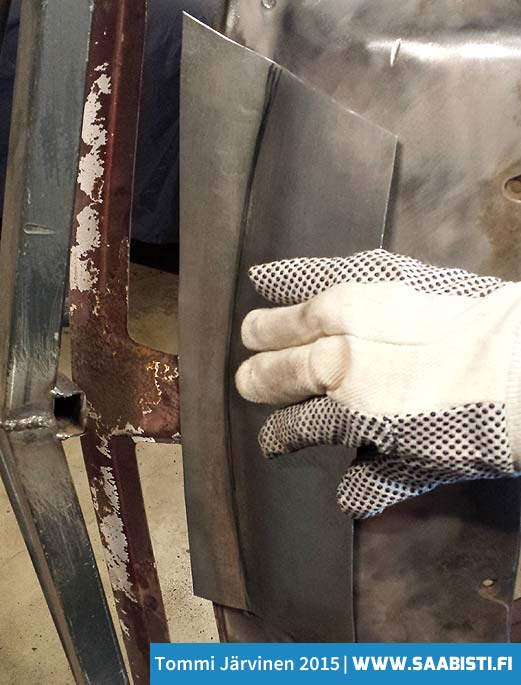
Time to try and make a batch panel for the 99 Turbo. This is a nasty spot to repair as the panel curves in many directions.
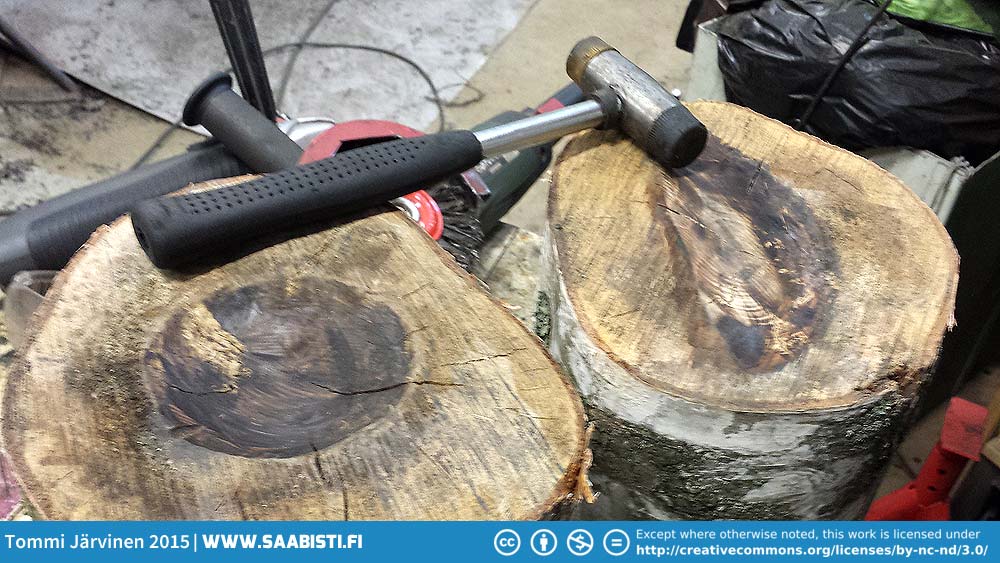
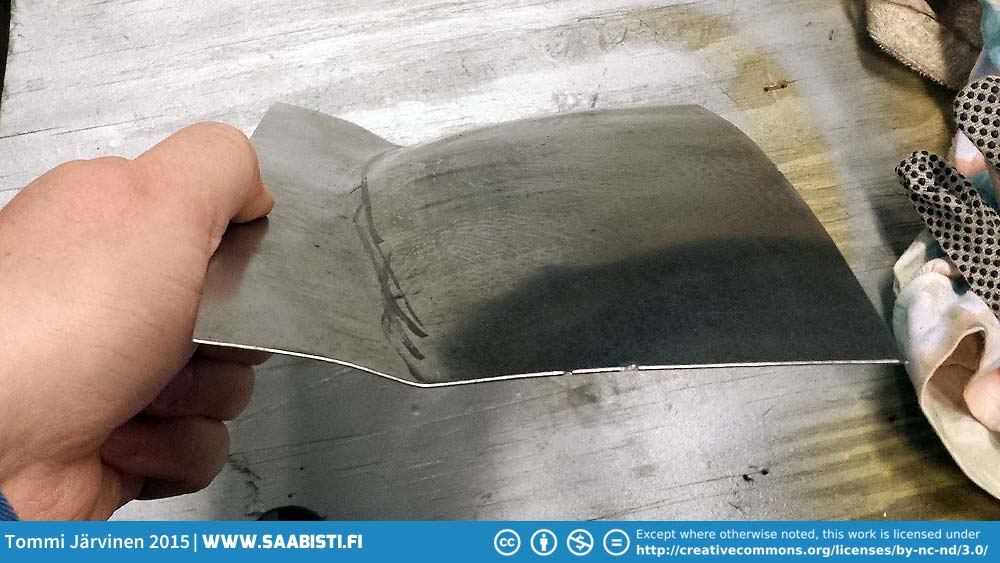
I made a few shrinking/stretching stumps to beat the basic shape to a panel.
I then rolled it in the English Wheel to smooth it out. The curvature came out pretty nice on the first try.
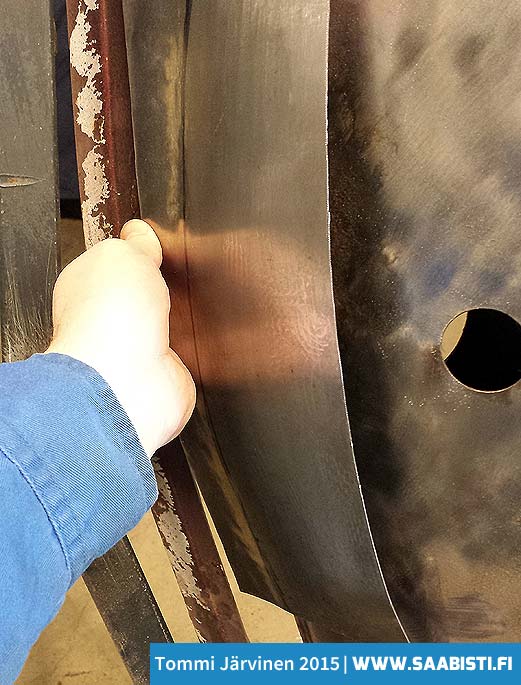
Time to lift and straighten out the flange.
I was pretty surprised how easy using the wheel actually is. Of course it will take a ton of practise to get the exact, perfect shape, but I’m happy so far.
Looks like a good fit!
But here’s the real challenge – The spare tyre compartment on the Turbo. That will really take some trial and error on getting it right. Time to start practising!
So – all in all – by making the English Wheel by ourselves we saved a little money and it was actually fun to figure out everything. The total cost was about 200 to 250 euro.
2 comments
Good work Tommi, What you just built does not surprise me, as I have watched your video’s and blog posts for quite some time. If you need something to make your work easier, you will either find it or build it. Again good work. It would be nice if a lot of parts you put on your rally car were available here, but so far no luck. Keep up the good work.Bill


Good work Tommi, What you just built does not surprise me, as I have watched your video’s and blog posts for quite some time. If you need something to make your work easier, you will either find it or build it. Again good work. It would be nice if a lot of parts you put on your rally car were available here, but so far no luck. Keep up the good work.Bill
Awesome job! Thanks for sharing. I’ll be looking to build my own soon & this was a great help!