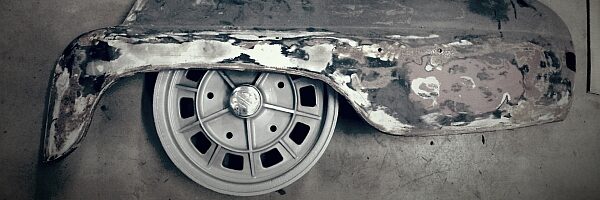
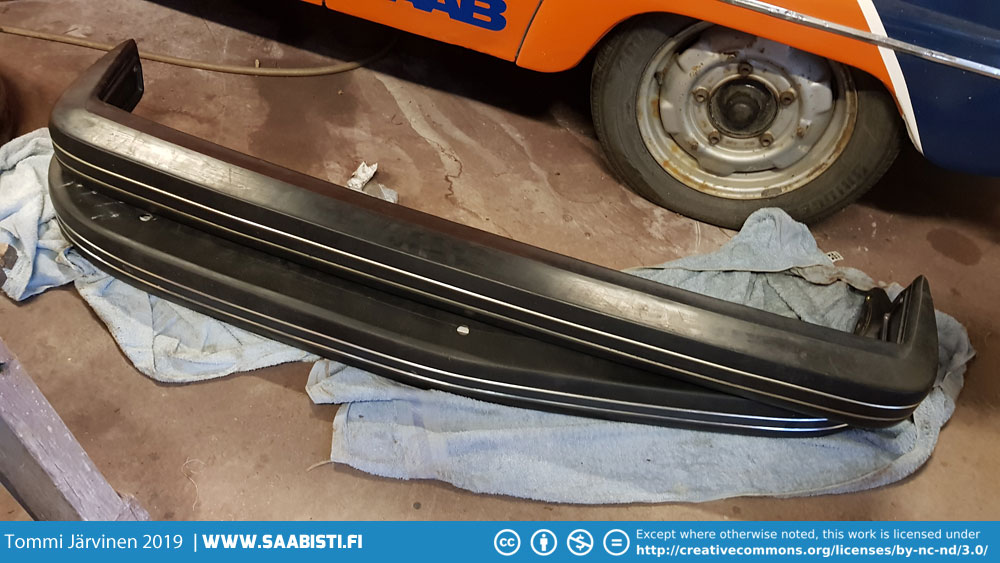
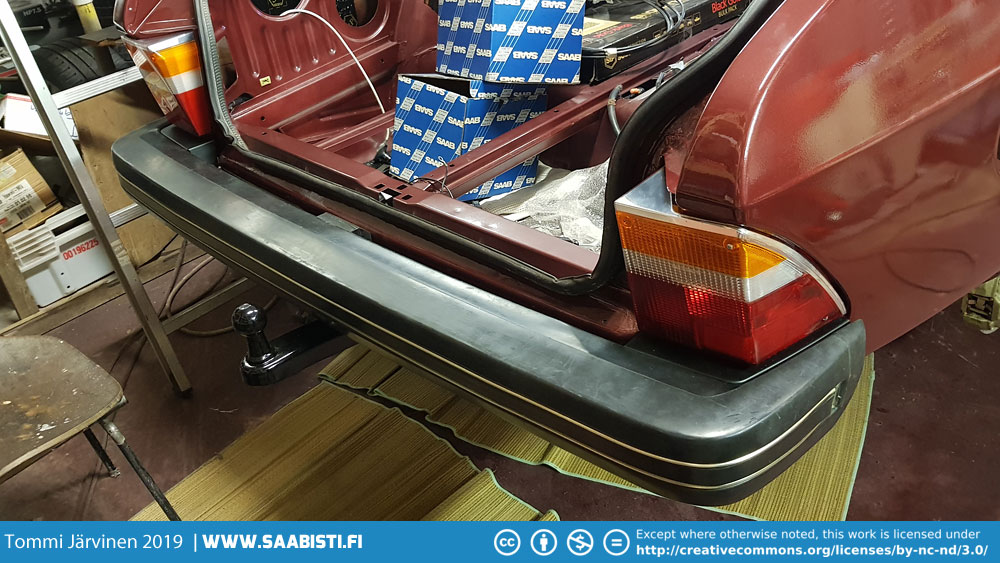
The original bumpers for the 99 Turbo were pretty much shot. The ’78 bumpers have plastic chrome and black rubber decorative lists and the plastic is pretty much always scrap. A NOS front bumper came with the car which was a great help. I figured I would try to find a suitable rear bumper and replace the rubber and chrome decorative lists with an aftermarket item. I even bought the aftermarket list just in case. Fortunately – some years later – I managed to get my hands on a NOS rear bumper also.
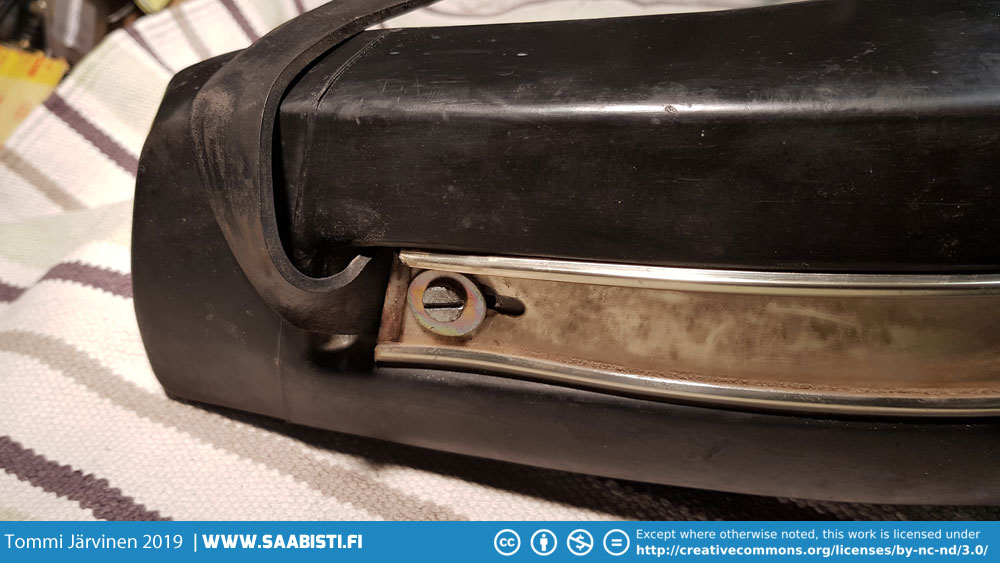
The problem with the plastic chrome list is that it hardens and shrinks over time. And certainly after 40 years it’s extremely easy to crack. Of course they also yellow over time but I was willing to accept that because they are the original lists and not aftermarket (which doesn’t look 100% correct).
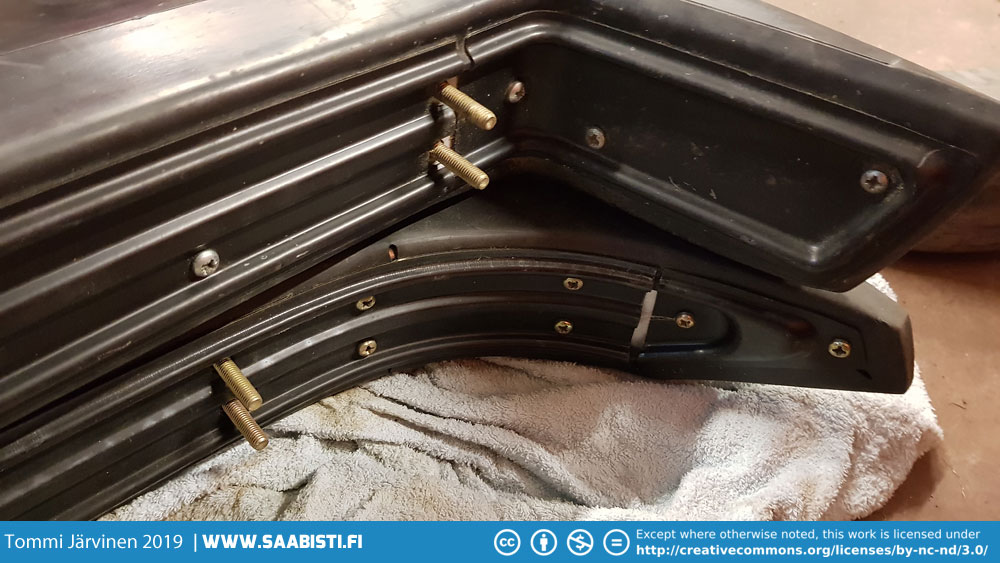
Since the list on the rear bumper had shrunk significantly it wouldn’t stretch all the way over the bumper. The only way was to move the screw holes closer to the ends of the list and even out the difference on both sides of the bumper.

Also the brackets that hold the rubber and plastic chrome lists in place needed to be modified to move the attachment points.
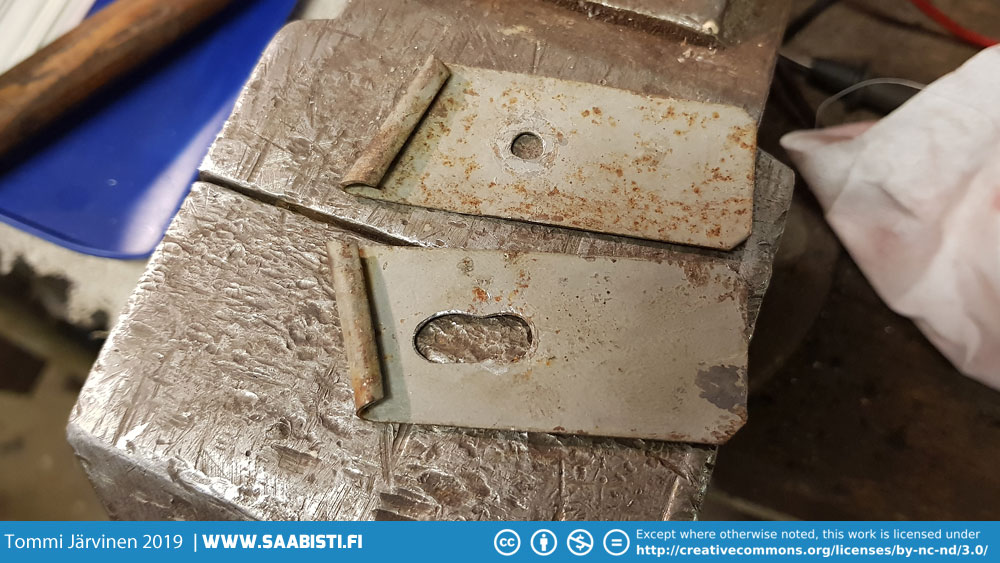
Thankfully there was just enough length to the list that I could use it.
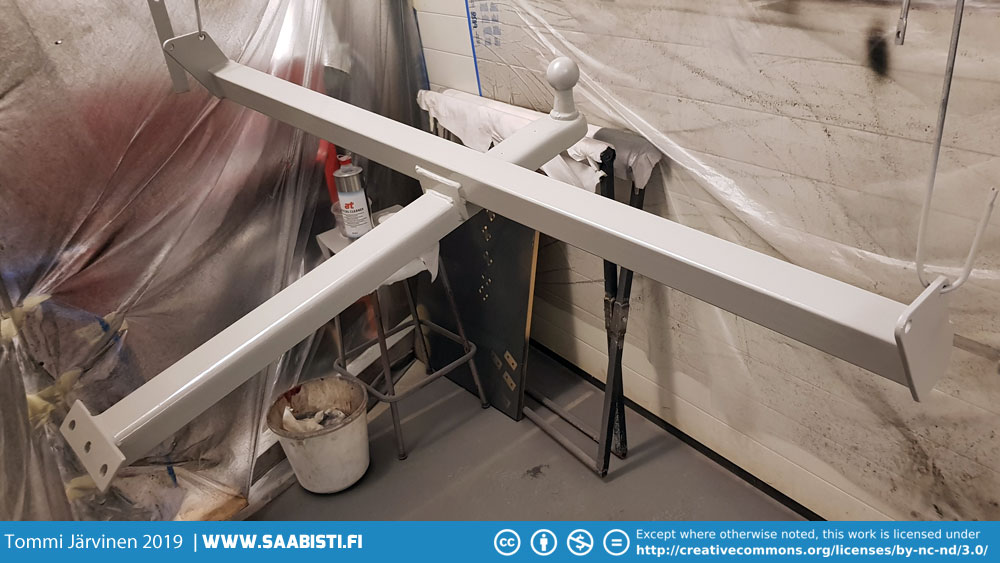
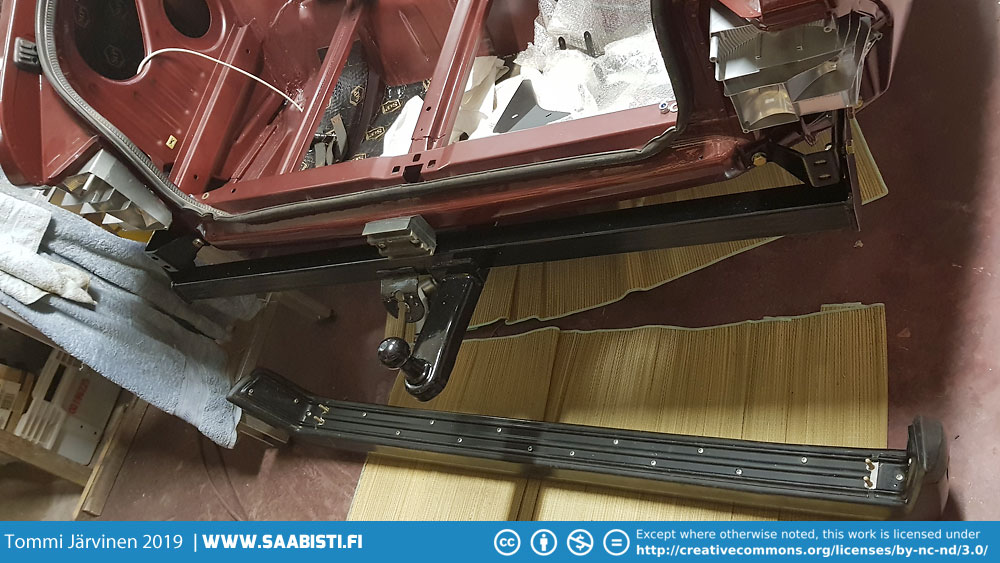
I wanted the car to have a trailer hitch as it originally had. The hitch that came with the car was in pretty good condition but still needed a little welding and a repaint.
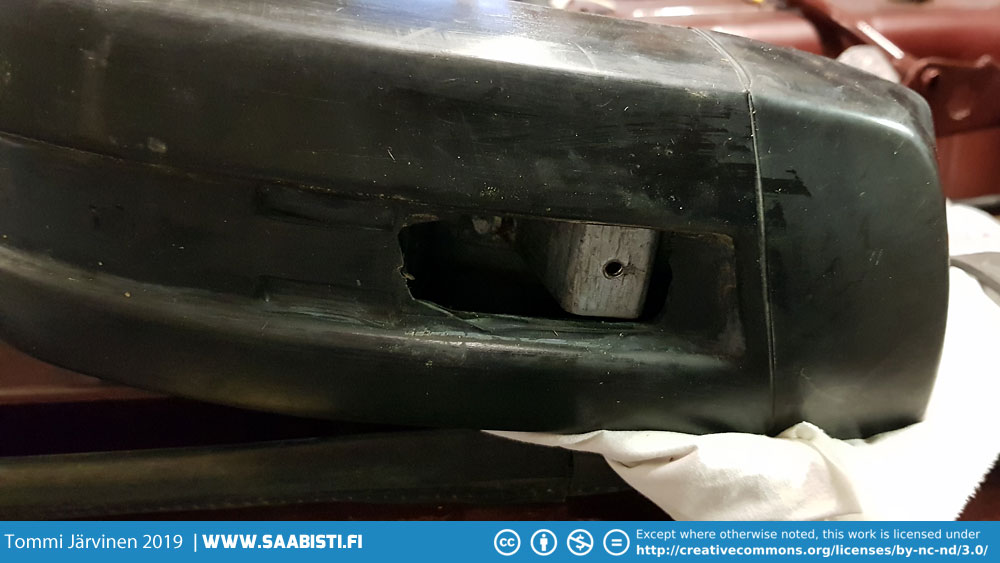
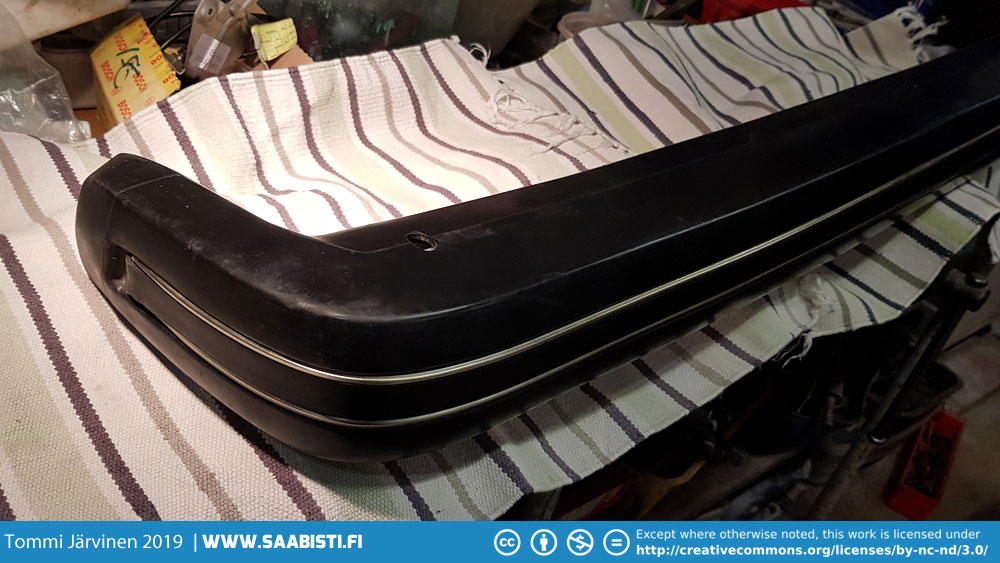
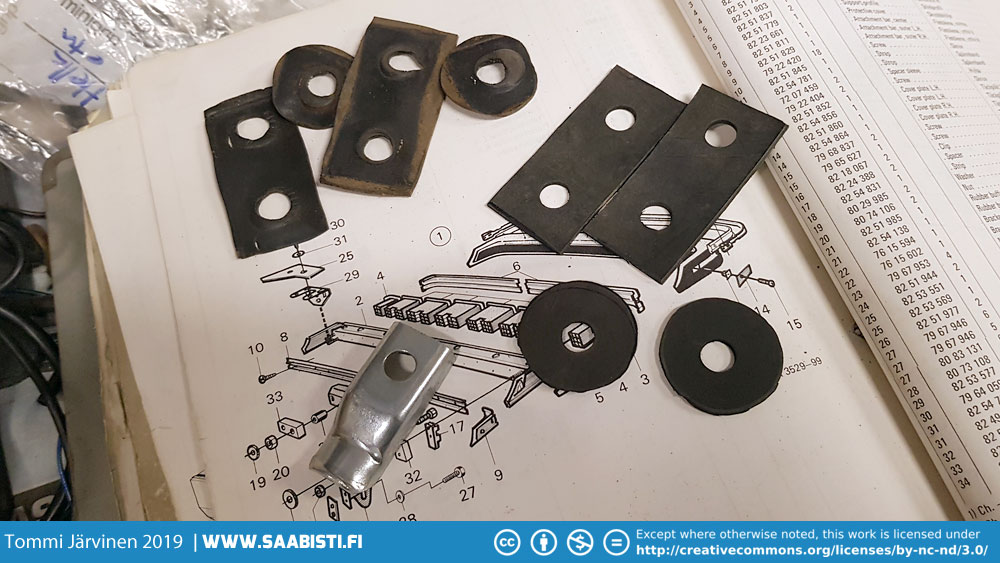
I also went on to make new rubber seals for the attachment points of the rear bumpers. The screw holes lead directly to the trunk so theoretically you might get a water leak there without the seals.
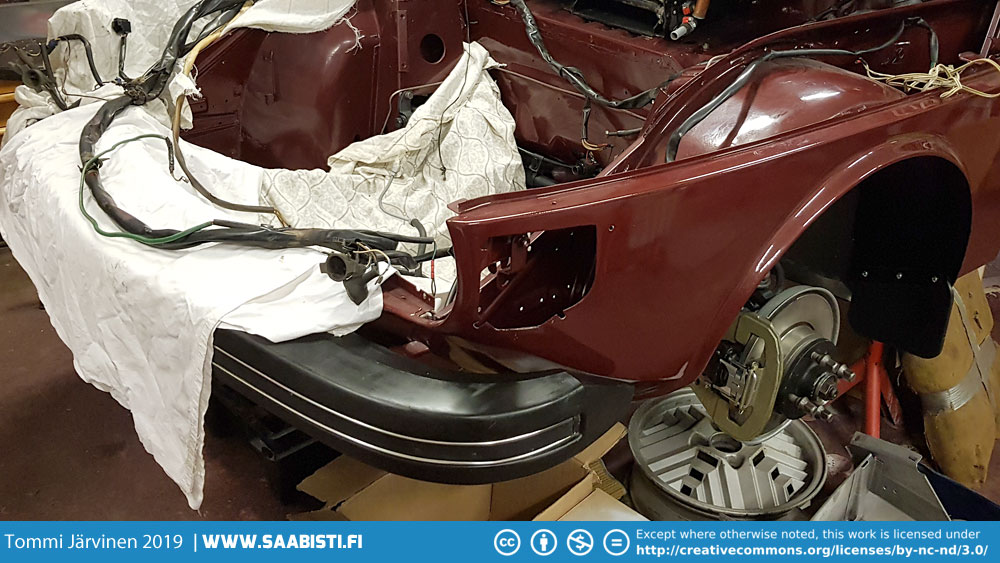
Next – the wiring harness…
I’ve been following the restoration for ages and am really impressed with the work you’re doing. The finished car will be stunning and there are so few good cars left. I check in when the enthusiasm for my rebuild is low and looking at your work fires me up again. Unfortunately the job is taking longer than yours. I prefer the hatchback and mine is the same colour as yours. You have given me lots of tips for the rebuild. Keep up the great work.