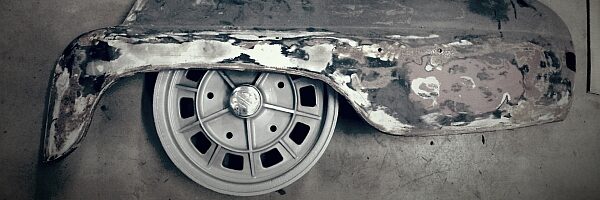
The next step was to disassemble the engine and gearbox to have the components refurbished.
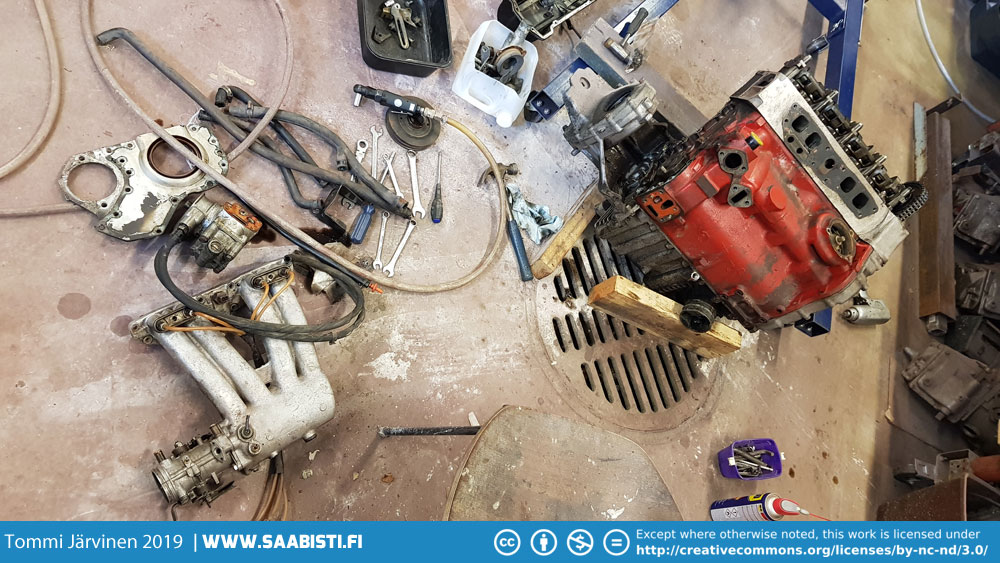
Taking the engine apart was pretty straightforward. As usual I took several detail photos of the different components and what type of bolts go where. Also, I separated all the nuts and bolts according to if they were originally only zinc coated or also yellow passivated.
I was already pretty sure when I bought the car that it had all the right components but still it was nice to see that the gearbox, cylinder head, camshaft etc. were all correct 99 Turbo stuff.
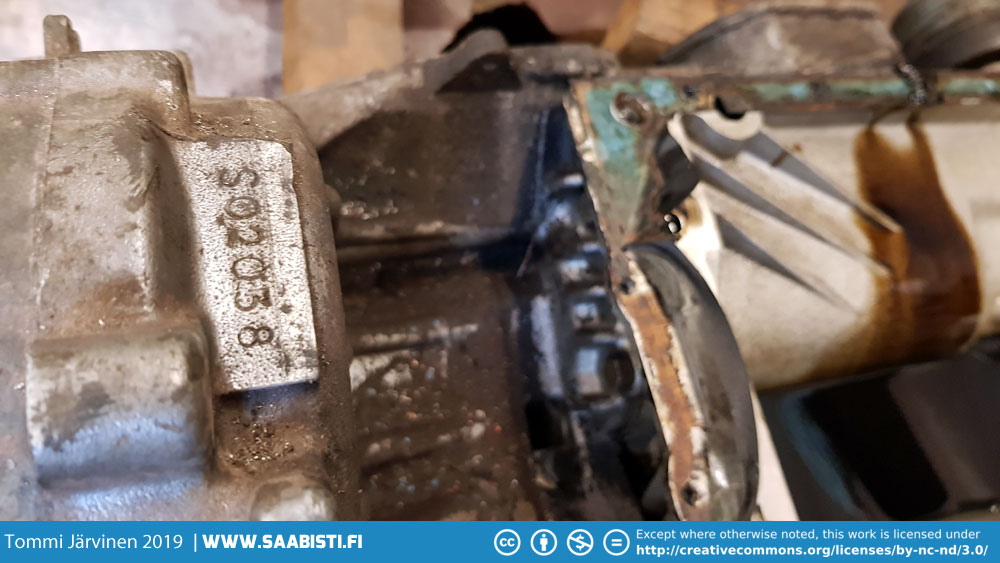
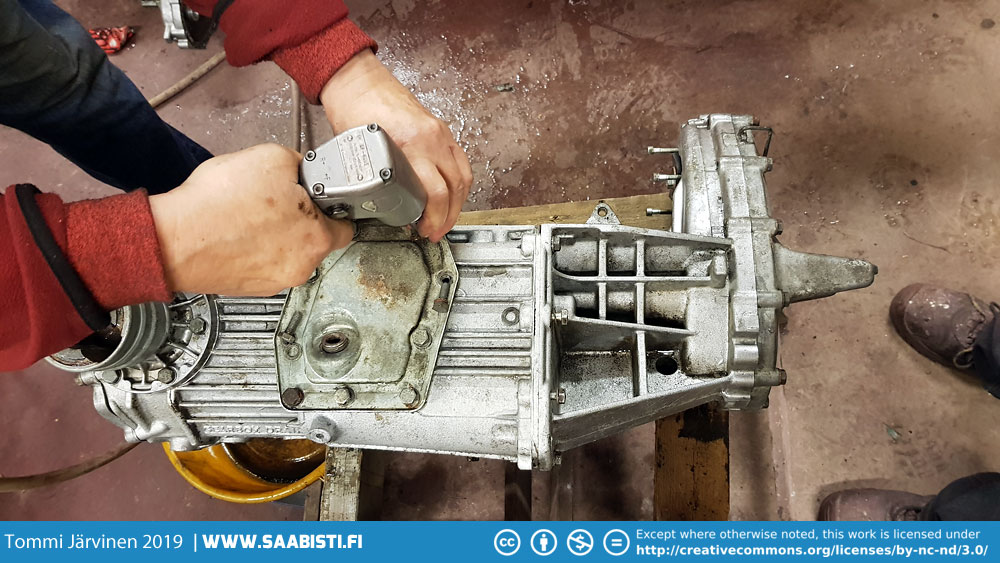
As the gearbox was functioning nicely there was no need to completely take it apart. So we just removed all the bolts and the side plate to have them re-coated. Of course the box was thoroughly cleaned inside and out.
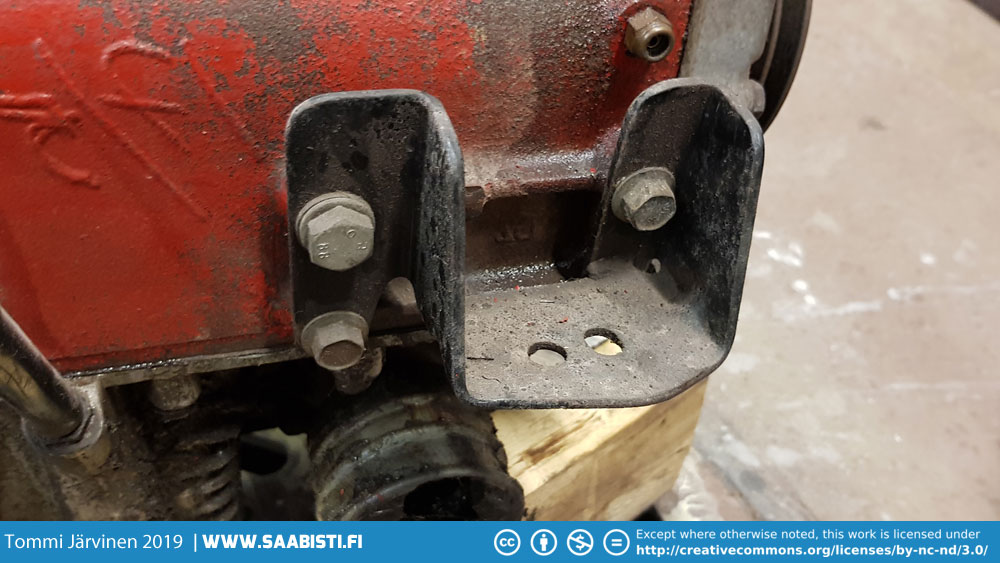
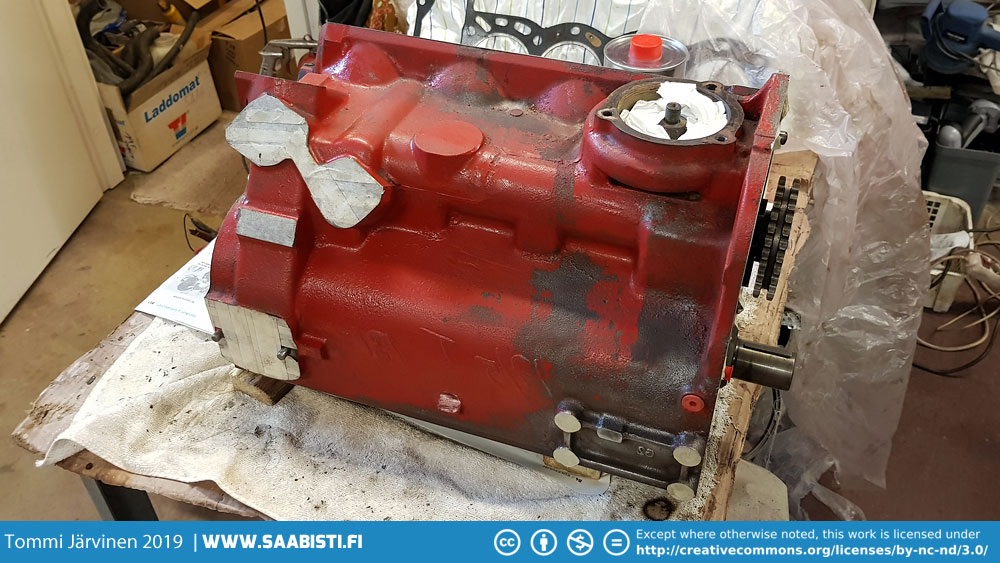
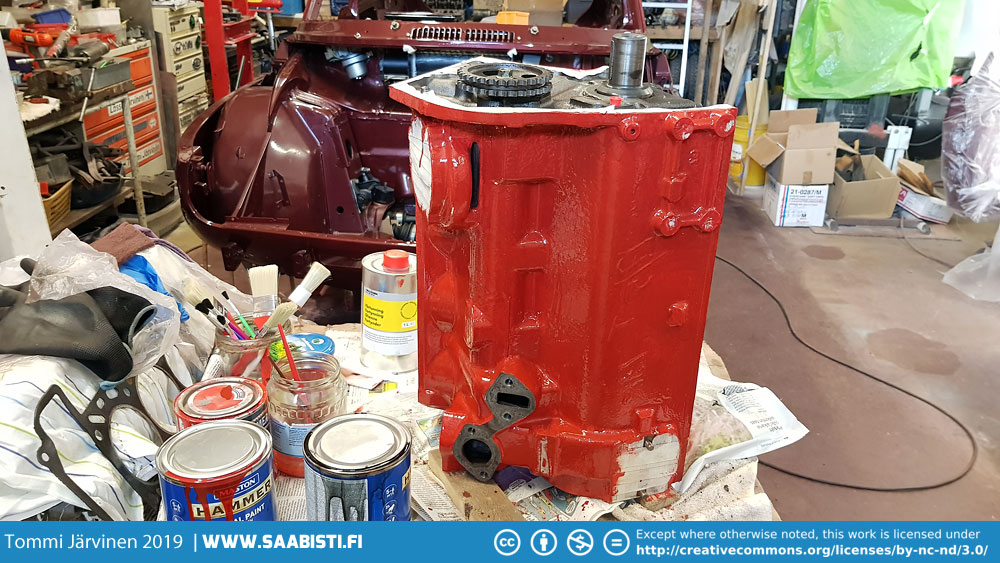
The engine internals checked out. No excessive wear and it was running clean before the project begun so there was no need to do much more than clean it up and new coat of paint.
Woran erkenne ich das es ein S-getriebe ist?
Sir,
I am looking for an engine or racing engine parts for my Saab 99 with which I participate in rallies.
Can you provide me with this material and at what price?
Thank you for your answer.
Demortier thierry