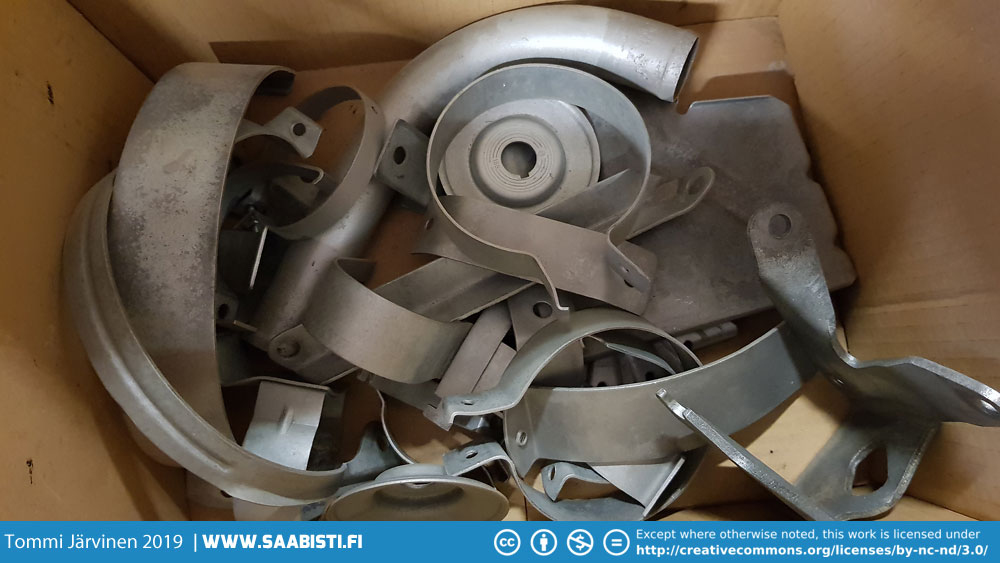
After the engine and gearbox were disassembled I proceeded to collect all the other stuff I needed to have zinc coated and yellow passivated. I acid bathed most of the small stuff like nuts and bolts, but glass bead blasted the bigger ones.
I used citric acid for the bath. Before putting the parts in the acid bath I cleaned them in petrol and paint thinner to remove all the grease and dirt. Dirt and grease will prevent the acid doing it’s thing. For very rusty parts it usually took two baths a day or two each to get them clean. Citric acid is mild enough so it will not damage healthy metal and so it’s safe to use on steel parts.
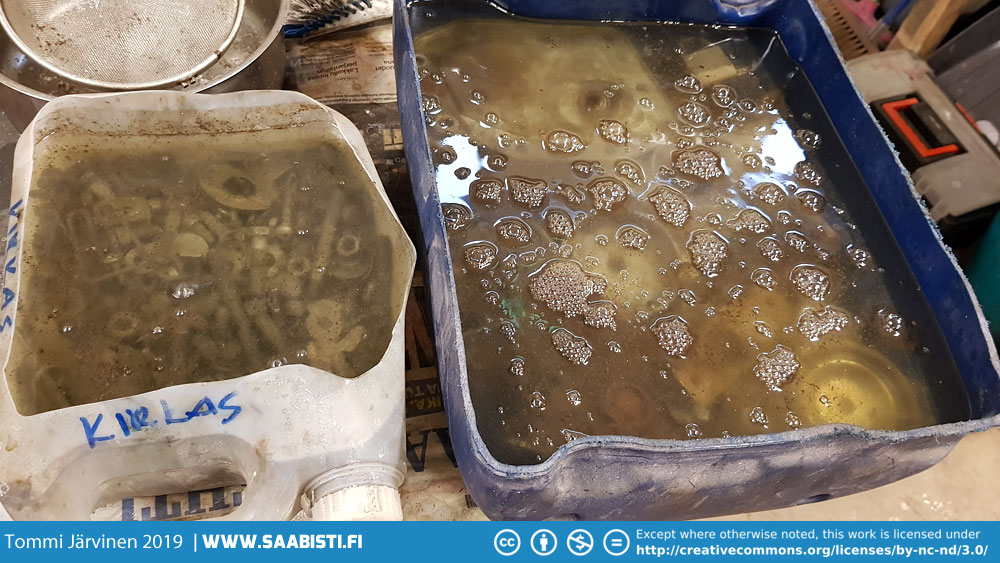
After the bath the parts will have a coating of black residue which needs to be washed away. I first washed the parts with tap water and then with paint thinner which will remove the residue easily.
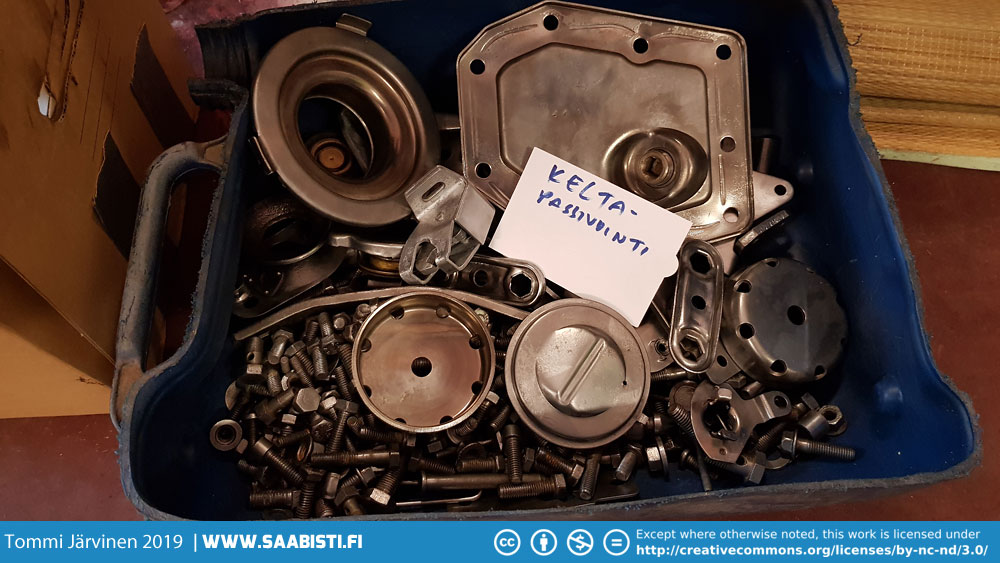
Getting the parts back from the coating shop took a few weeks since I took them there just before Christmas. I got them back just after new year. I had also thrown in quite a few V4 and two-stroke nuts, bolts and other components so there was a bit to sort through…
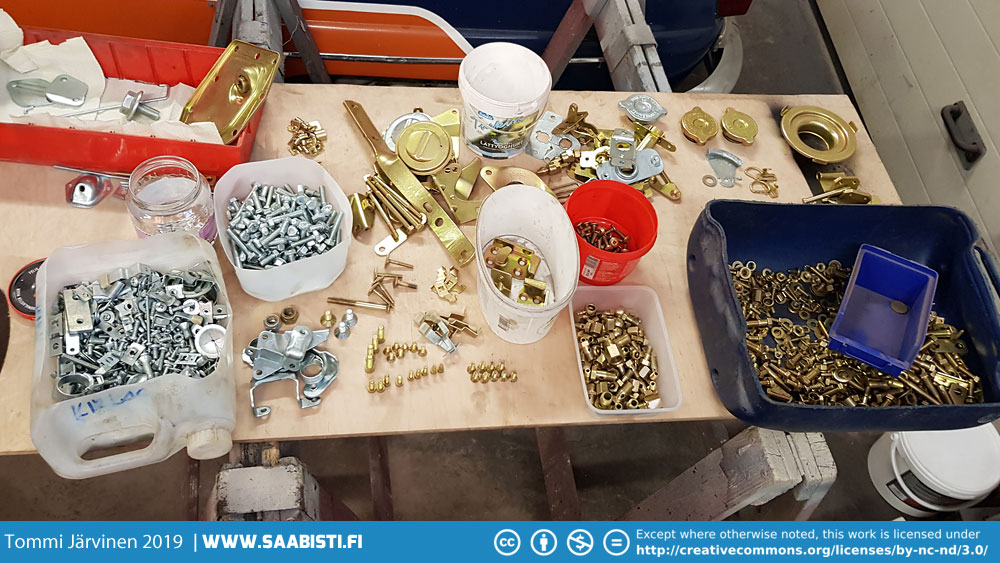
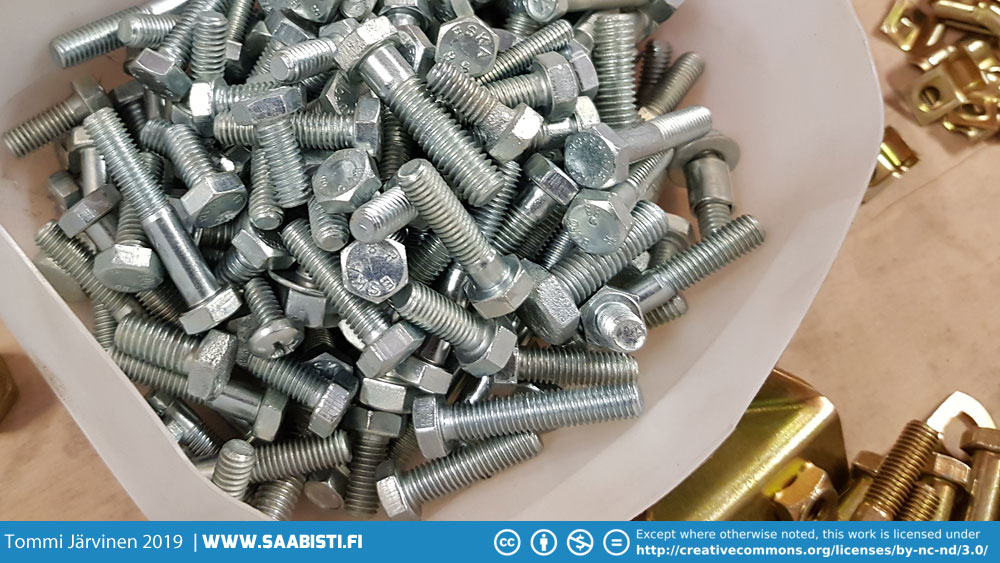
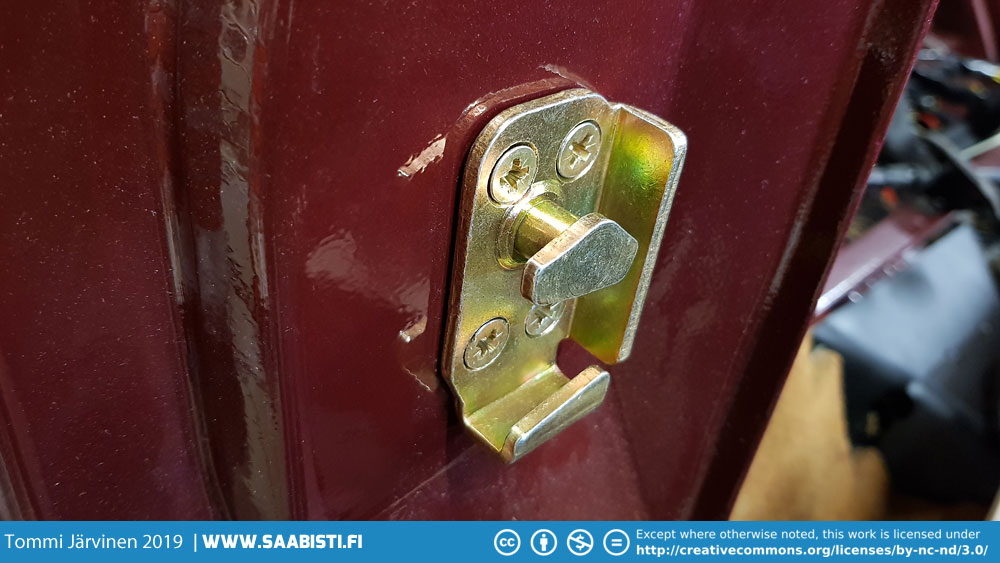
Most of the bolts in the 99 Turbo engine bay are yellow passivated but there also regular zinc coated ones.
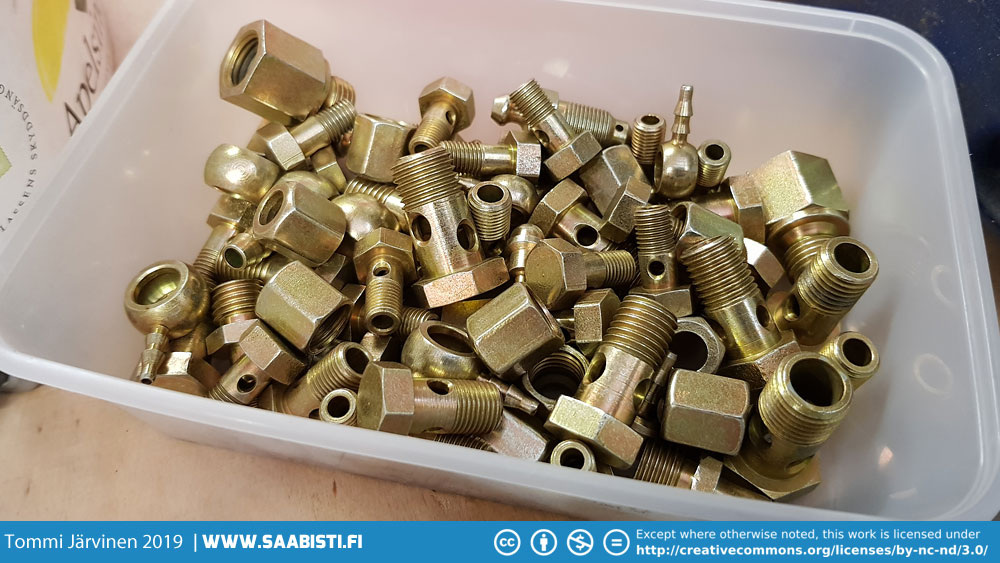
I also took apart all my spare K-Jetronic fuel systems to get a bunch of banjo bolts and other bits coated. I should have more than enough for one car now…
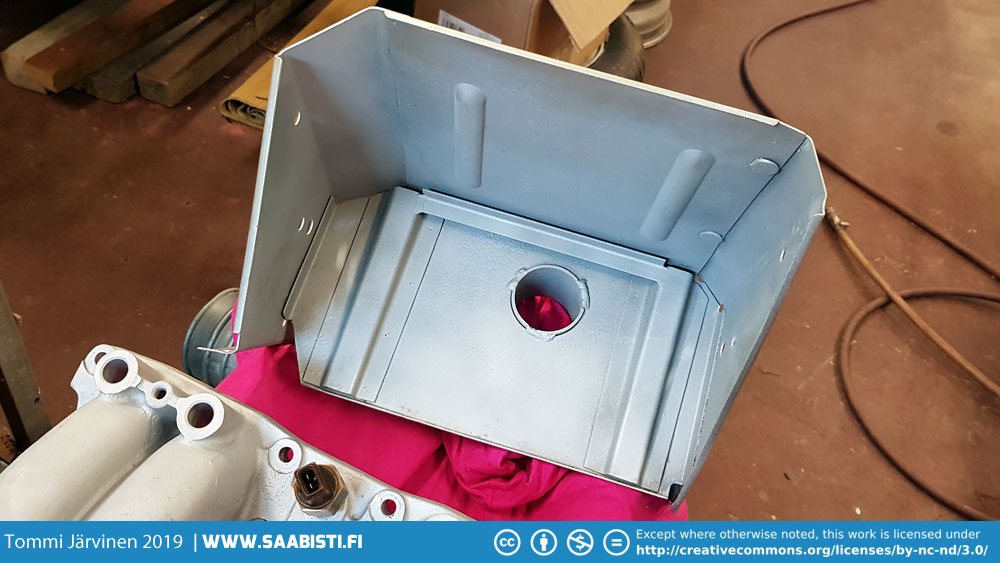
Some of the bigger pieces back from the coaters. The guy did nice work I think given that these are old parts and have all sorts of scratches and pitting.

I’m really happy with the battery box also. Although I proceeded to spray an extra layer of heat resistant zinc paint on the inside because it had some serious pitting at the bottom.
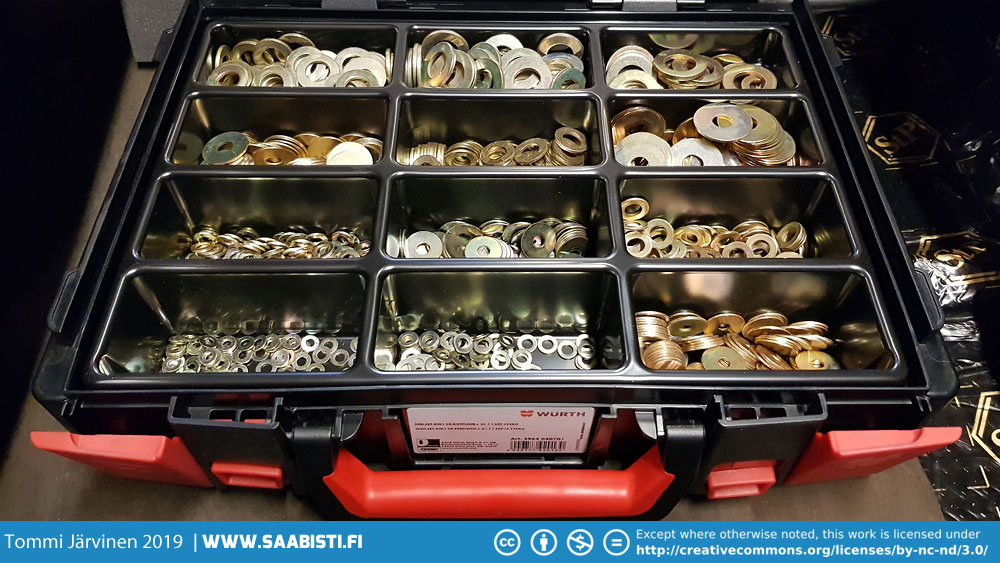
And just to make sure I don’t run out of washers I bought a selection of new yellow passivated ones.
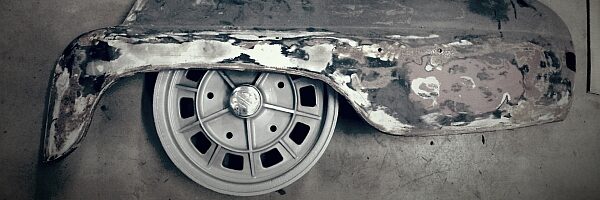
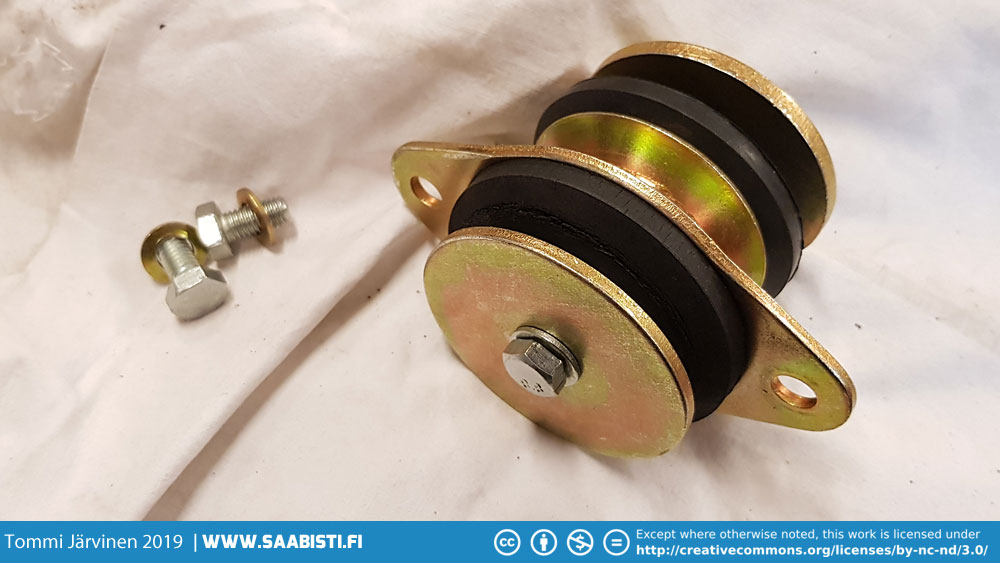
Of course I couldn’t help but test fit a few parts… 😀

Wow, this is a great “finishing touch” and will really make the finished restoration look super-great! I see that you included some parts that were originally hot zinc galvanized (for example, the brackets that hold the coolant expansion tank). Are you happy with how those came out? I think it is also possible to re-apply the hot zinc plating. Finally, did you have the battery box plated and then paint it afterwards? Very nice work, I am learning a lot from your blog and one day I hope to see your car!
The parts we cold zinc plated. Battery box was also plated, I just added some aluminium paint to the inside which had more pitting.