FRAME REPAIR
The corrosion repairs to the front are now almost complete. The extensive welding caused the frame to warp somewhat, so we had to do some spreading and cutting and re-welding to get it right. I’m sorry I don’t have photos of the process, I didn’t have the foresight of taking a camera with me:

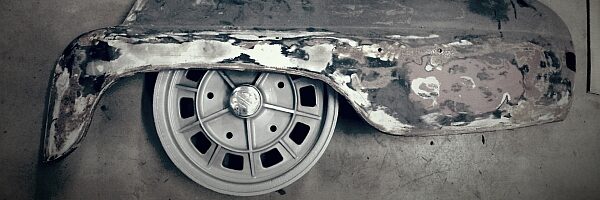
The first problem was that the front of the frame was some 3 centimeters too narrow (measuring point indicated by the yellow line in the above picture) on the upper part. We used a hydraulic spreader to push the sides further apart, which caused more tension in the upper and front parts of the inner wheel housings.


These two shots are from the driver’s side which was in better shape and didn’t suffer major warping.
The right hand side was much much worse. We had to use some rather invasive methods to fix it:

To get rid of the tension which caused the warping, we made several deep cuts in to the inner wheel housing. Each section was then pushed to the correct positions using the bonnet as a template.

Here’s the area re-welded.

And another shot from the inside. The fenderline now looks quite natural, allthough there is some cleaning and smoothing to be done.


The fenders now fit nicely.


Also the bonnet fits without a hitch.


OTHER ISSUES
The car has been in a collision (or two) at some time of it’s history. Some of the repairs made back then were poor and the rest even poorer, so we pretty much had to do it all again.
The major issue was that the car had been driven on it’s roof. (Propably in a ditch at wintertime). Because of this, the door on the drivers side didn’t fit properly in the frame. Again, we used the hydraulic spreader to push the roof side of the frame up some 5 mm to get a good clearance.

The damage to the roof is partly in places, where it is almost impossible to smoothen without taking the whole roof off. That’s too big an operation, so we’ll make do with fixing what we can and using filler to do the rest.
I expect that after we have finished, the previous damage will be invisible.