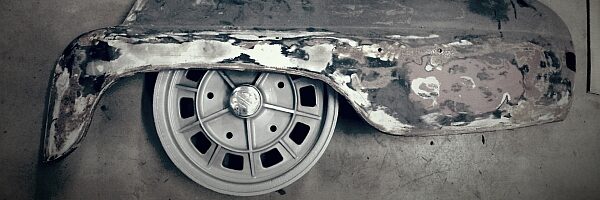
The corrosion issues on this car are everywhere. Both of the doors were basically not salvageable. Just rotten. I did get a few spare doors that looked pretty good. Unfortunately they were not that good after the paint was stripped…
The passenger side door didn’t need that much work but the driver side door was pretty rusty. The door skin needed to be replaced and the frame needed some welding.
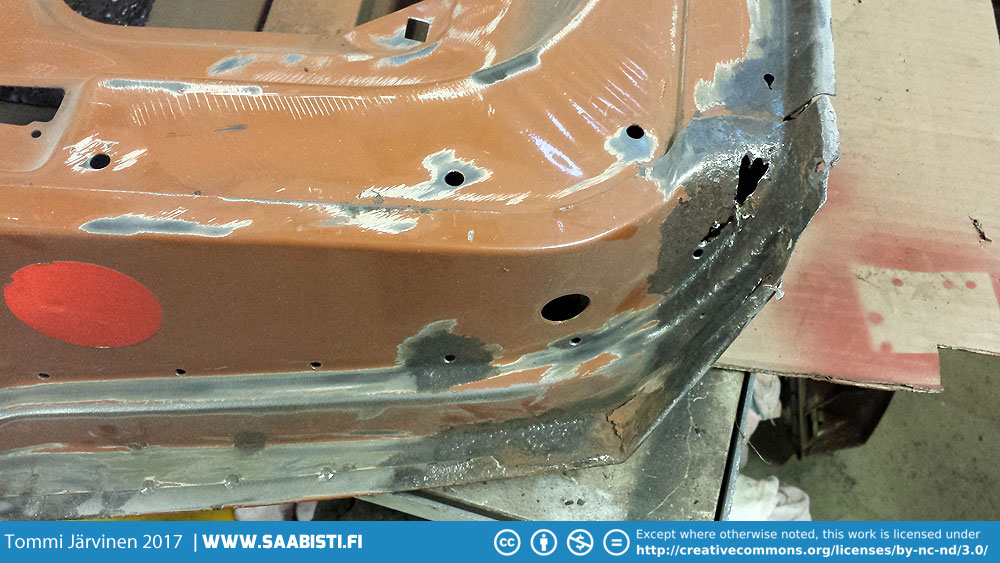
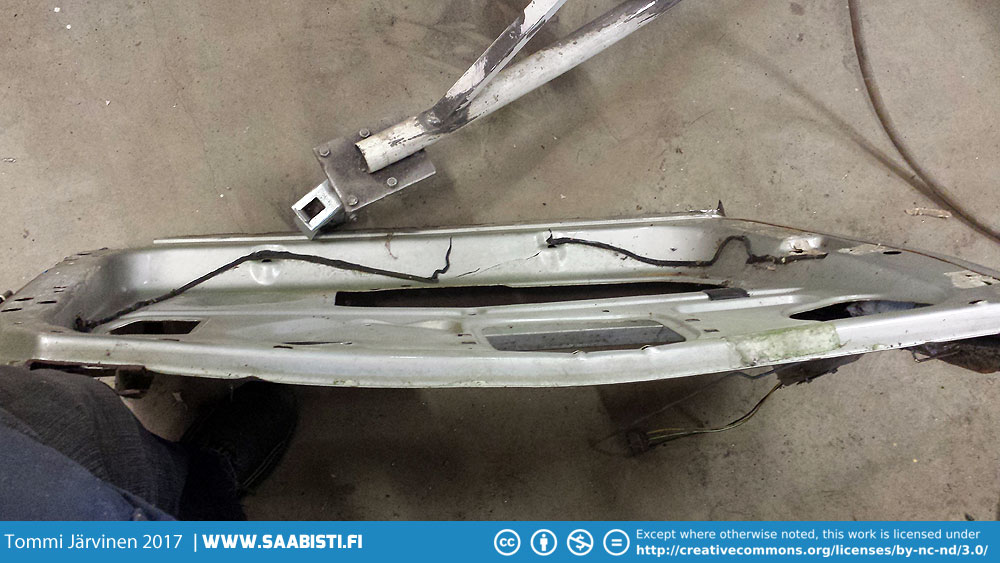
Above – The lower edge of the driver side door needed to be replaced.
After some welding the frame is now in good condition and ready for a new skin. It’s nice to see that already in the mid seventies Saab 99 had some side impact protection.
I couldn’t find a perfect Saab 99 door so we ended up getting a completely rust free Saab 900 door. The problem? It was collision damaged. Above you can see how much the door skin has stretched and bowed out.
Here’s the frame from the same door. It’s a full two centimeters shorter than undamaged. I could have spend more time trying to find a good door but decided to try and fix the skin. If anything I would get some good practice and if it was a failure nothing but a little time would be lost.
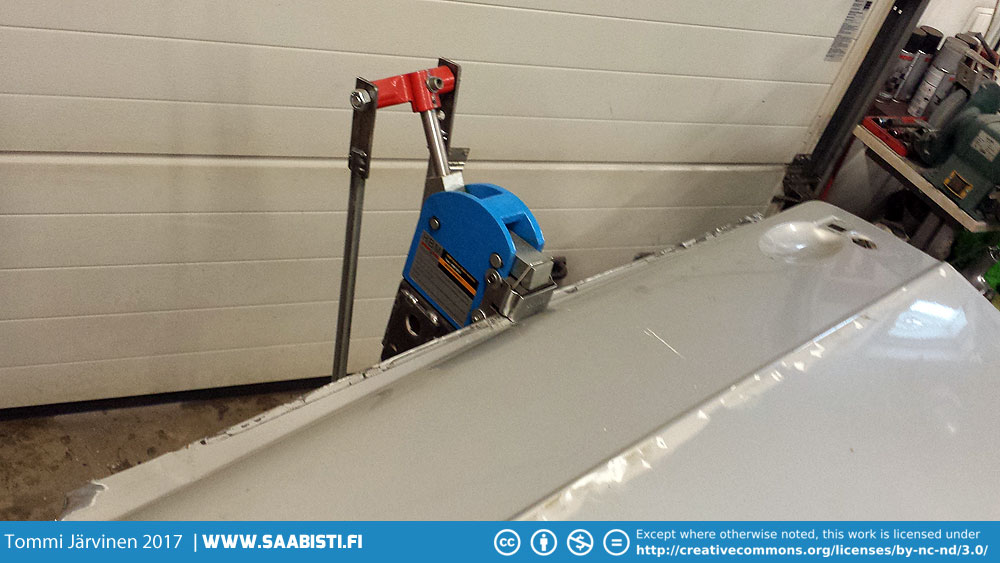
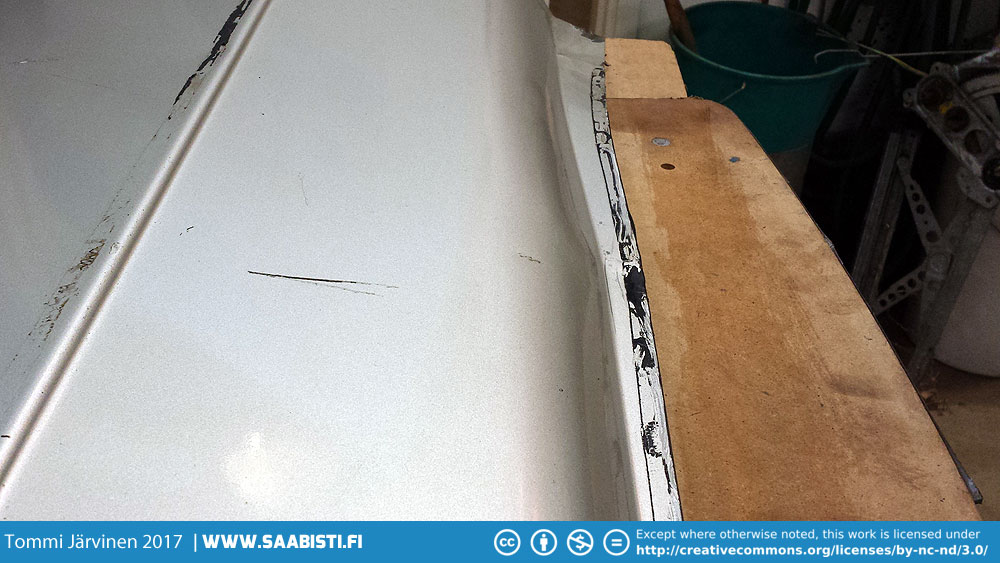
The skin was not stretched below the beauty line in the middle of the door but had some serious bow out above it. I decided to first try and shrink the window edge to see what that did.
Shrinking the edge did help but there was still a big bulge in the middle of the door. It was obvious it need quite a lot of shrinking also.
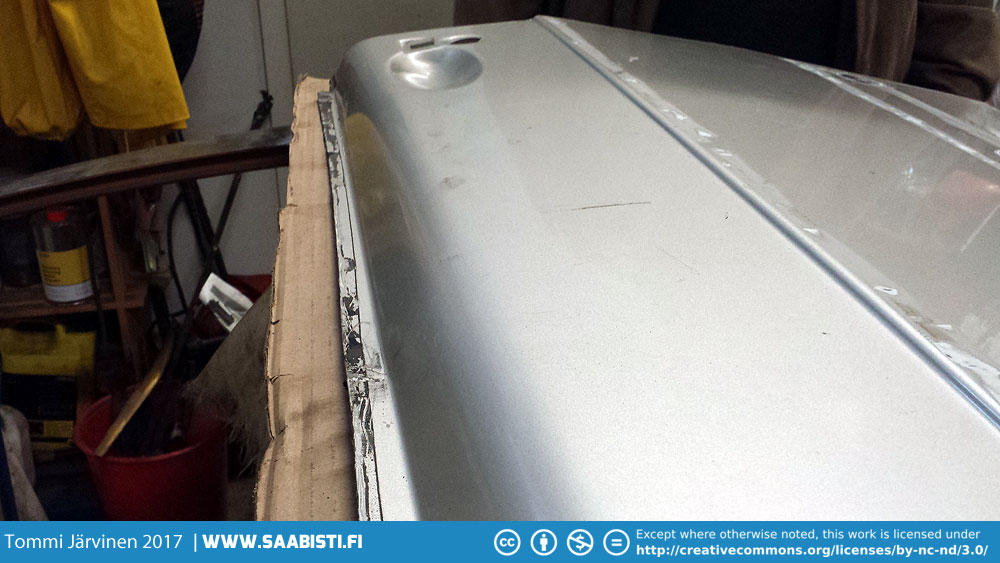
After the paint was removed I went on to heat shrink the skin quite a bit. It was securely attached to the frame through the process. I think I managed that bit quite well. I used a long steel ruler to check out the shape and compare it to the undamaged door.

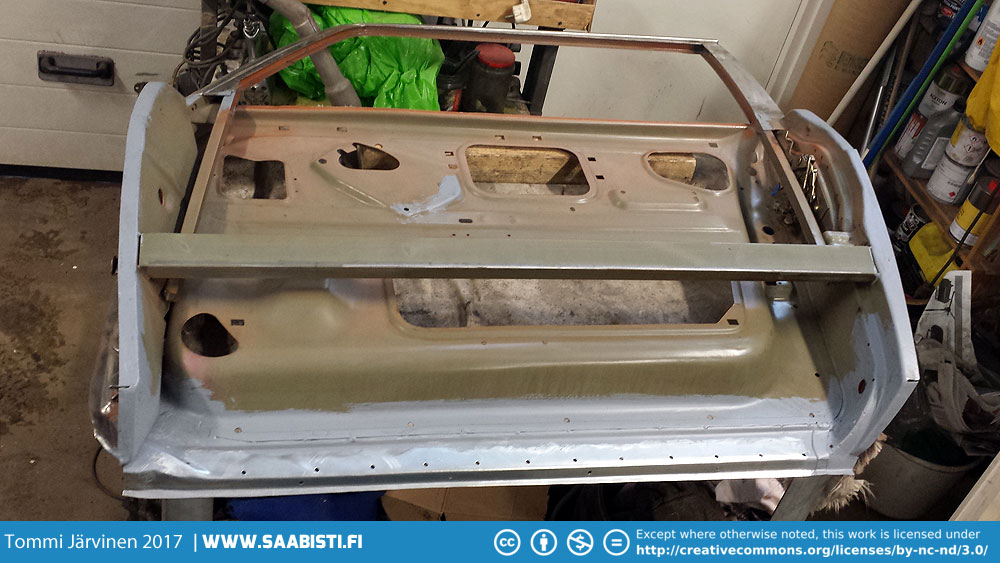
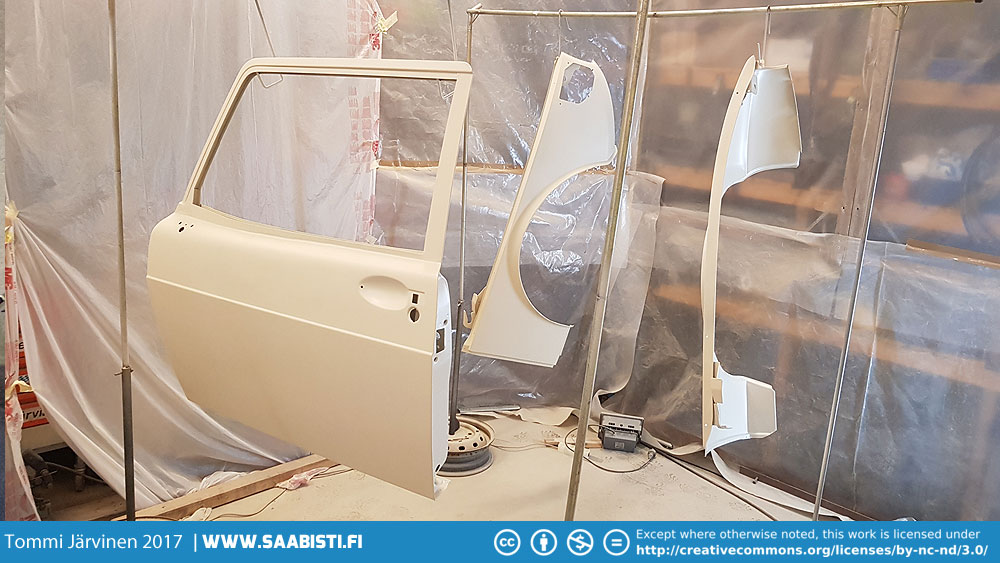
Door repair moving forward. Time to fit the door skin to the frame.
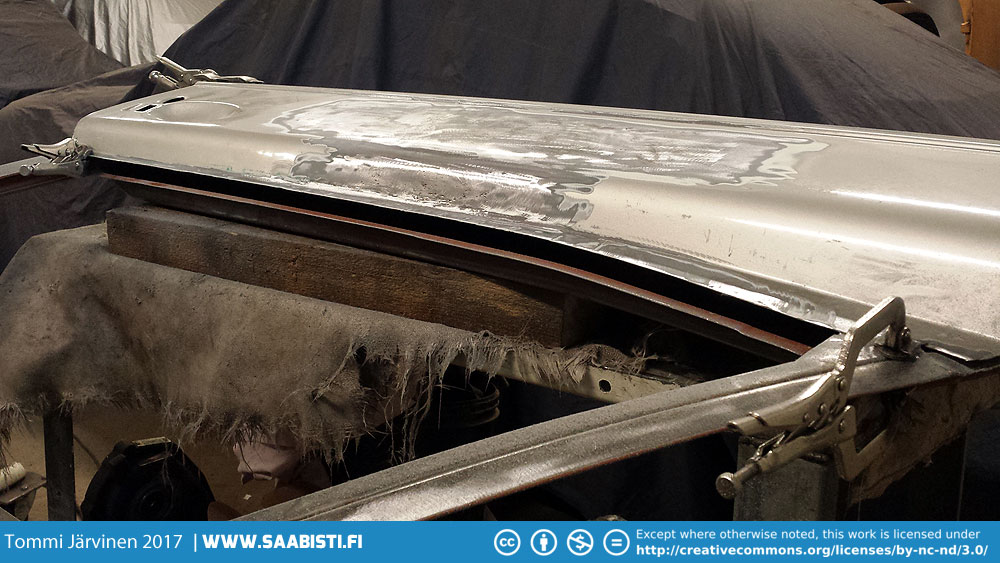
After some primer. The section above the beauty line came out very nice. It will only need some minimal body filler. But now that the door is in primer it’s easier to see that the window edge isn’t quite right yet. There’s still a wave on it so I need to work on that some more. But all in all I’m already quite happy with how the door repair is looking at this point.
Oh Tommi if only you were closer i know of several 99s with good doors..
Can you offer some guidance on how you removed the door skin (tool and process)? When putting the skin on did you put any adhesive between the skin and the frame before folding the metal edges or did you simply use seam-sealer after folding the metal edges of the frame?
I have minimal rust inside my 900 doors and would like to refinish the interior of the door, I thought if the skin can be removed without damaging the outside paint it would be best but I don’t know if that is possible without damaging the paint and needing to refinish the whole door. Do you have any advice for this situation?