We are finally at the Metal prep & Primer stage with the Turbo. We used a standard 2k Epoxy primer. Basecoat will be water based color and over that some clearcoat. This will be the first time for me spraying metallics or water base color so I’m looking forward to it. Already did some test pieces to see how it works. But first – a few pics on metal prep & primer.
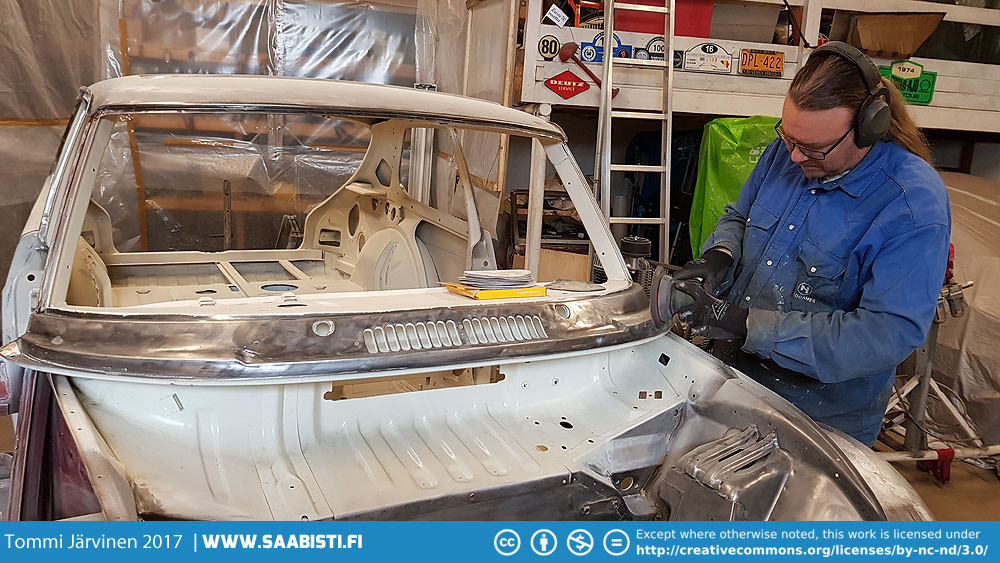
I used an orbital sander to sand through the whole car. A few corrosion spots were cleaned by sand blasting and then putting on some rust converter. And of course there are some spots where machines can’t reach so some hand sanding was required.
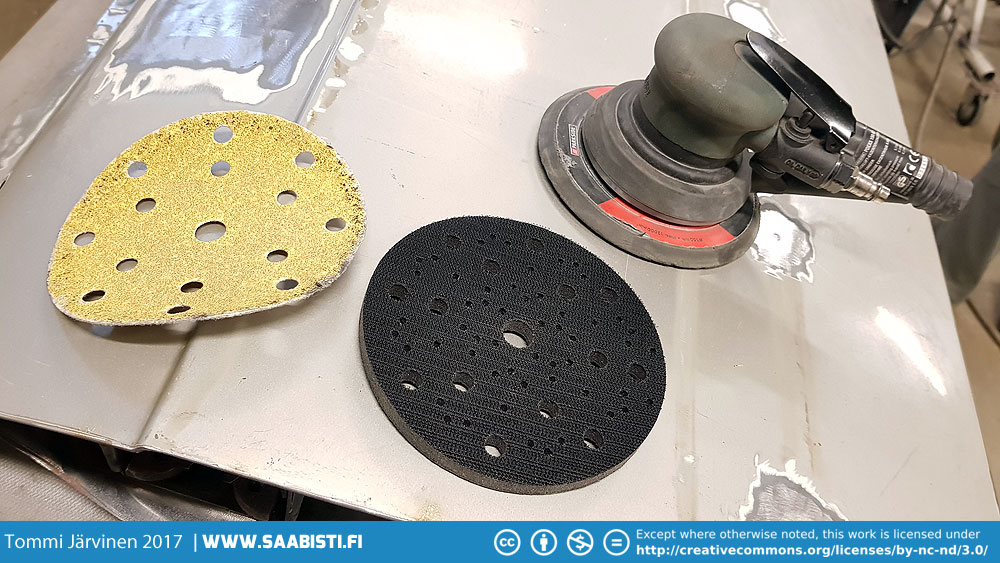
An orbital sander and an interface pad (soft pad) is a great tool for sanding rounded shapes as it conforms to the shape of the surface. These are readily available.
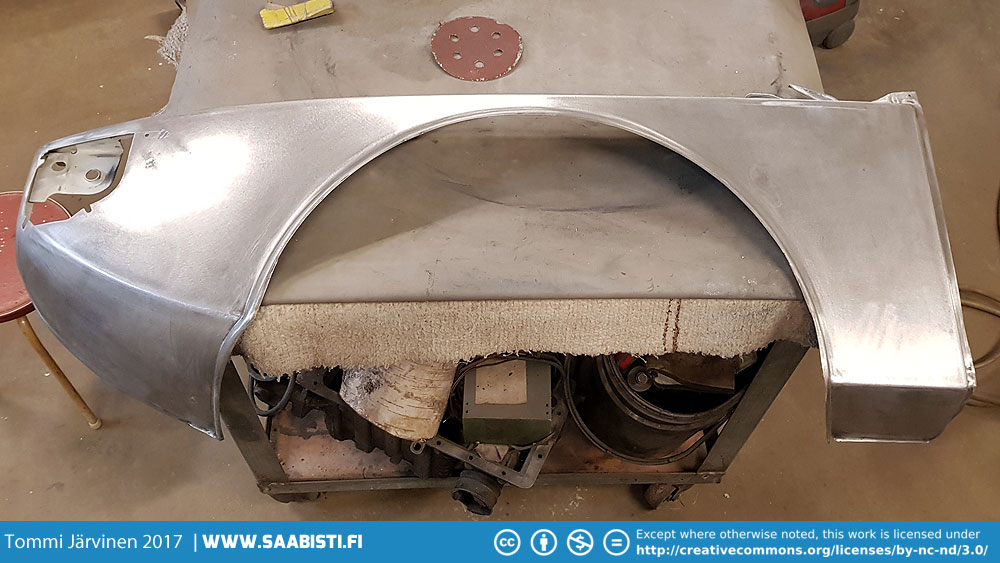
A fender after metal prep. It has been sanded with the orbital sander and some 260 grit paper. After sanding the parts are cleaned with silicon and grease remover and panel wipes (paper cloth meant specifically for paint prep).
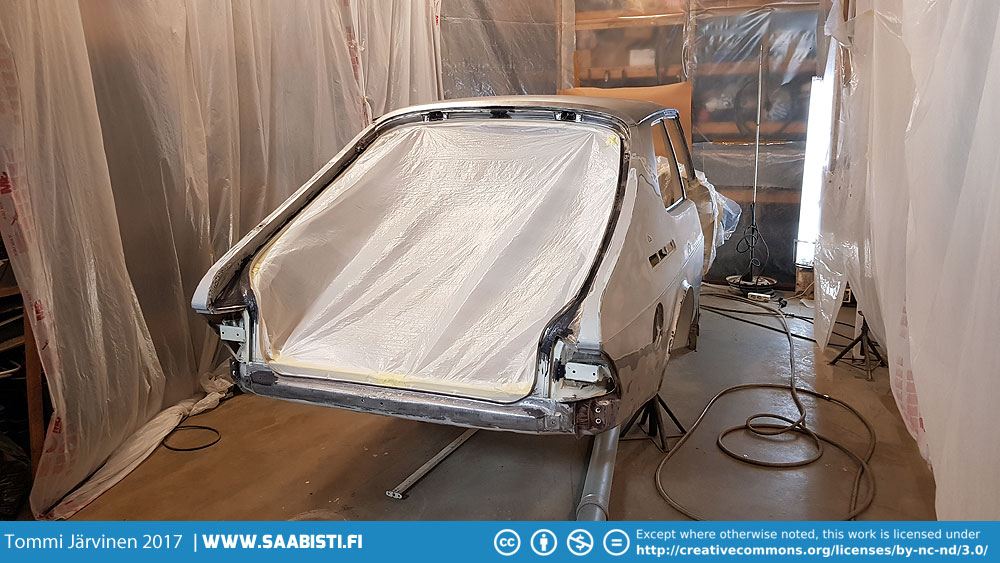
We cornered off an area of the garage with plastic sheets to make a simple paint booth.
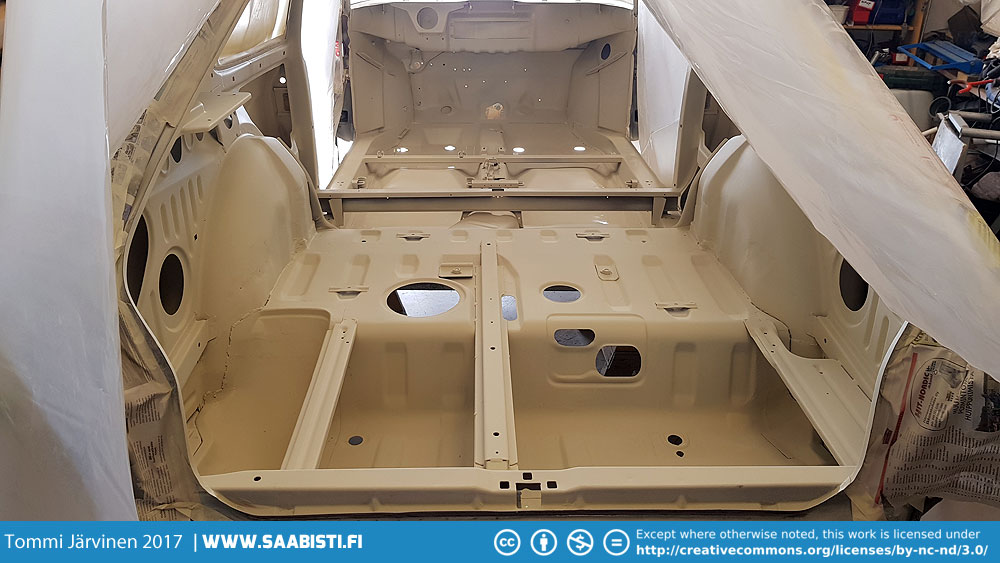
The fall has been extremely wet here in Finland. High air humidity causes bare metal to gather surface rust very quickly. Because of that I decided to do the body in sections – metal prepping and painting a section at a time. I started with the interior.

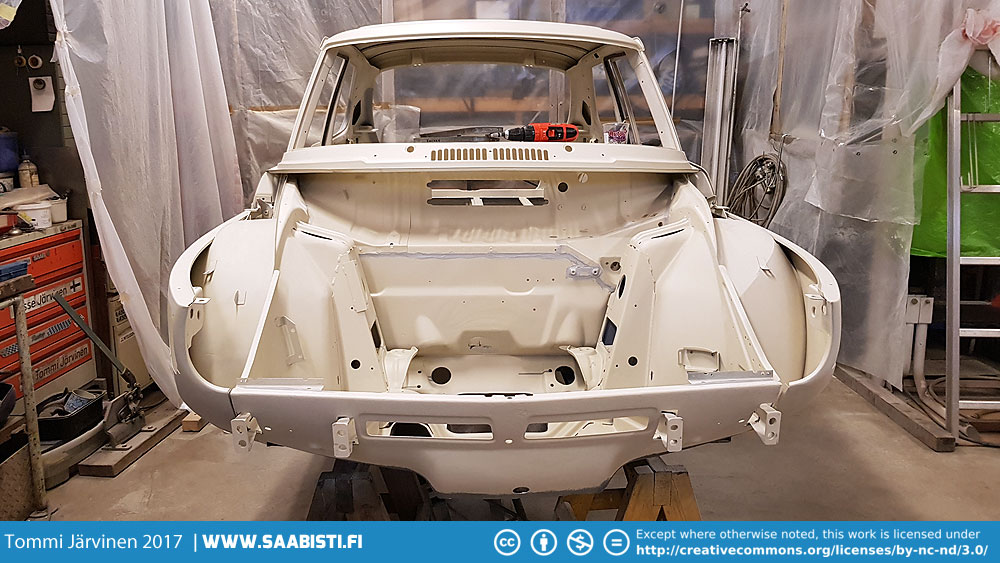
The next area to be painted was the engine room and the inner fenders. Here we have masked of the interior to keep over spray off the already painted areas.
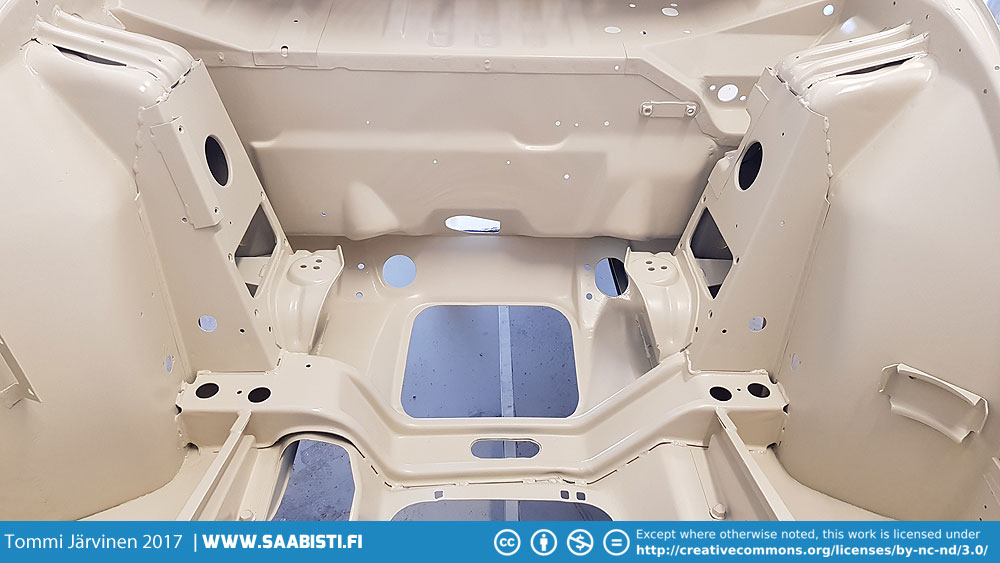
Looking pretty good.
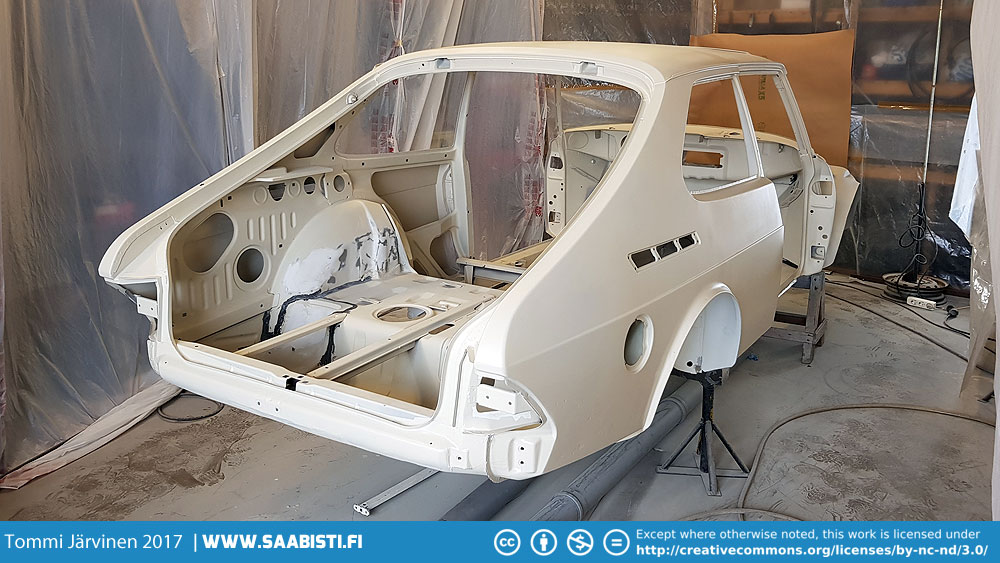
The last areas to be painted were the sides and roof.
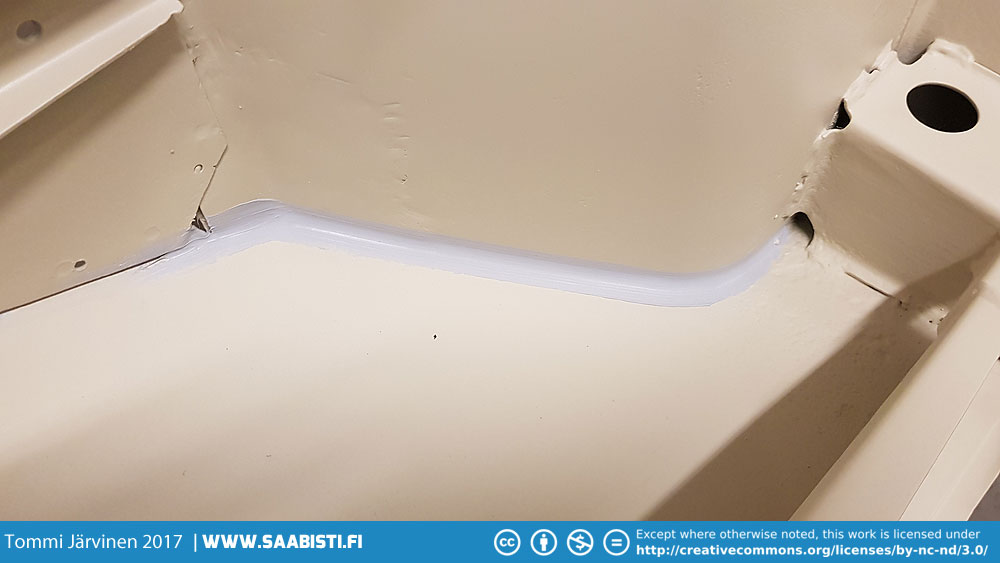
Applying some body sealer. I tried to match the look of the sealer seams to the original.
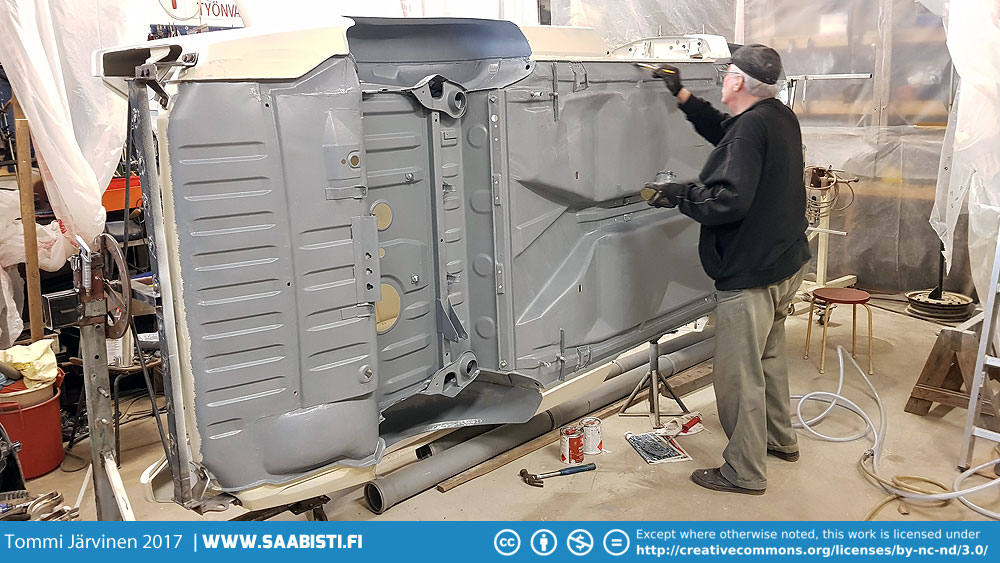
Over the primer on the underside of the car we applied some more paint. This time a 1k paint that stays relatively flexible even when it has dried. After the car has been painted I will spray on some corrosion protection.
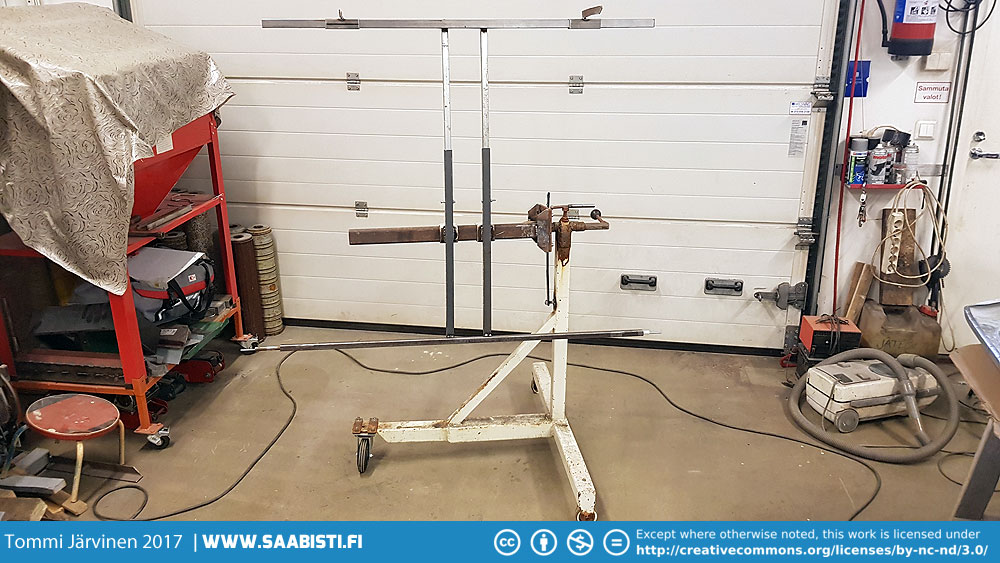
Painting the bonnet felt a little problematic. It’s big piece and if I could I would like to paint both sides in one go. The solution was pretty simple. We made an adjustable paint stand off an old engine stand. It can be used for various other parts also in the future.
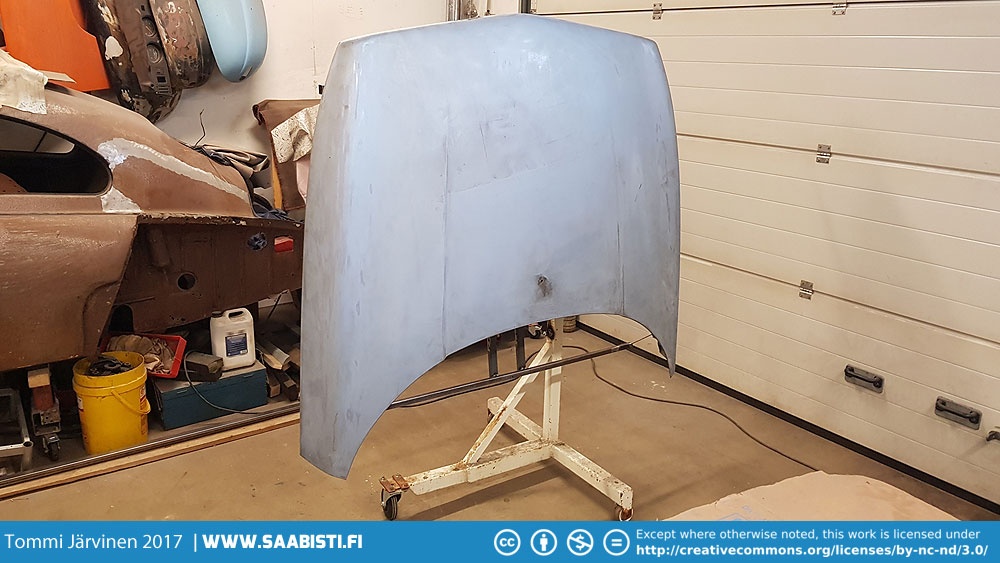
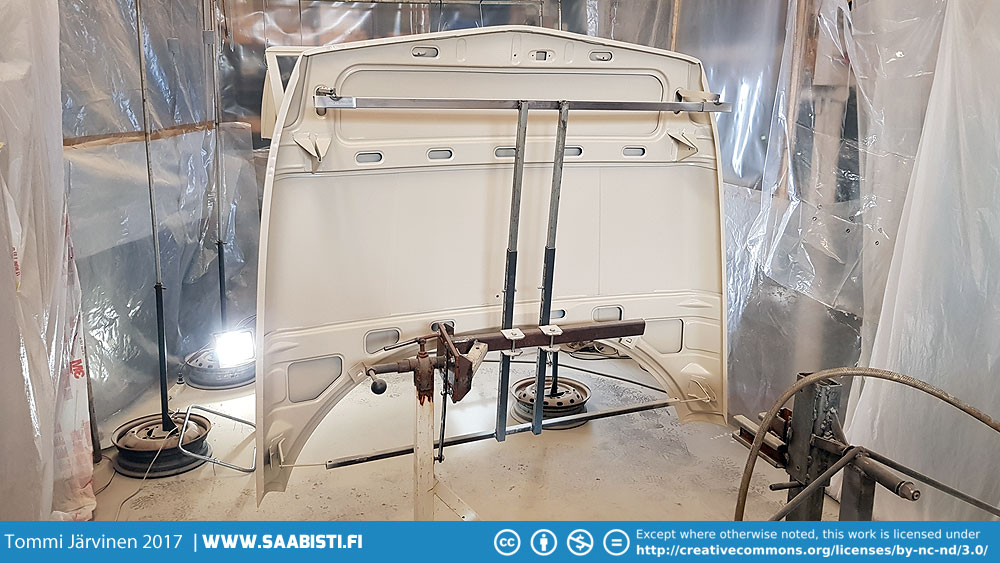
The stand worked very well. Good access for both sides of the bonnet and I could now paint it in one go.
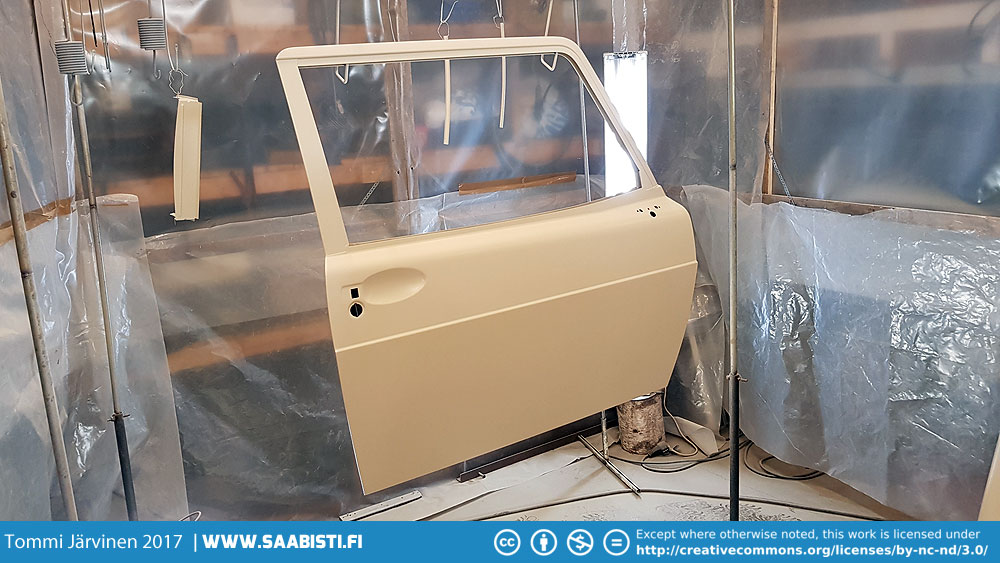
And of course there were the doors also. Passenger side door in primer.
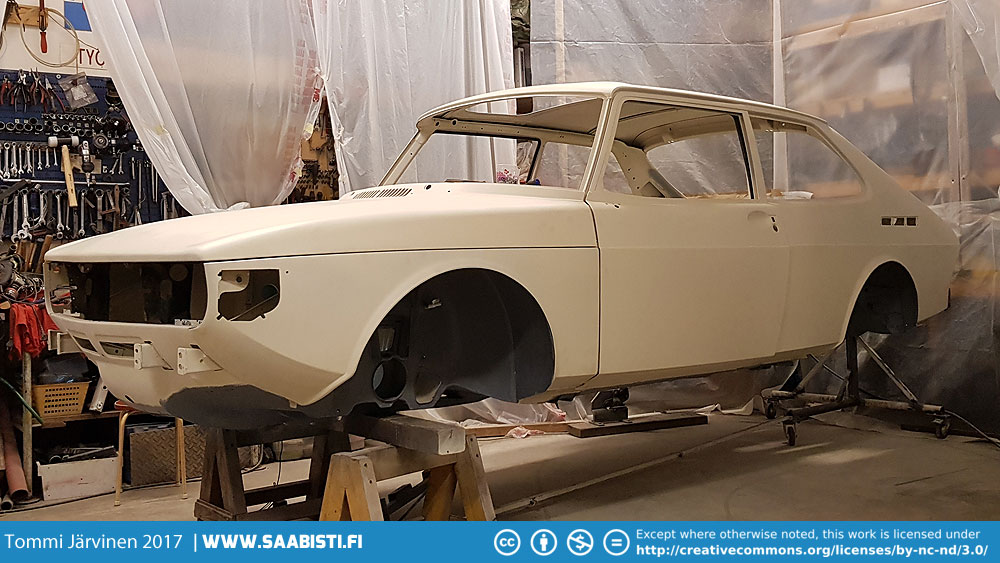
Looking pretty good. The next step before starting body work for paint is to fit all the parts and adjust the panel gaps.
I found one problem already. The side edges of the headlight bezels are different on the front fenders from side to side. The passenger side edge has more curvature than the driver side. This requires fitting the core support and the light fixtures including the bezels to see how well they fit and which one of the fenders has the shape wrong. Or if they both do. Anyway – I expect some grinding and welding…
Great work!
I’m very happy to find your side 😉 i learn a lot from your work and see what i have to do on my 99 Turbo Coupé.
Great work !
Thanks for the comments! Tommi