After doing the practice run with the interior it was time to move on to the engine bay. The 99 engine bay is not an easy thing to paint well. There are all sorts of nooks and crannies that are difficult to reach. Especially the “canyon” between the wheel well and rear of the fender.
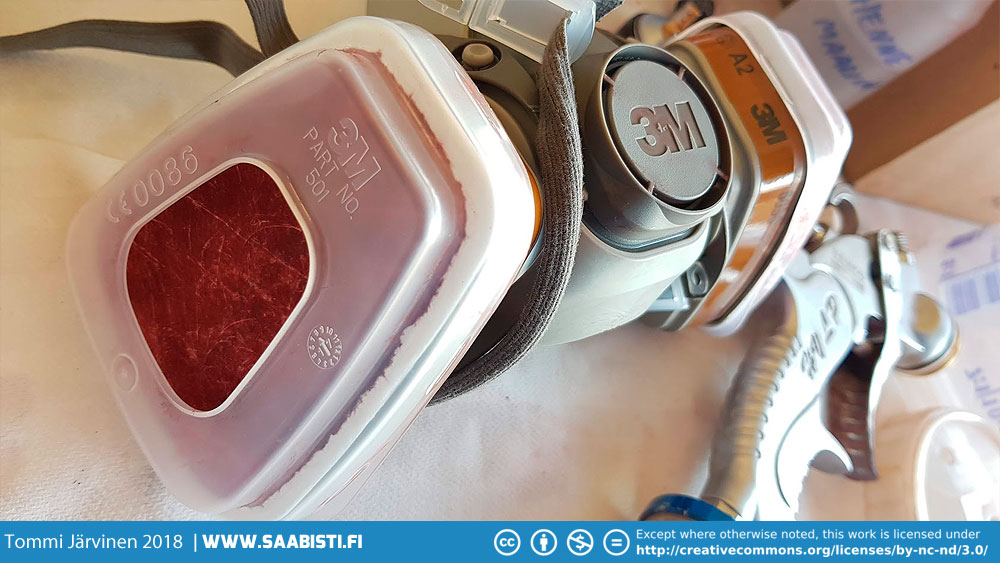
The first order of business was to go over all the surfaces with a scuff pad and then vacuum the engine bay as clean as possible. An air gun helped to blast the more inaccessible spots clean.
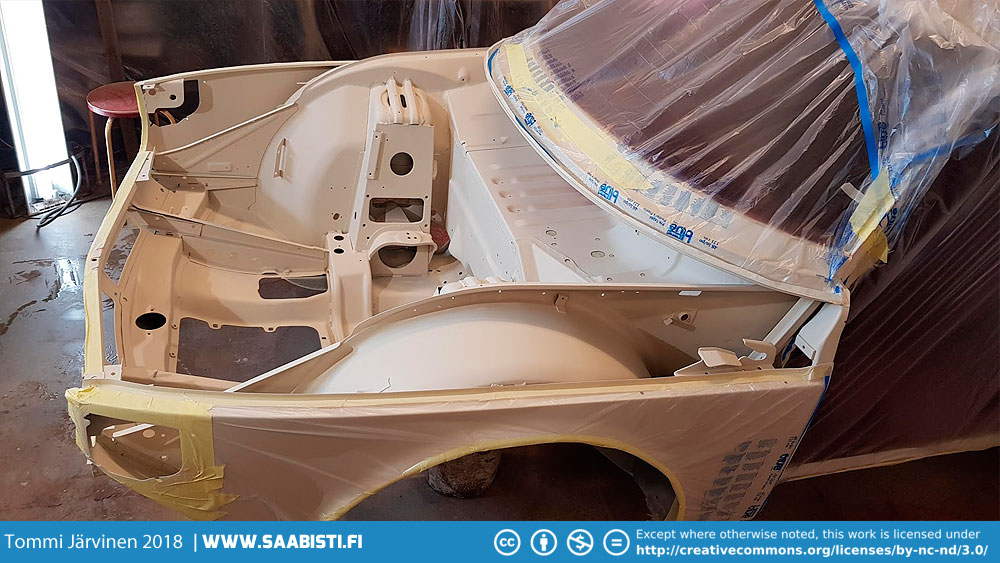
Second step was masking all the parts that I didn’t want any paint on. I covered the whole car so as not to get any clear coat overspray on any other part of the car. Then we proceeded to wipe the engine bay clean with a cleaning solution.
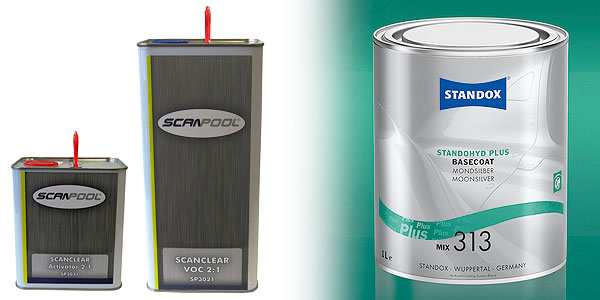
The base coat used was Standox Standohyd and clear coat was Scanpool Scanclear. I really started to like both now that I had a second go at them. Easy to spray and really hard to get paint runs on either. I found out that by reducing the spray gun air pressure even more and going to a 1.2 nozzle gave me the atomisation I wanted. 1.2 didn’t feel to small. It gave me better control laying on the paint. Ramping up the air pressure and opening the fan wide again made laying the clear faster and easier (my gun has a quick pressure adjustment at the bottom of the handle).
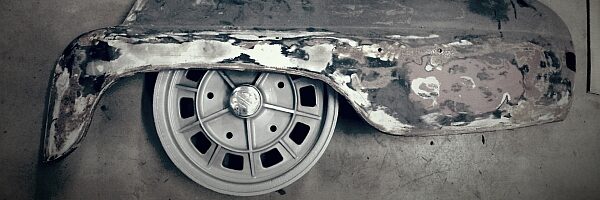
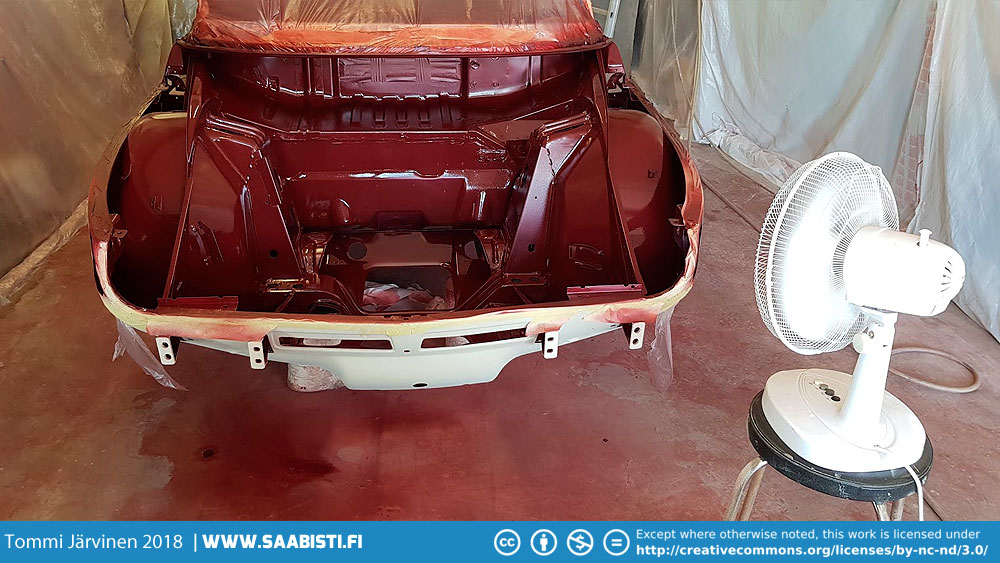
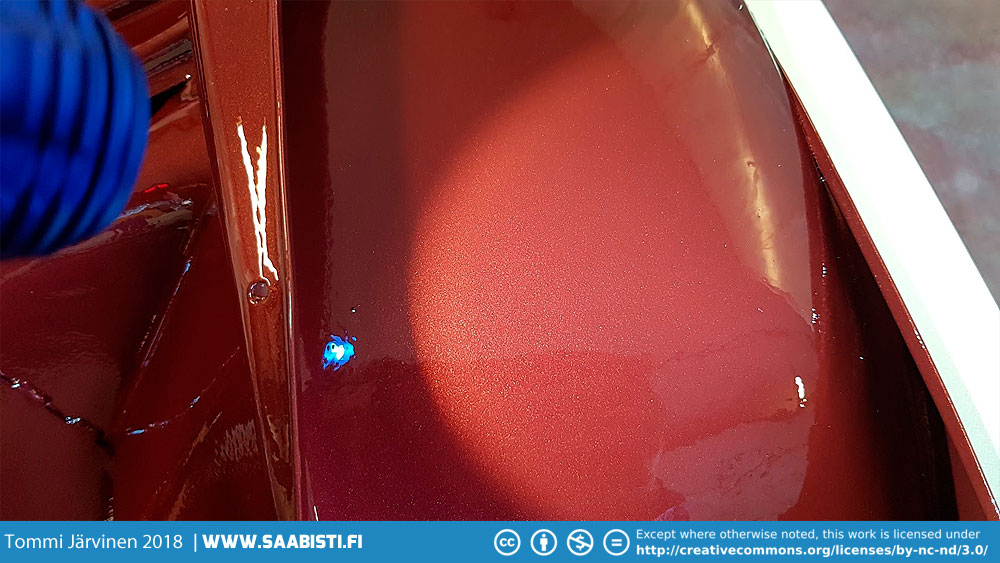
Looks like someone has been painting some Cardinal Red…
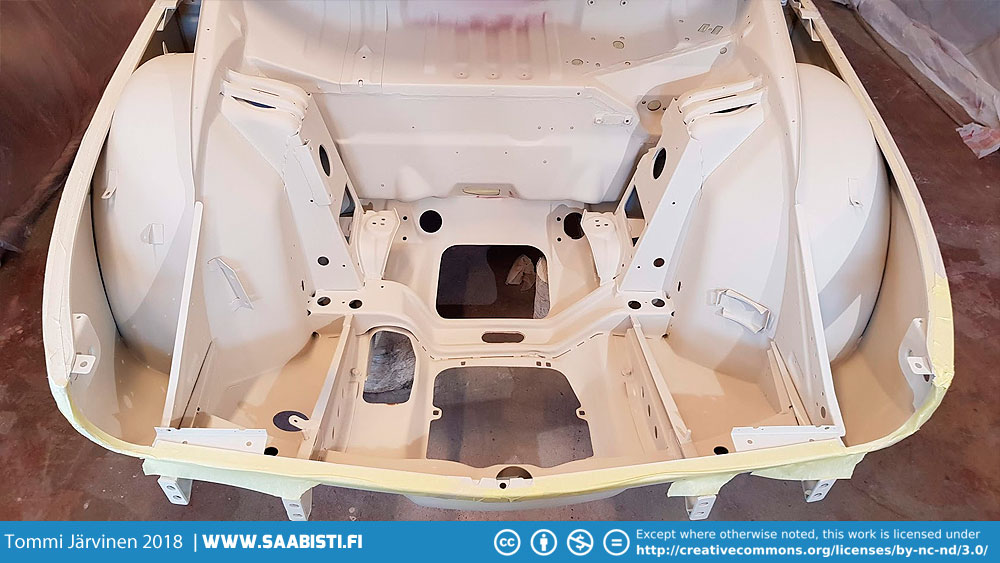
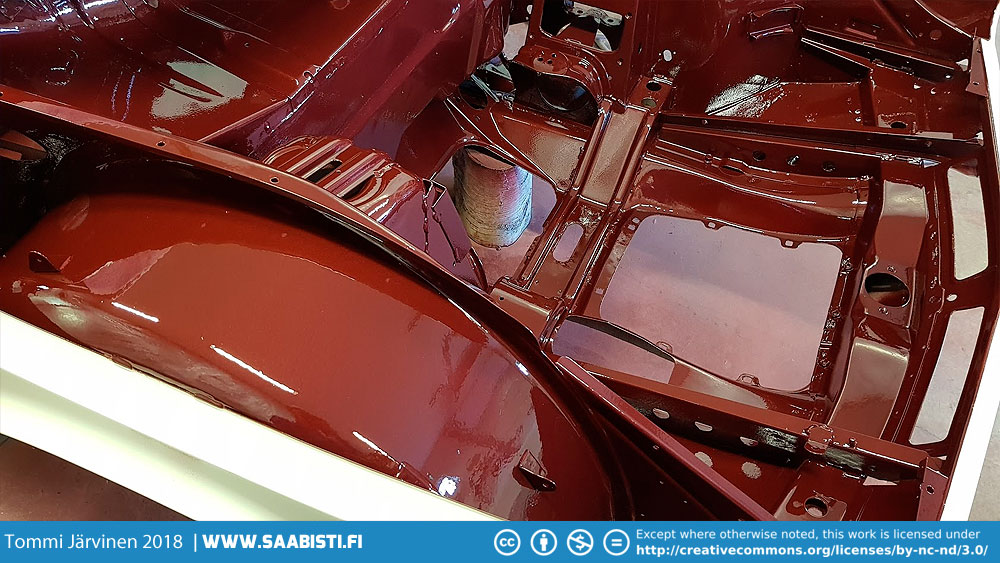
I really took some time planning the painting order. The Saab 99 engine bay is not an easy task to do well – as evidenced by the factory finish… If you get the order wrong and need to go back to the more inaccessible areas after you have wet paint all over the engine bay it is really easy to scrape the paint with you elbow or the spraygun air hose.
Especially behind the spring towers and the “canyons” behind the wheel wells are really hard to paint well. I started in the most inaccessible areas trying to get good coverage on them before moving on to the more visible and easier to access areas. I left the tops of the wheel wells and the front of the bay for last.
Again to speed up the drying process I used the fan. The instruction for the final dry is to wait until the paint is fully dry and the surface is matte. This is the correct time to spray on the clear. In room temperature – around 20 C – the paint shop said it would be 2 to 4 hours.
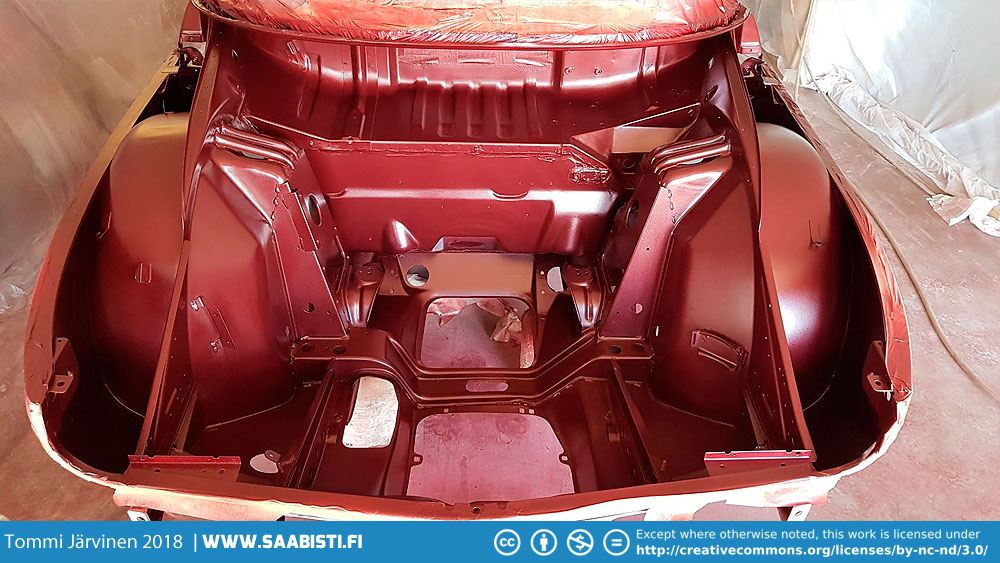
On a metallic paint “matte” doesn’t really apply. It’s more like shiny satin. I think I waited about the 4 hours to be safe.
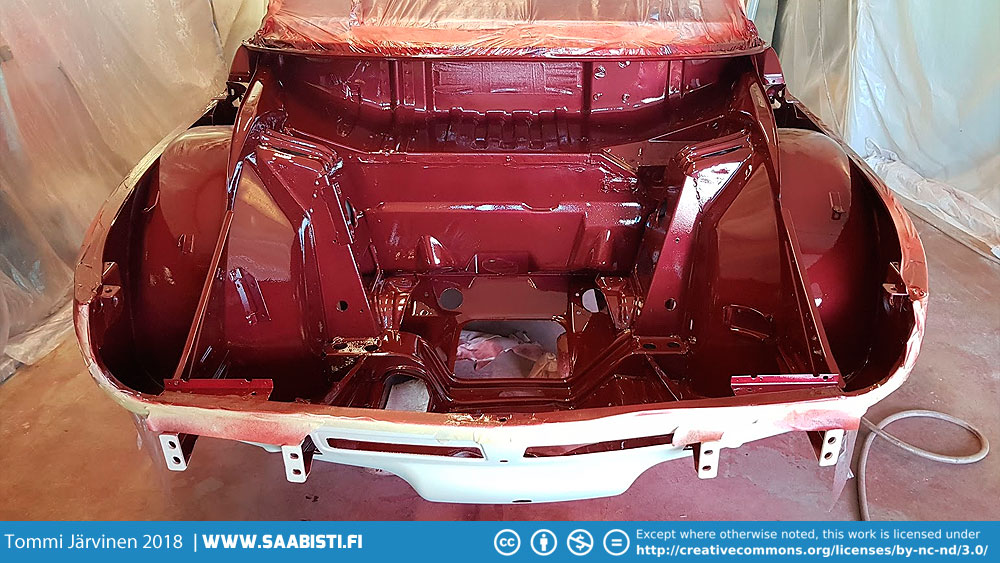
The working order with the clear was pretty much the same as with the base coat.
I think I got in some pretty decent layers of clear and also wet enough for a good finish. There weren’t any obviously dry spots this time so I’m starting to get more optimistic about my chances of getting a decent finish on rest of the car.
The major problem I have with the work area is insufficient light. I need to by some more lights before moving on. You just can’t get a good finish if you don’t see anything. I did get around the problem a little by buying an LED headlamp to use while painting.
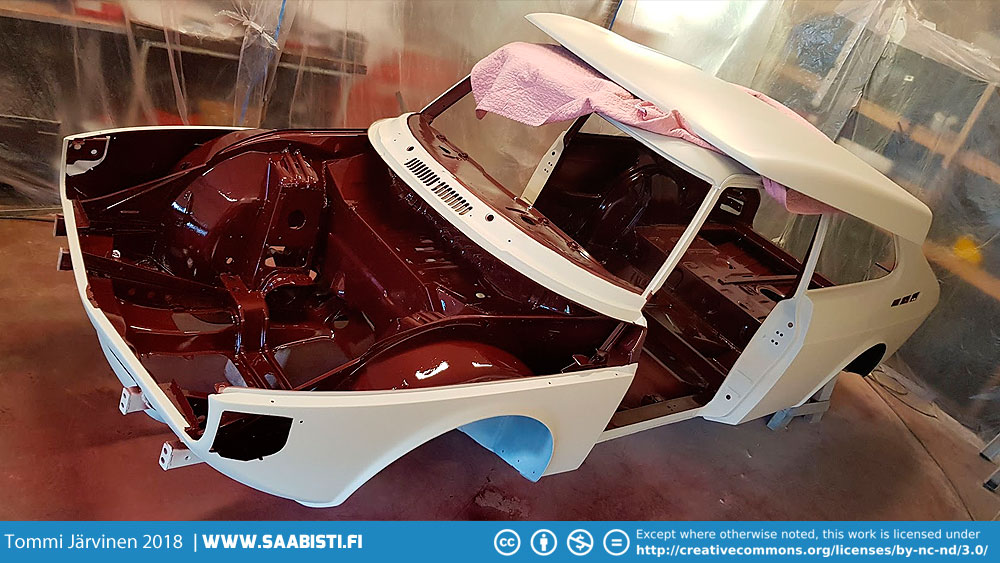
There you go – one step closer to the finished product.