It looks like there is hope for my goal of getting the car painted this summer 😀
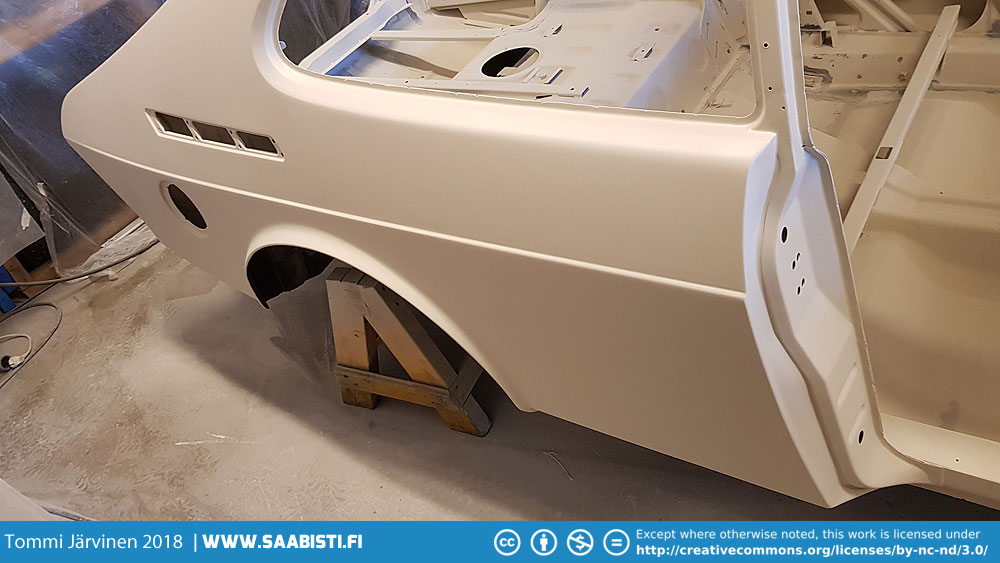
The prep work is finally done so I can move on to laying some Cardinal Red on the Turbo. Unfortunately the recipe for the Cardinal Red was not available anymore in the paint shops I asked so I needed to have it mixed based on a sample I provided. The result is pretty good.
The major thing for me is that so far I have only painted with solvent based paints. Because of the environmental and work safety regulations most shops have water based paints these days. The water based paints are also designed for HVLP spray guns. HVLP standing for High Velocity Low Pressure meaning that the gun will use lower air pressure than older guns. So it is a little different to use the modern stuff. Nothing too difficult though.
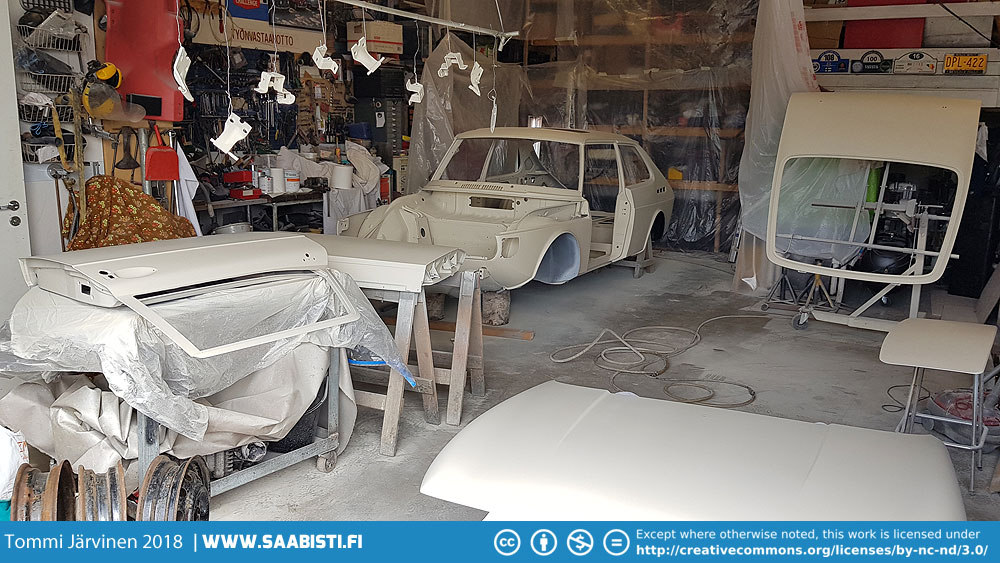
The major thing after getting all the parts ready was to clean up the garage. After cleaning up we covered the walls with plastic sheet and cornered off a paint area. Of course in an environment like this you just can’t get everything as dust free as in a professional paint booth. You just need to accept that there will be some dust particles and what not getting into the paint.
My philosophy on restoration is “do it yourself”. A professional paint shop would of course do an excellent job but I want to learn and do as much as possible myself. Even when it means making mistakes 😀
So – After inspecting all the panels I’m happy they are as good as I can get at this time.
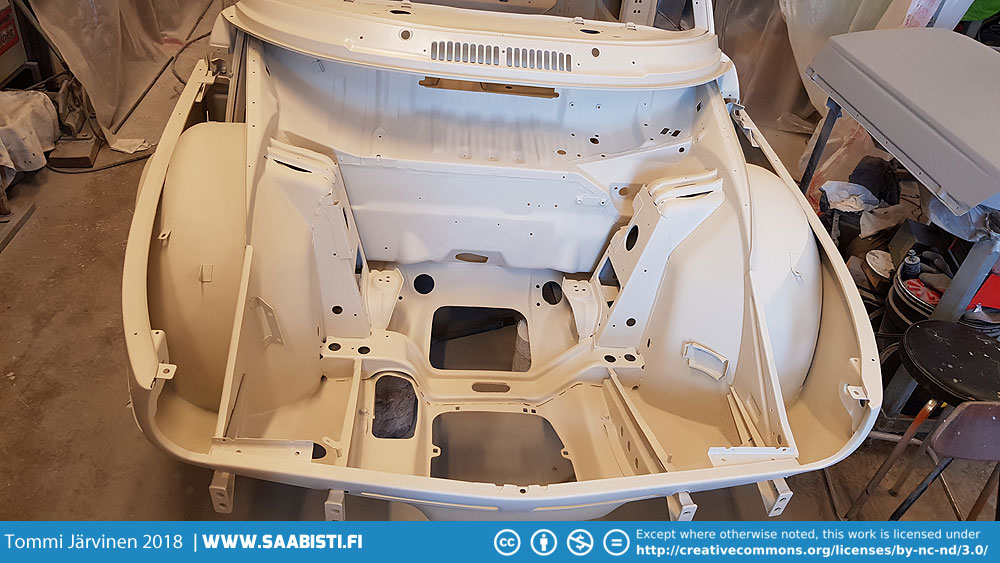
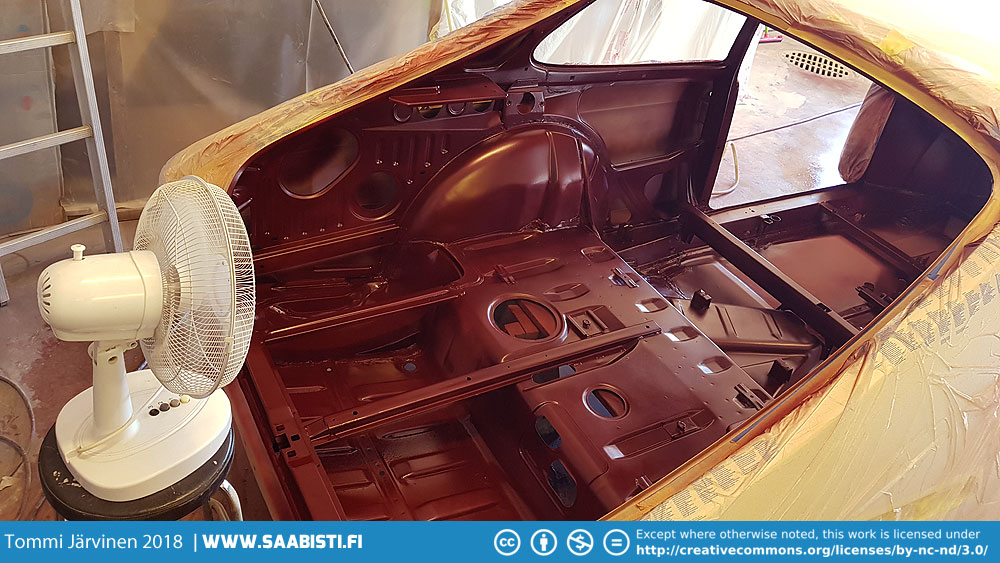
I decided to do the paint job in sections to get accustomed to the new materials and also to build some confidence. The first section to paint was the interior. It’s pretty much all covered by upholstery anyway so any issues caused by me getting used to the new materials will stay hidden…
The next area will be the engine bay. The outer door skins, bonnet, hatch and the outer body shell will be the last.
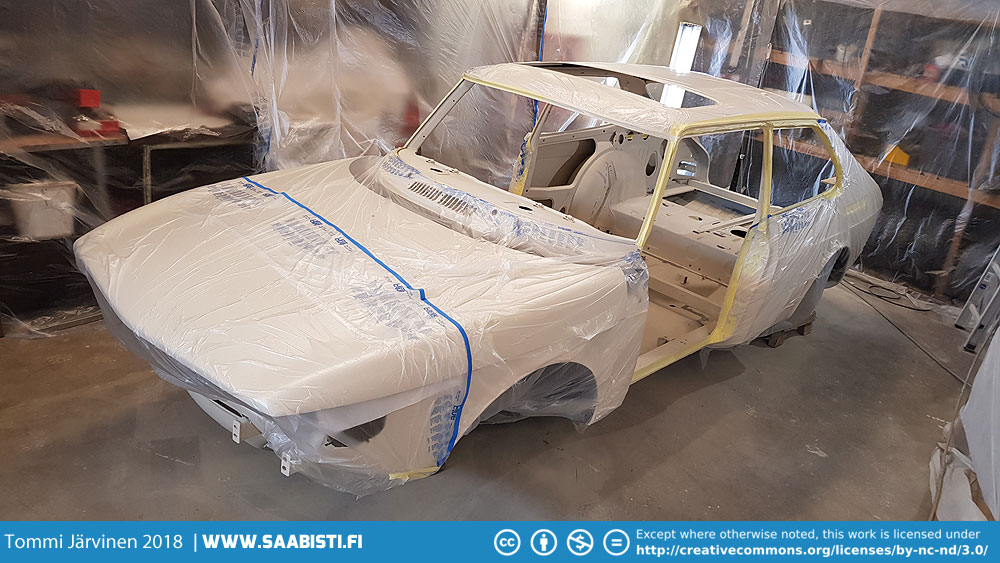
We proceeded to mask off all the areas that I don’t want any paint on. It saves a lot of work removing the over spray later and the plastic sheet wrapping is cheap.
Base Coat
As I said the biggest difference is that the Cardinal Red base coat is water based. This means there is no hardener mixed into it. You can reduce (thin down) the paint by mixing in some demineralized water. Also it dries by evaporation and because of that takes a long time to get ready for the clear coat. In a room temperature around 20 C it can be several hours. And there is no rushing it. It has to be dry before applying the clear coat or you run the risk of the clear peeling of later.
I found that the water based paint isn’t that bad to spray. It is different and lays down different from solvent based. Also the adjustments of the spray gun were pretty finicky but that might just be my gun (and being an amateur). It is an HVLP gun but only semi-professional (more expensive than the cheap guns but still a lot cheaper than professional guns).
I used 1.3. nozzle and reduced the paint by 10% as recommended. It felt a lot thicker than solvent based paints I’m used to and as such I had some difficulty getting it to atomize correctly. But as I said – it could be the gun or I just didn’t find the best settings yet. Anyway because of the thickness it’s very easy to avoid runs and I managed to get a pretty good result just by laying it on heavy.
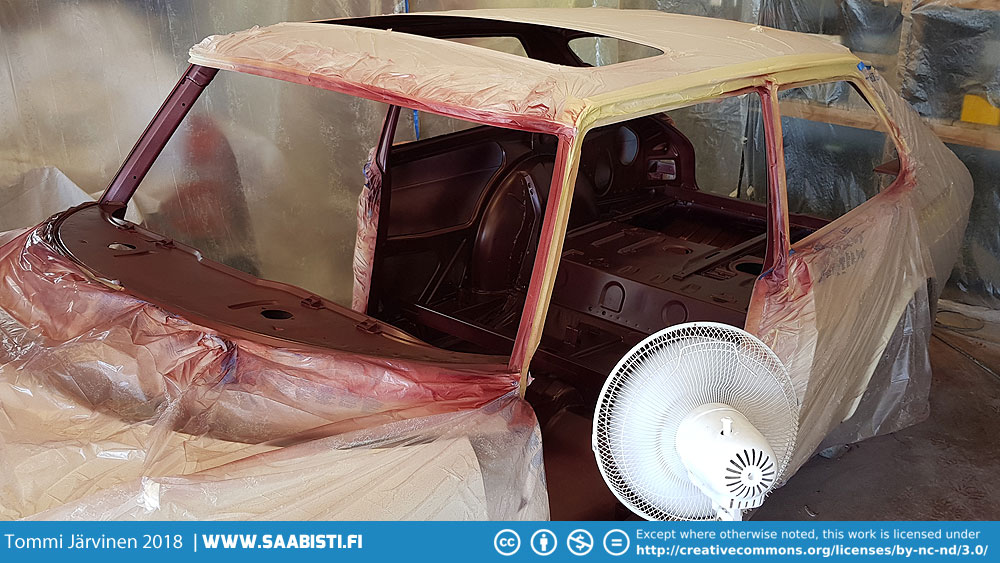
Fortunately it was a warm, sunny day so the paint dried pretty quickly. I kept the air moving by using a fan.
Clear Coat
Using clear coat is another new for me. The base coat in itself is not durable and is easily washed away by solvents. As such it needs a protective clear coat. Clear coat can also be somewhat challenging for a novice. I found that it’s actually relatively easy to lay down as long as you have the courage to really blast it on. If you are too timid you will get dry spots and sub-optimal surface.
The clear coat I used is a two part mix of clear and hardener. No reducer. It was pretty thick stuff and I used a 1.3 nozzle as recommended. After I realized I was laying it on too dry and thin I opened pretty much all stops on the gun and set the flow as high as possible. I laid it on as fast and wet as I possibly dared. Because of the thickness I realized there really is no big risk of runs.
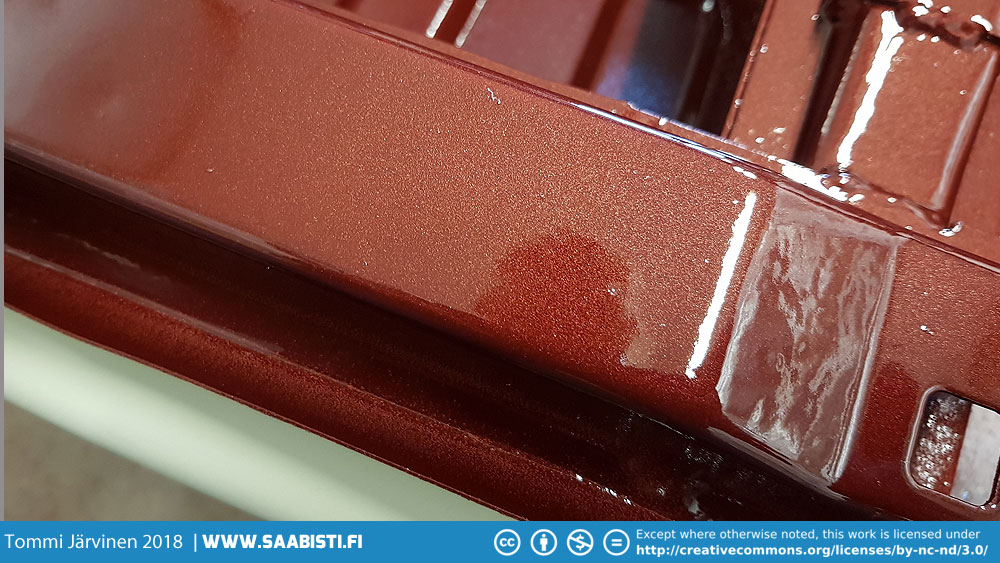
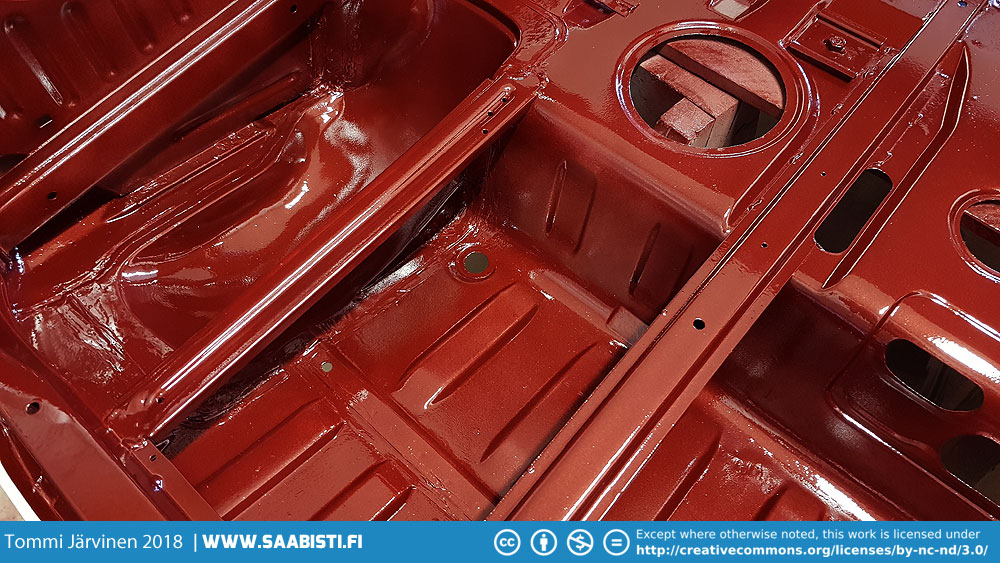
I think the results were relatively good for a first try. Because of the environment there were all sorts of dust particles in the clear. Most of the surface came out just fine though and the metal flake in the base shows up nice.
I had some trouble leaving the clear a tad dry in the harder places to reach. But these are mostly places that will be covered by sound proofing mats and upholstery so I’m not too disappointed. Some room for improvement though.

Next stop – Engine bay…
Excellent work and highly informative as usual Tommi. Thanks for sharing.
Thanks for the comments James! Tommi
Your project is inspiring, since I have two 1976 99’s a 2 door and a 4 door. I would like to turbocharge both: one with an 8-valve engine and the other with a 1989 900 Turbo engine. I know that I will have to modify the firewall to allow for the 202L engine, For modifying the B201 to a turbocharged version, I have not found any good sources for the turbo camshaft, exhaust manifold, and low compression pistons. I would also like to find a supplier for Saab 99 body panels. If you have any suggestions for sources of these items, I wil be greatly thankful for your assistance.
Best Regards,
Stephen Sheets