There was some corrosion issues with the “good” trunk hatch also. After removing all the accessories it was clear some welding needed to be done around the window frame. It’s one of the usual spots to rust.
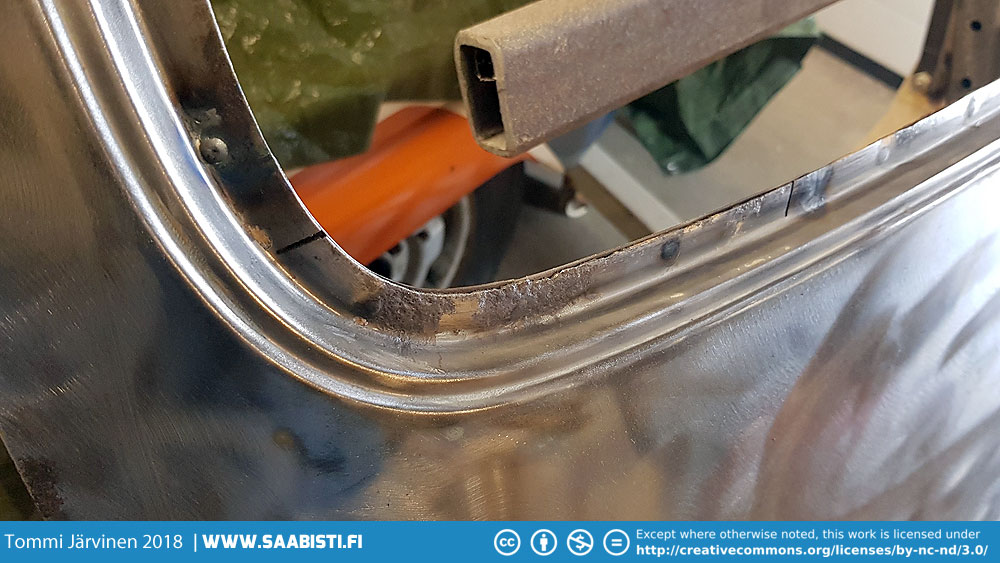
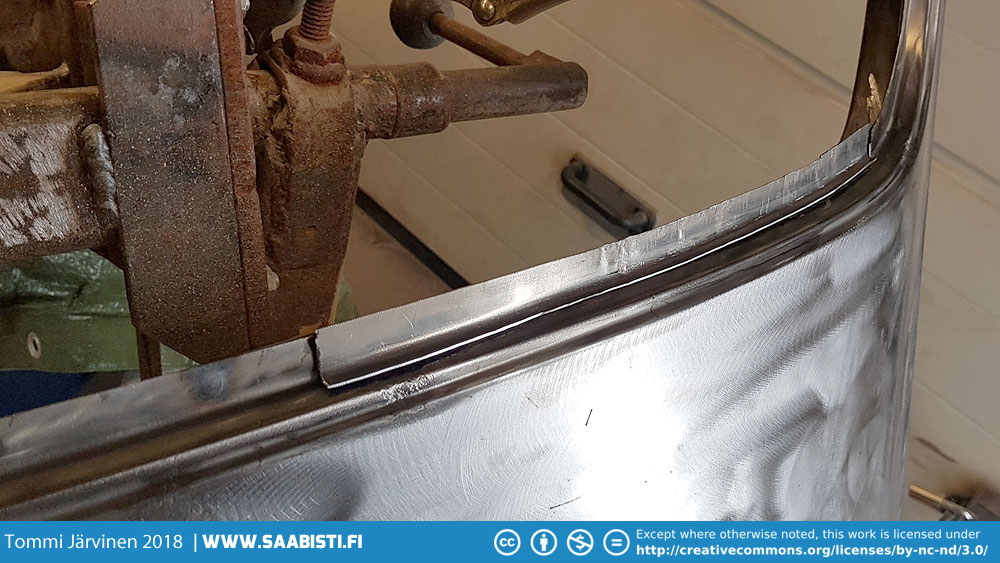
The shrinker/stetcher tool was used to make the repair pieces curve a little to fit the shape of the window frame.
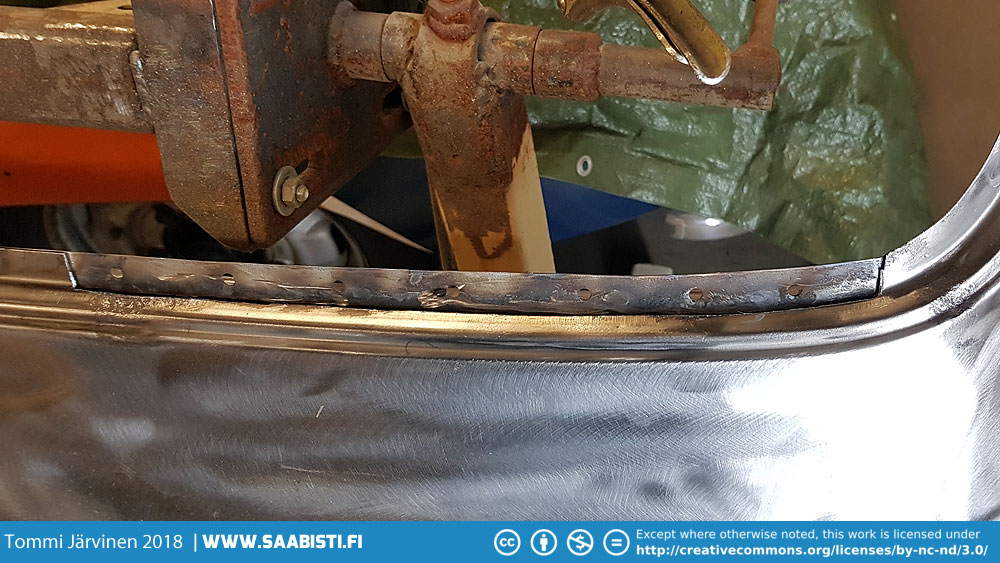
Thankfully the rust had not spread too much on to metal visible outside the window rubber. There was really no need to worry about the hatch skin warping because of heat so welding was a relatively easy job.
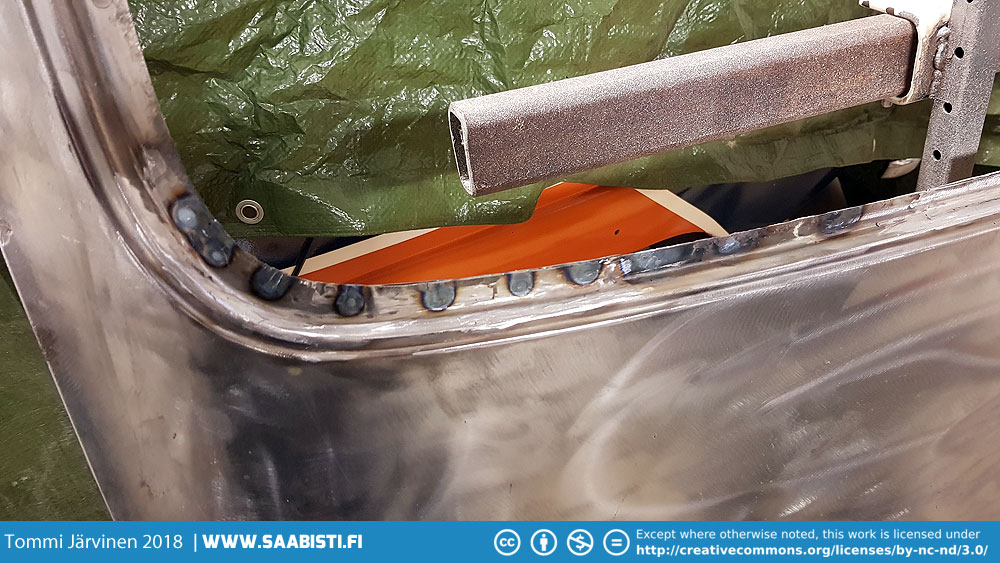

So – one more rust issue sorted…
That’s amazing.Very informative article.Keep posting such article to provide valuable information.Corrosion should be removed in the initial stage otherwise it really dangerous for the metal or steel or any other equipment. Thanks for the article.
Tommi! Awesome job! You’re 99 project is impressive. Invaluable information for my newly aquired 1974 notchback. Tank you for the effort to put this online and feel free to go into more detail! 🙂
Thanks for the comments Chris!