Paint prep is the stage in a restoration that I personally find the most tedious. It’s basically just doing the same thing over and over again until you finally get something acceptable. But at the same time it’s also probably the most important thing to get right. Imperfections and errors are usually instantly visible in the top coat if it’s not done right.
So – for the past several months we have been basically repeating the same process on all the parts. Body filler, sand down, spray primer, body filler, sand down, spray primer, repeat… There’s no way to take short cuts. You just need to go on until it’s right.
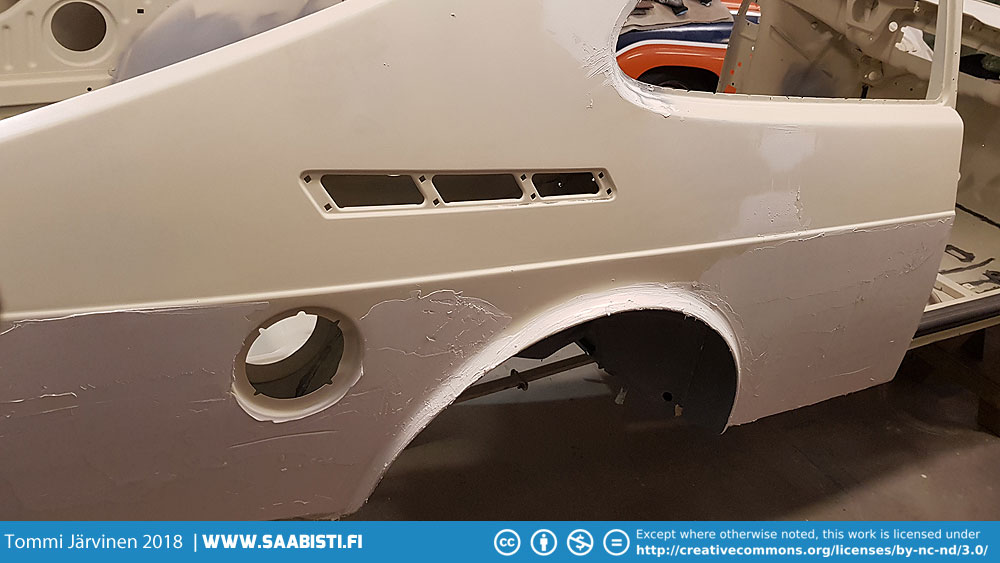
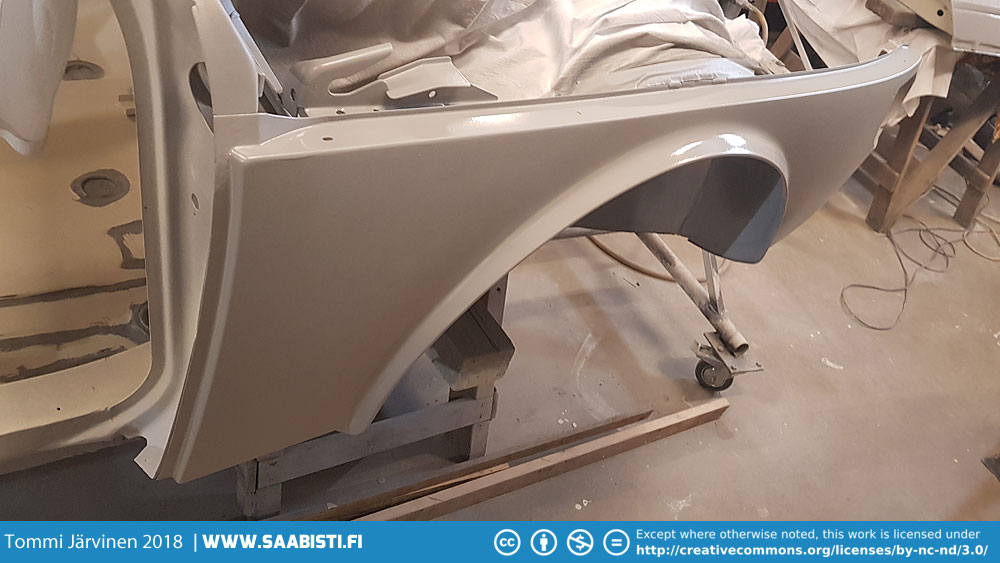
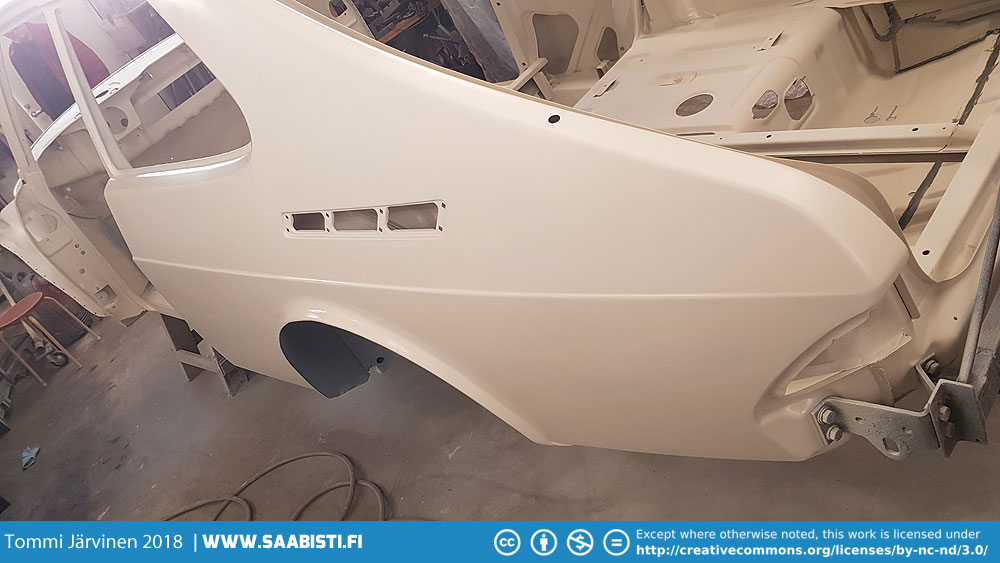
There was a LOT of welding done on the Turbo. I tried to finish the metal work so less than one millimeter of body filler would be needed in any spot. I think I pretty much got there. With excess filler there is always a risk it will crack over time.
An old car always has dents and other small issues pretty much all over. Personally I find it easier just to bondo over a large area and just sand it down after that. A piecemeal bondo job can easily leave you with high and low spots that will show up in the top coat. But everyone has their preference and of course a small repair does not require body filler all over the panel.
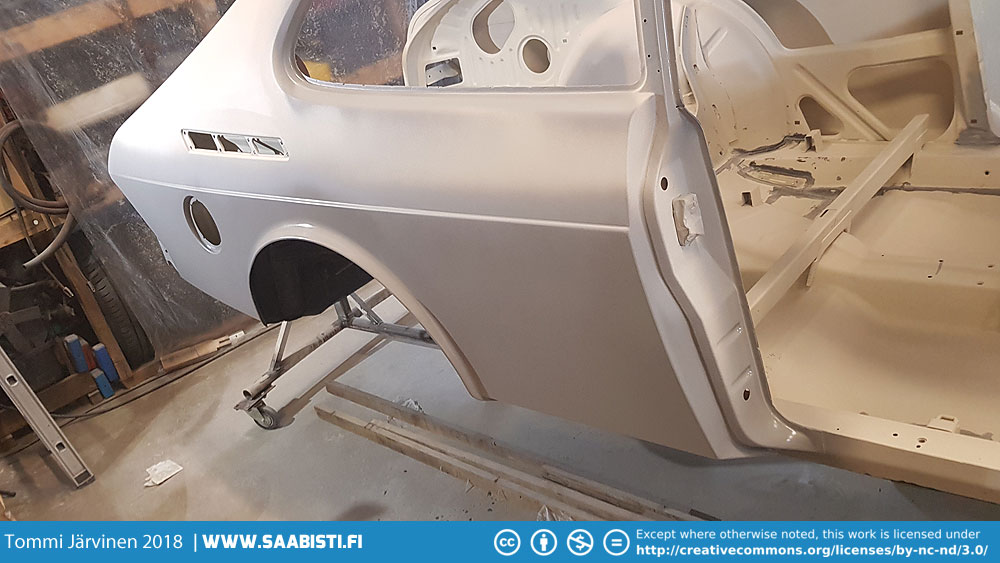
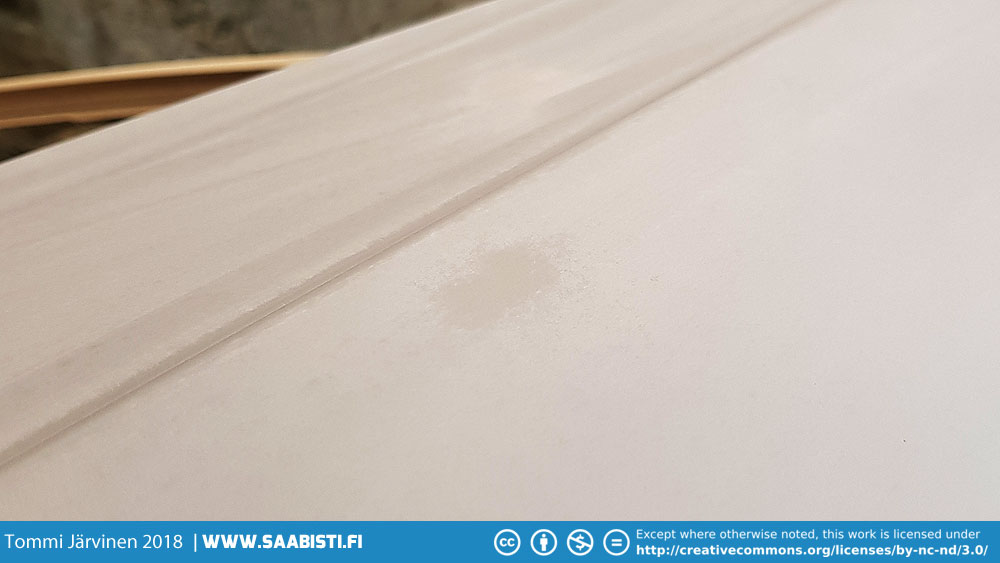
After the first sanding it’s time to spray on primer to act as guide coat. Often there is some porosity and pin holes in the body filler areas which require more bondo or primer to close. Also it’s a lot easier to see if the shape is correct and any high or low spots when you wet the painted panel with water.
There’s no way around it. If there are imperfections they WILL show up in the top coat. Time for more filler, sanding and primer…
Usually I just blast the primer on with a big nozzle (1.8) and as thick as possible. I don’t care about any orange peel as it will be sanded way down anyway. When I think the panel is finished and only needs a final layer of primer before base coat and clear I will add some solvent to the primer to make it smooth out more as it dries.
Of course the process is a whole lot easier if you have pristine panels to work on. But as I said – old cars are almost always a “potato field”.
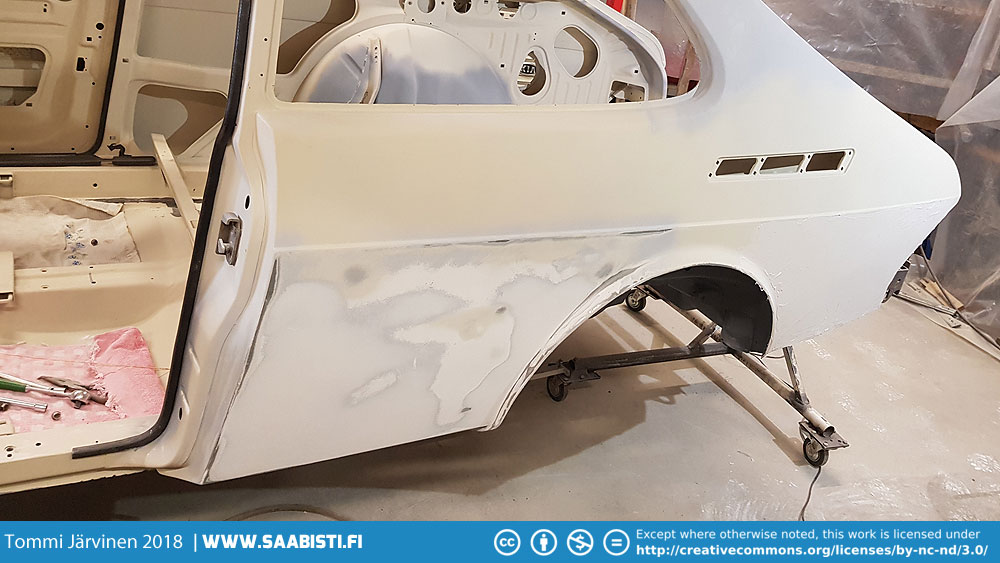
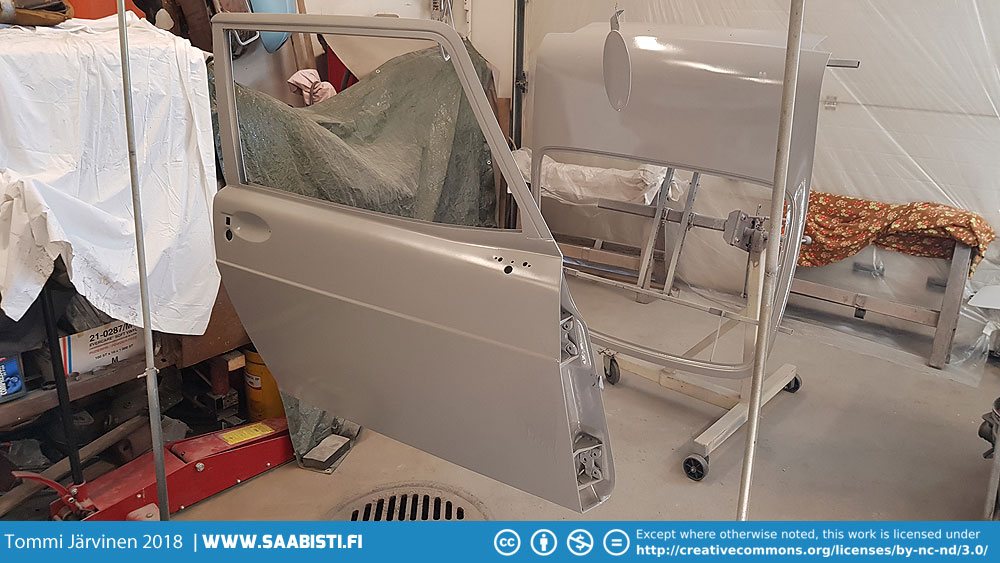
The doors
These types of dents are typical on old cars.
If you sand over them they usually become even more visible and are easy to spot.
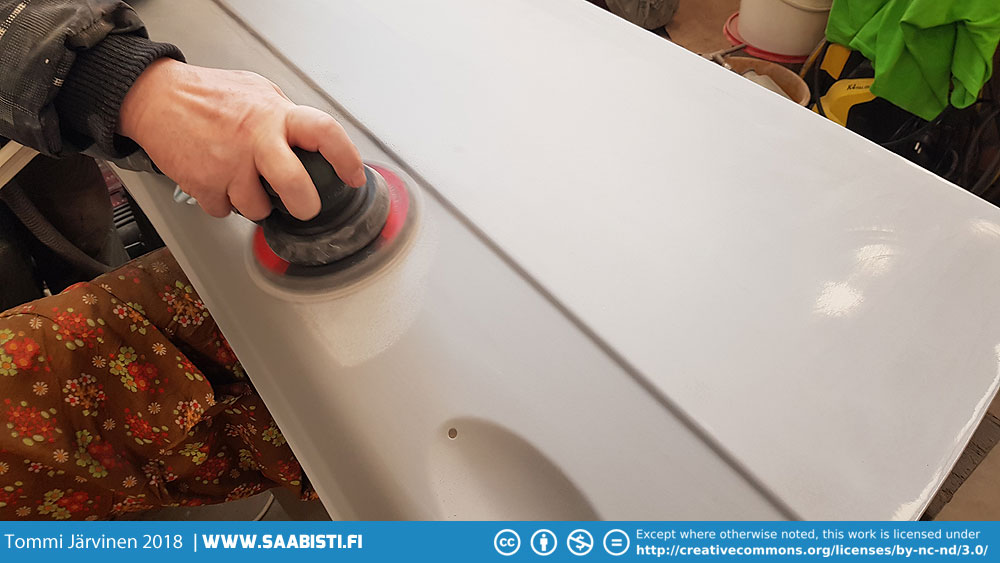
There’s a couple of ways to fix them. If situation permits and the dent is not very deep it’s usually better to avoid using body filler. Just spray on several layers of primer around the area of the dent and try to build enough thickness that you can then sand it down. When sanding do NOT push down on the sander. Let it do it’s job. Using force will leave you with a high spot as the metal will give under the pressure.
If you need to use body filler the same applies. Cover the dent with thin layer or layers as required and sand it down. Move the sander over a larger area than just the dent to avoid low spots. You may need to fill in any pin holes or low spots left over.
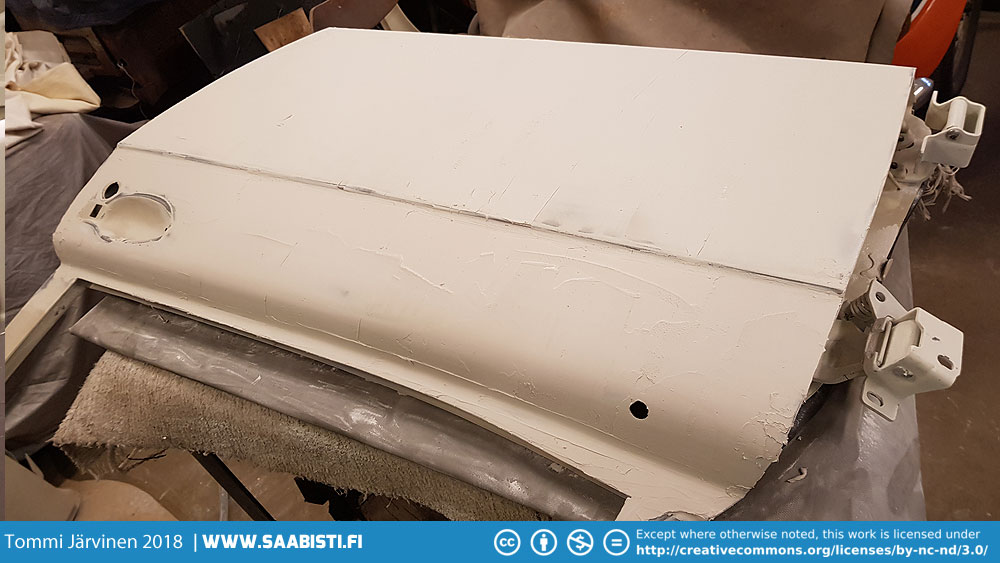
The driver side door was collision damaged and required a lot of work to get the sheet metal shape right. I also needed to use some heat shrinking on it. I got the shape pretty nice but it still needed some filler. Nothing new here. Just slap on some bondo and sand it down.
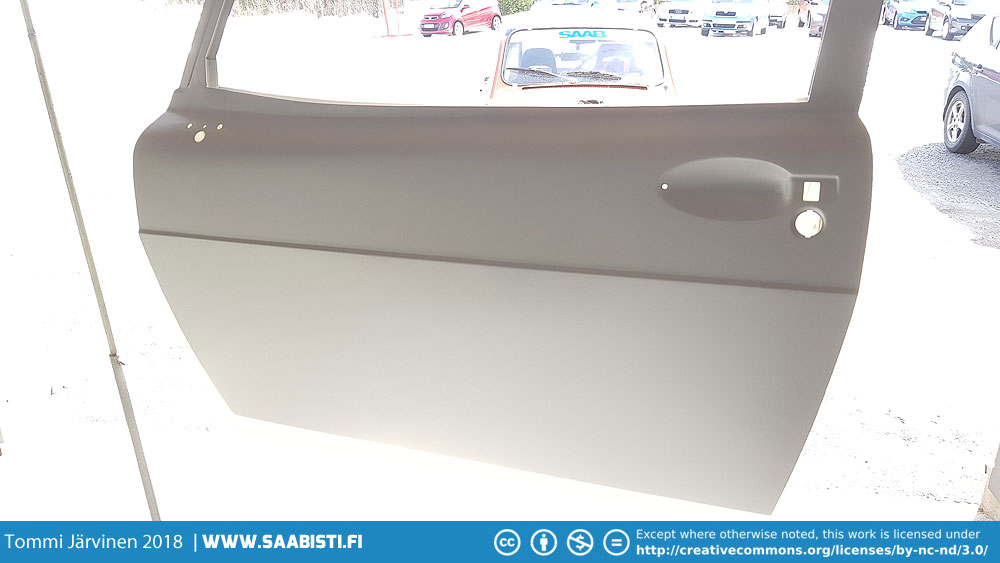
I think the door didn’t need more than two round. Bondo over and sand down. Filler. Fill in the small dents and other imperfections. Sand down. Primer. I did lay on some pretty hefty layers of primer to have a lot of stuff to work with when sanding. But it looks pretty nice after all the work.
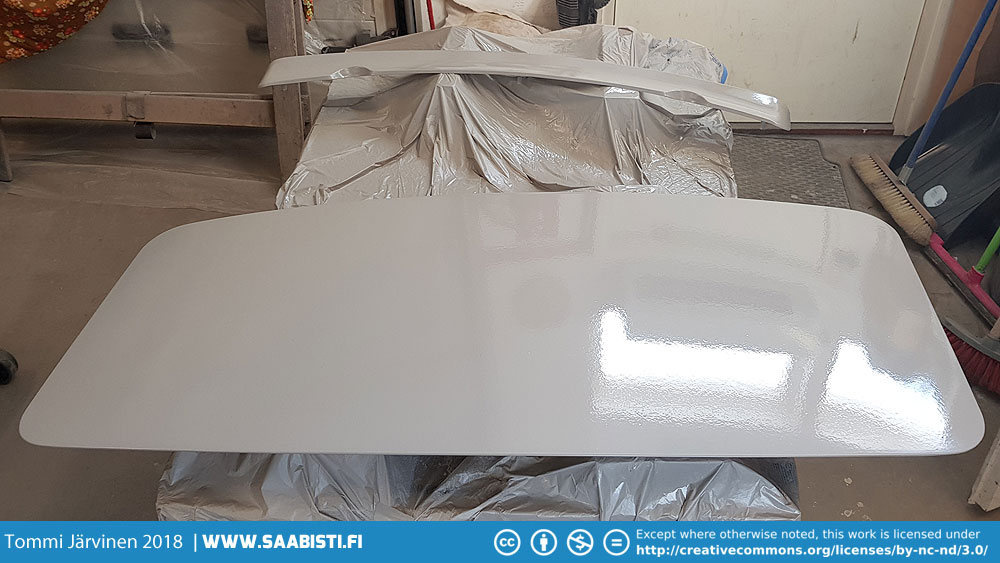
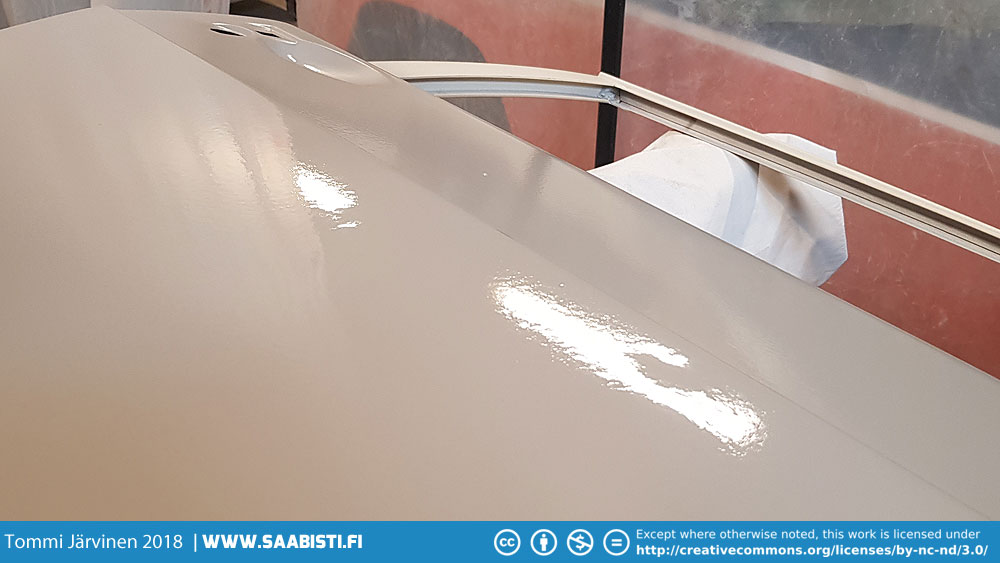
Hatch
The hatch required some welding but thankfully the repairs were minor enough and heat distortion was pretty much non-existent. The bigger problem were the high spots below the window frame.
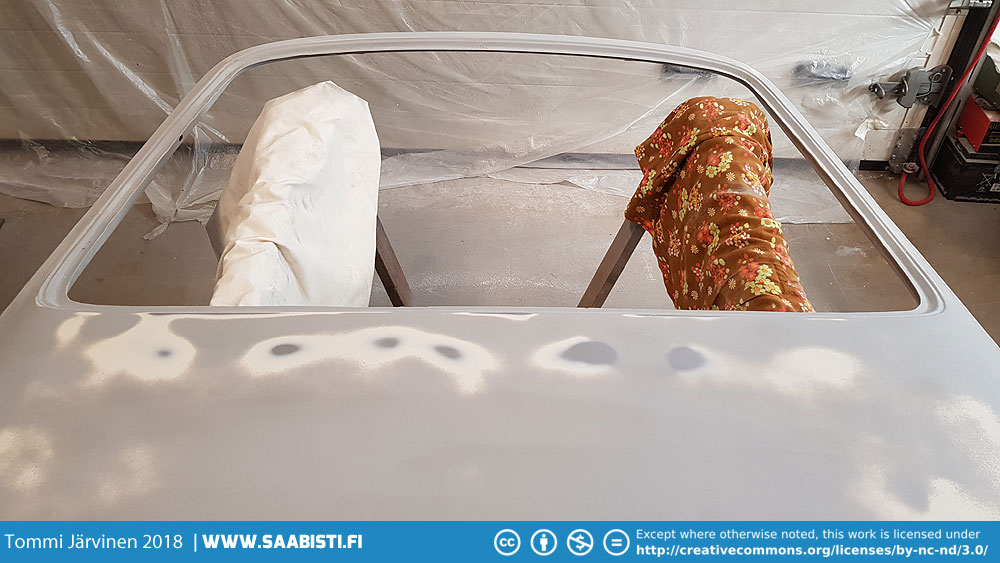
The high spots are caused by the sub-frame of the hatch. The support frame is partly glued on to the hatch skin. Probably to keep it from rattling when the car is moving. The problem is that over time the vibrations and slamming the hatch down will cause the glue spots to stretch and form high spots on the hatch skin.
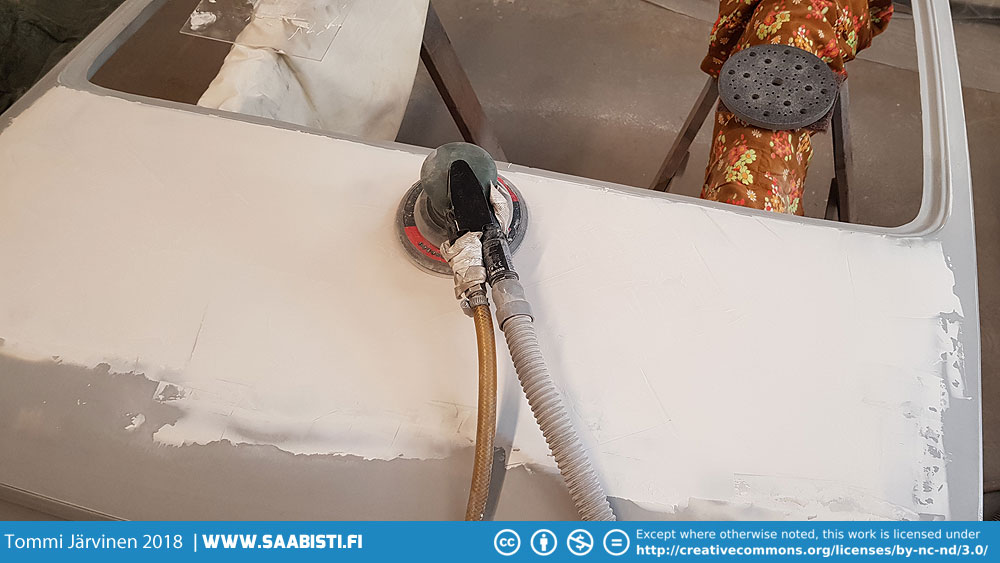
There’s pretty much no way around it other than the usual process. Bondo over the panel. Sand it down. Spray on a thick layer of primer. Sand it down. And so on…
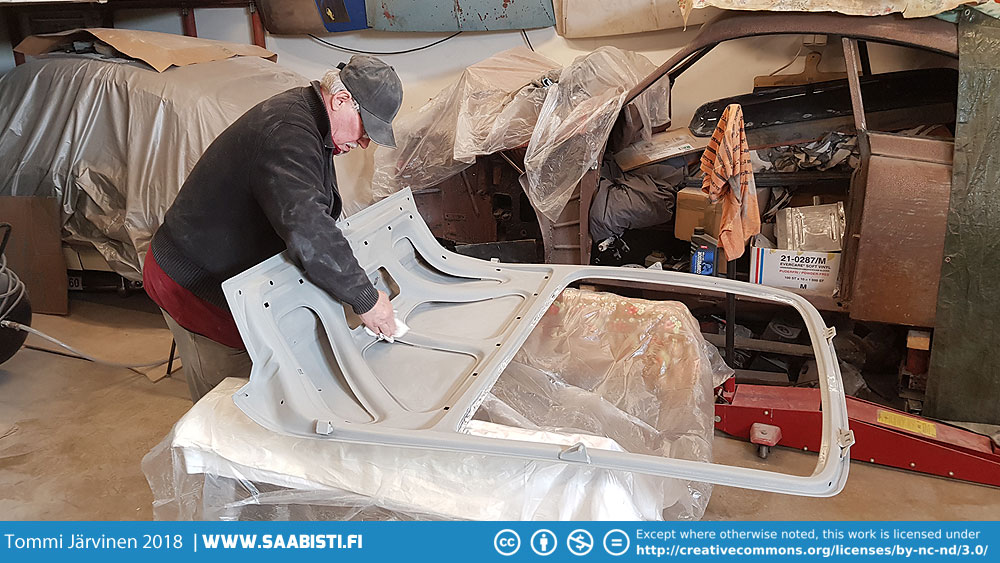
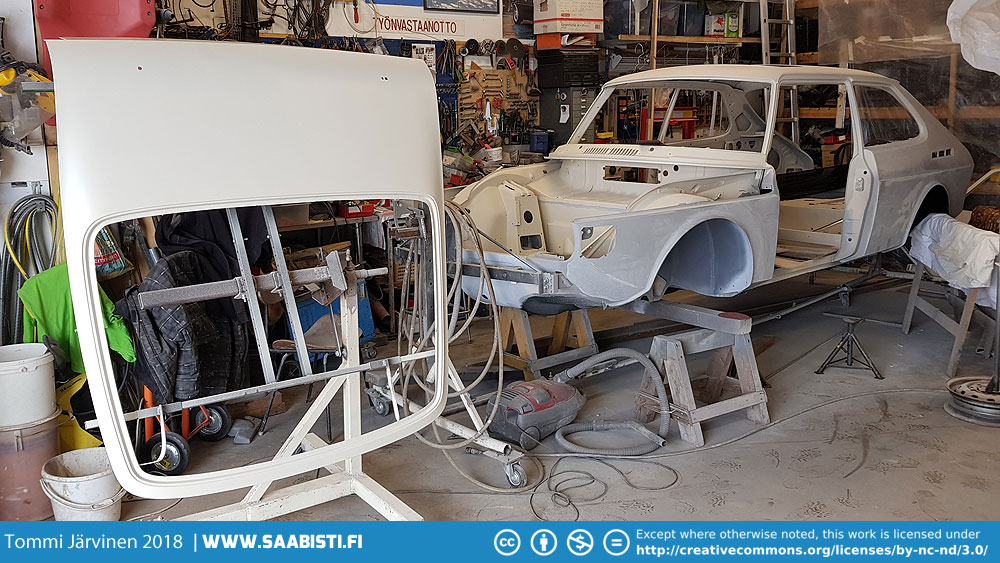
So – a lot of work to get to this point. The 99 is a lot bigger car than a 96… 😀
The next step: Paint