Saab 99 Turbo 1978 – Restoration part 1 – The Beginning
Since we hit a snag on the 96 Rally and have to wait for parts (again) – I decided to do something about the 1978 99 Turbo while waiting.
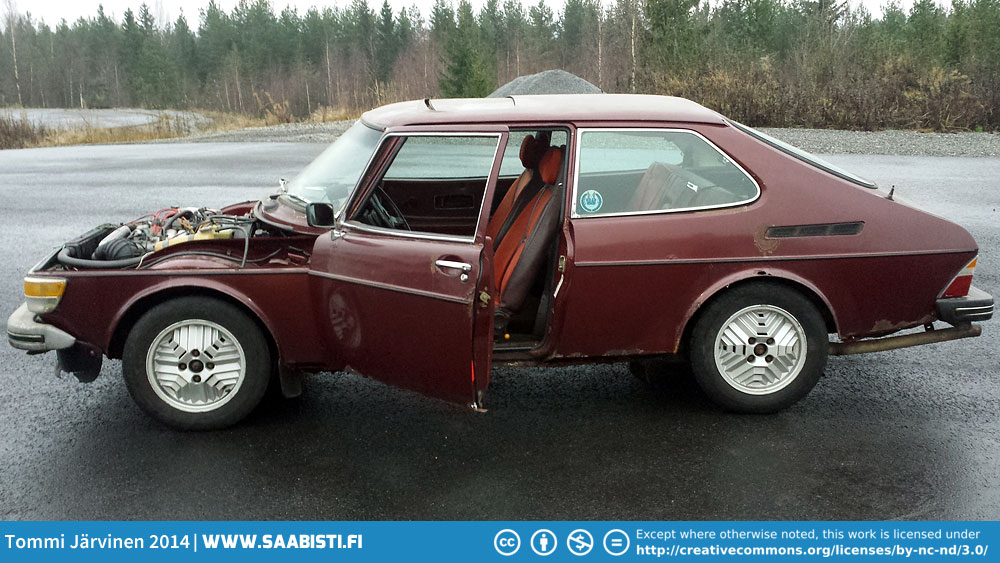
I wasn’t quite sure if I wanted to restore it or build a track car. A track car would be nice, but since the car has some of the very hard to find parts (three row radiator, S-gearbox for example) I ultimately decided to do a full restoration. It’s a somewhat rare car and there aren’t that many here – at least in running condition.
So – a full restoration it shall be. There will be a ton of bodywork ahead, but I will also be restoring all the nuts and bolts as close to the original factory spec as I possibly can.
As I started to disassemble the car I also recorded all the bits and pieces wrong or needing special attention. I have already shot around 300 photos of the details and there’s a lot to do still. But it is necessary to document everything and compare it to maintenance manuals and spare parts books to find out what parts are not correct or modified. I have already found a lot… It is after all almost 40 year old car, that has had it’s share of DIY repairs – not all of them well done.
Here’s some photos of disassembling the car:
Disassembling the front went pretty smooth – none of the screws or bolts was really stuck.
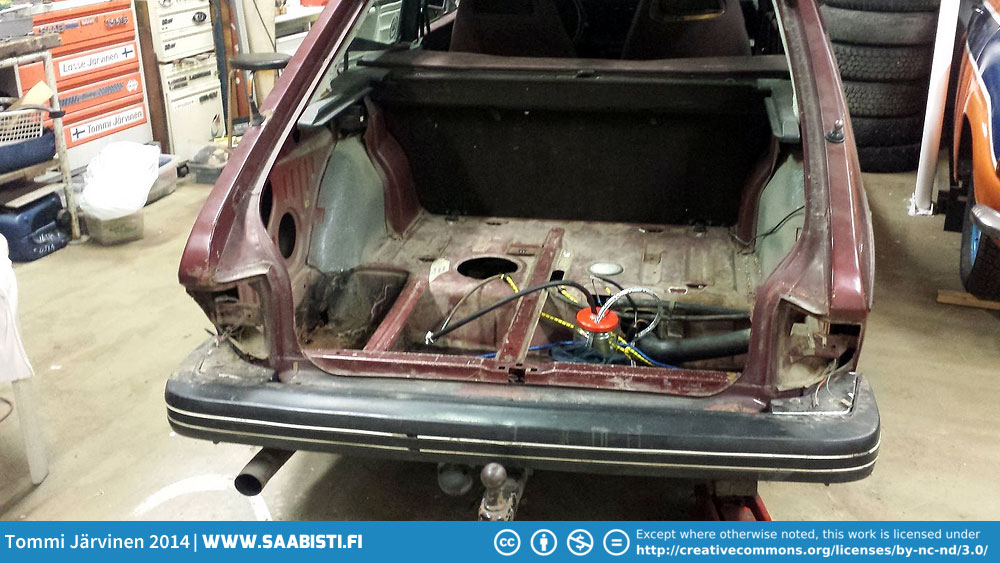
Disassembling the rear end.
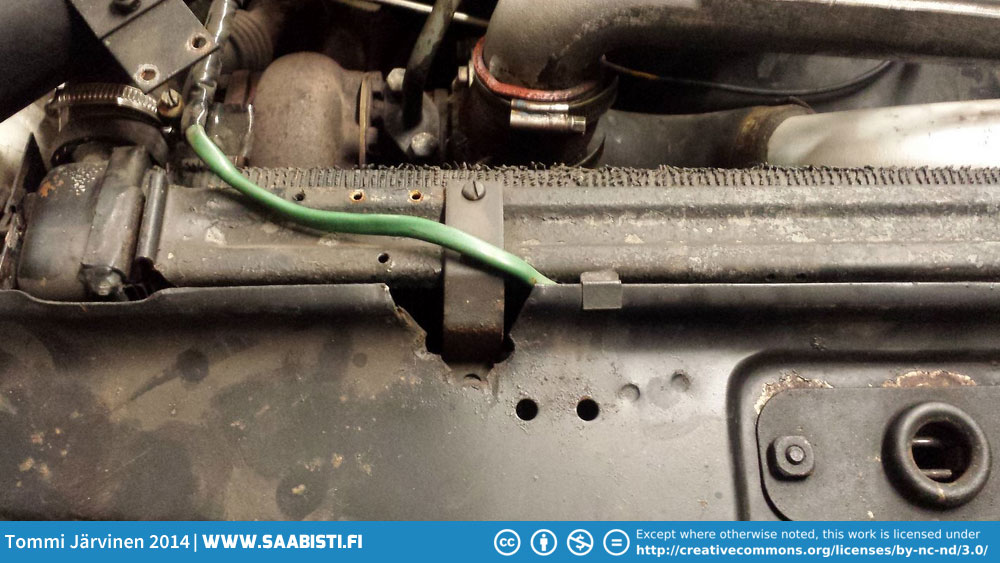
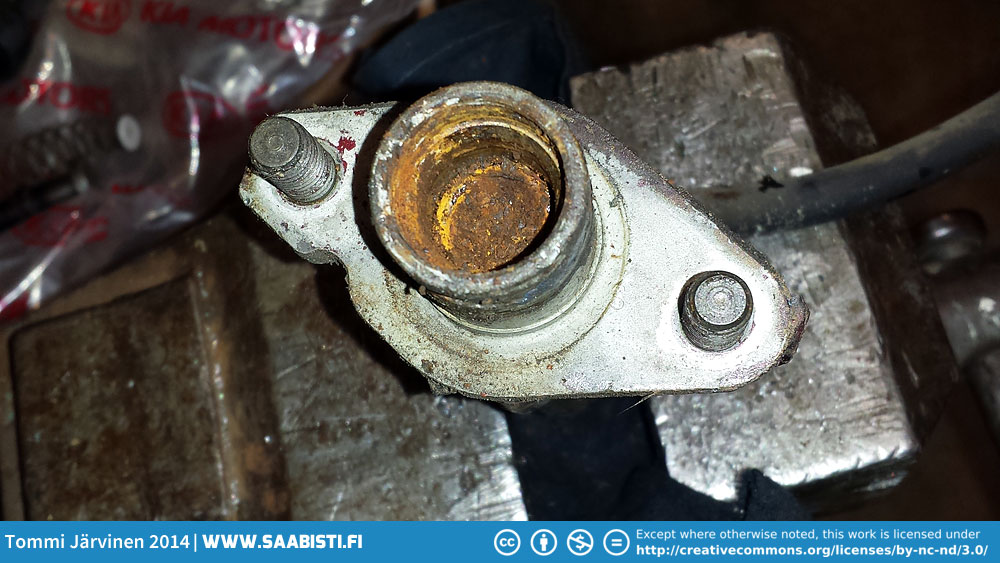
Problem with the radiator – someone has assembled the core wrong way around. That’s why the attachment iron doesn’t fit. I need to send the radiator to be re-cored and repaired correctly.
Clutch master cylinder is done for…
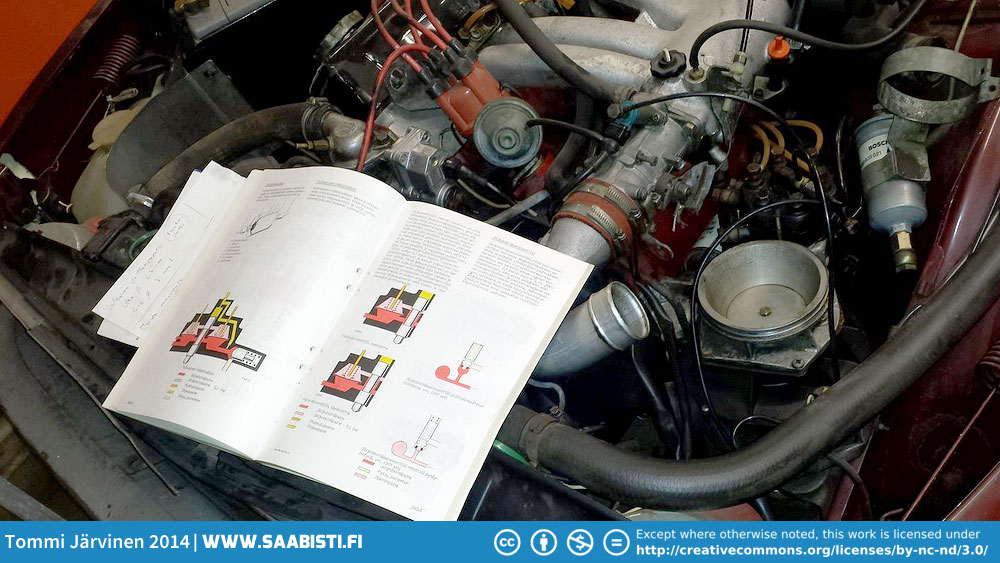
The car was in running condition but I still needed to wrap my head around how the K-jetronic actually works to check it’s operation.
Checking the fuel distributor removed from the car.
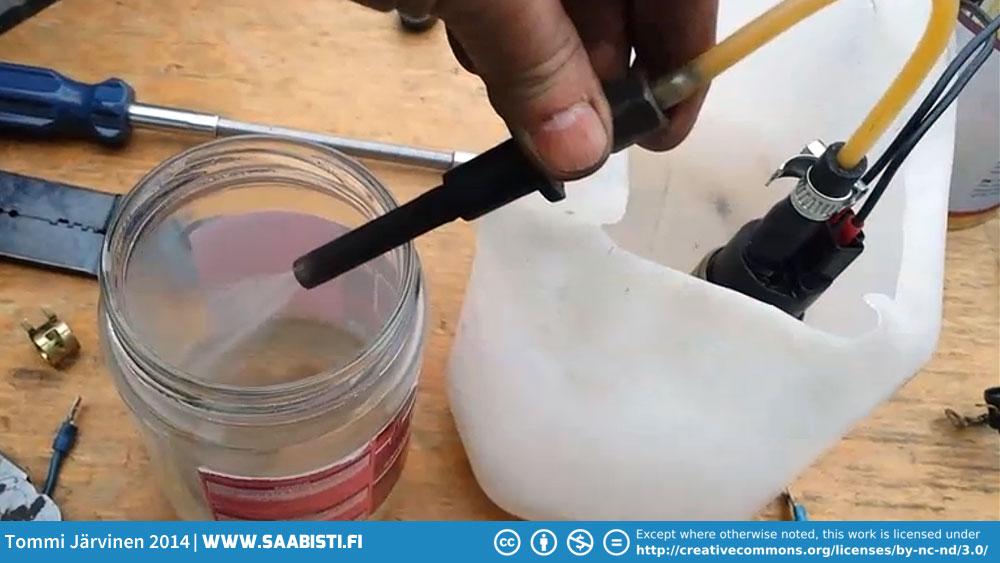
Testing and cleaning the injectors.
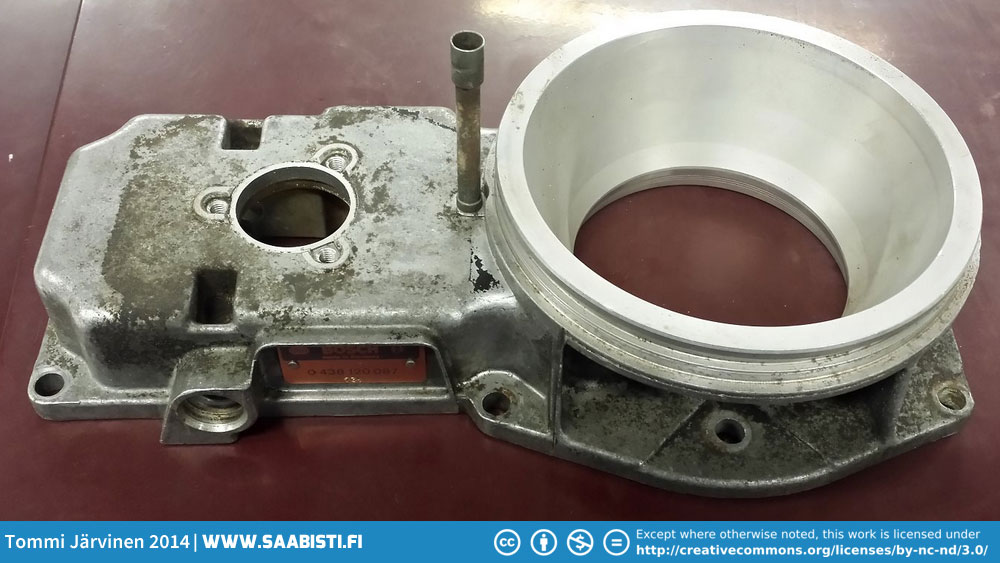
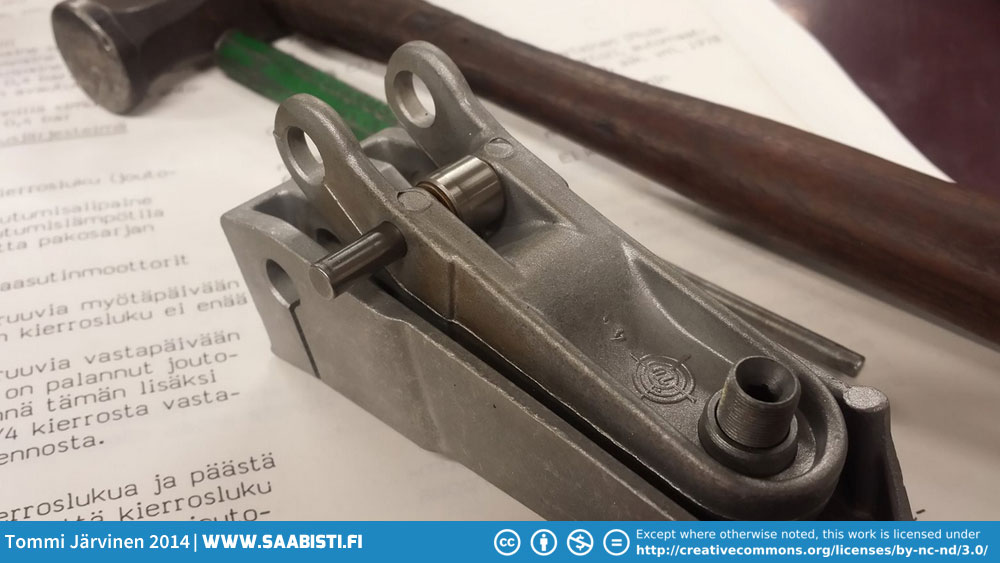
I took the air flow meter apart to have it cleaned and checked. The metering dish was hitting the cone so it needed some adjustment.
Air flow meter parts.
The metering lever bearing was stuck.
I removed the bearing and cleaned it in paint thinner. Then I put in some new silicone grease.
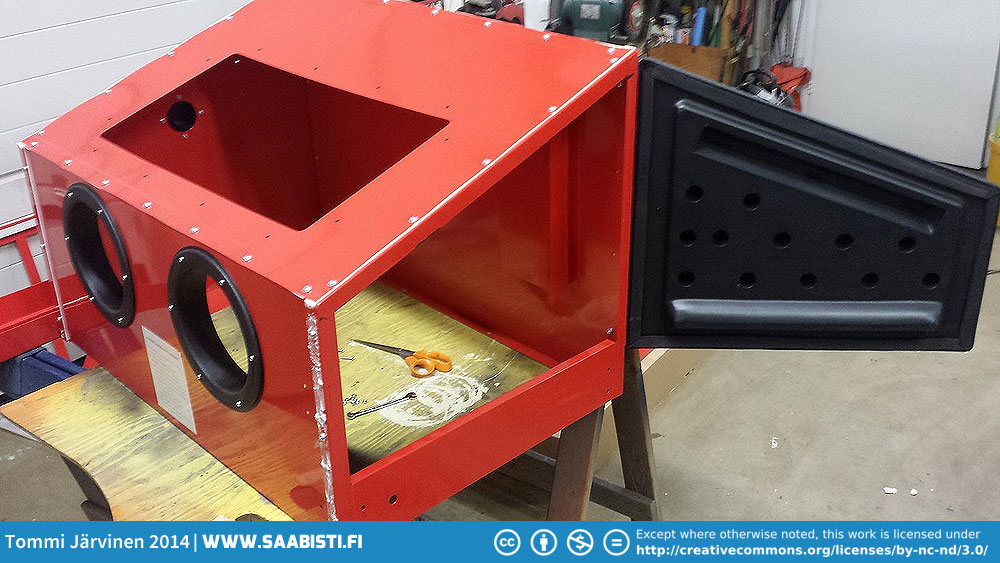
I finally invested in a cheap sand blasting cabinet to clean up the parts.
The cabinet makes glass bead blasting the parts so much cleaner and easier.
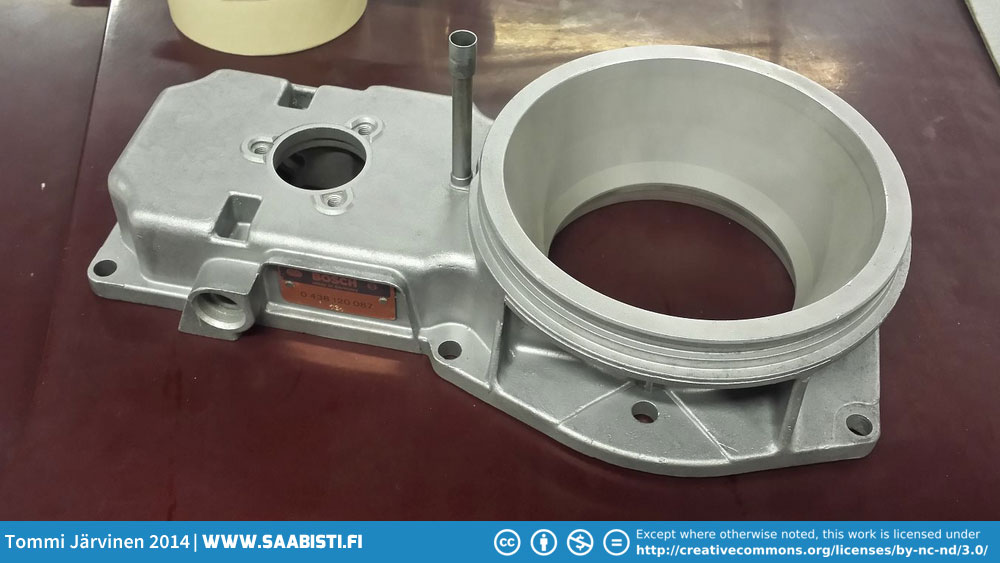
Air flow meter body after glass bead blasting.
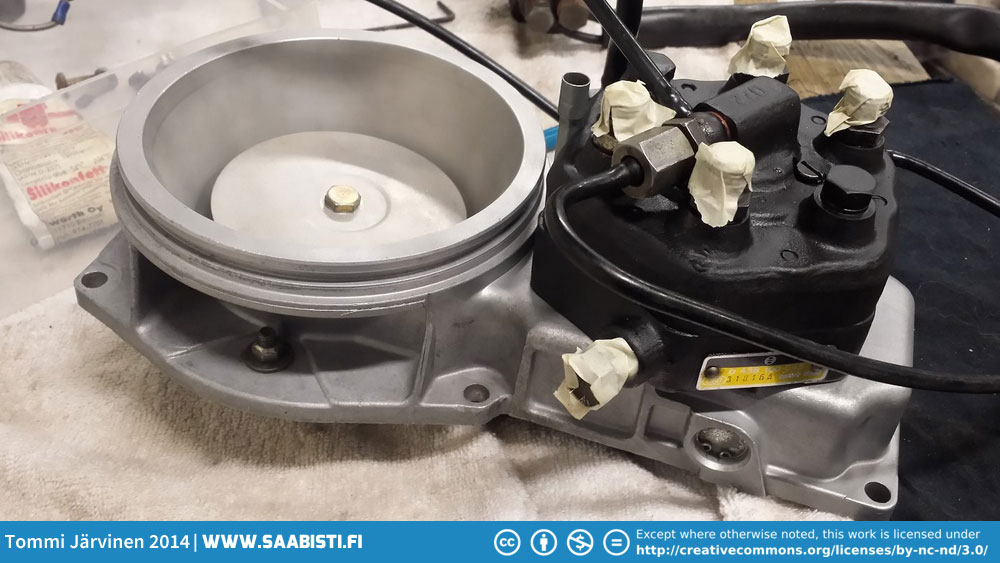
Assembling the air flow meter.
Under side. It’s essential that everything moves smoothly and are postioned correctly.
Air flow meter and fuel distributor after clean-up and paint. All the fuel lines will be replaced also.
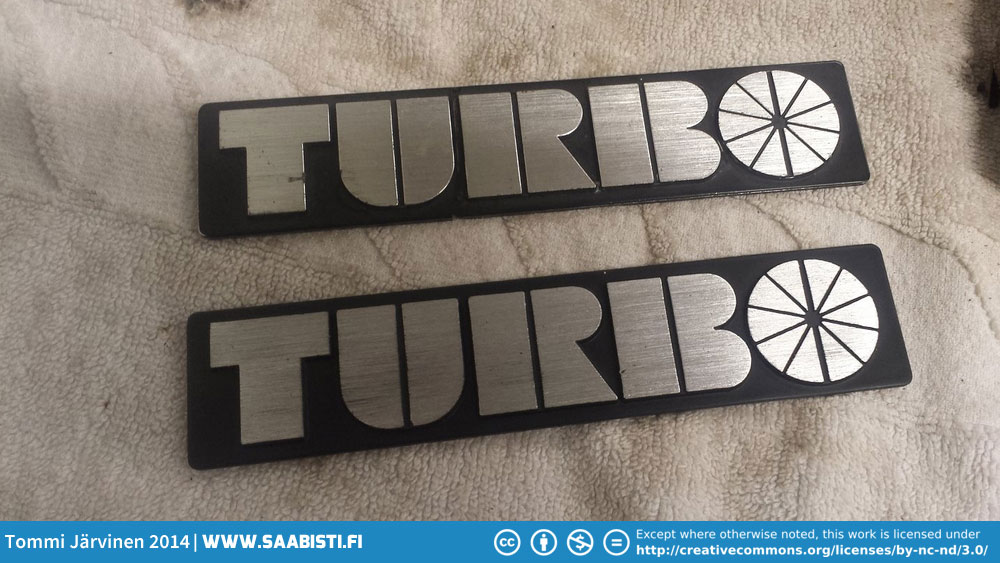
I also restored the Turbo badges. I glass bead blasted and painted them black.
After paint it was time to grind the unwanted paint off.
I used coarse sandpaper and a table edge to align the strokes.
The top one is a well preserved unrestored Turbo badge. The lower one has new paint and surface treatment (sandpaper).
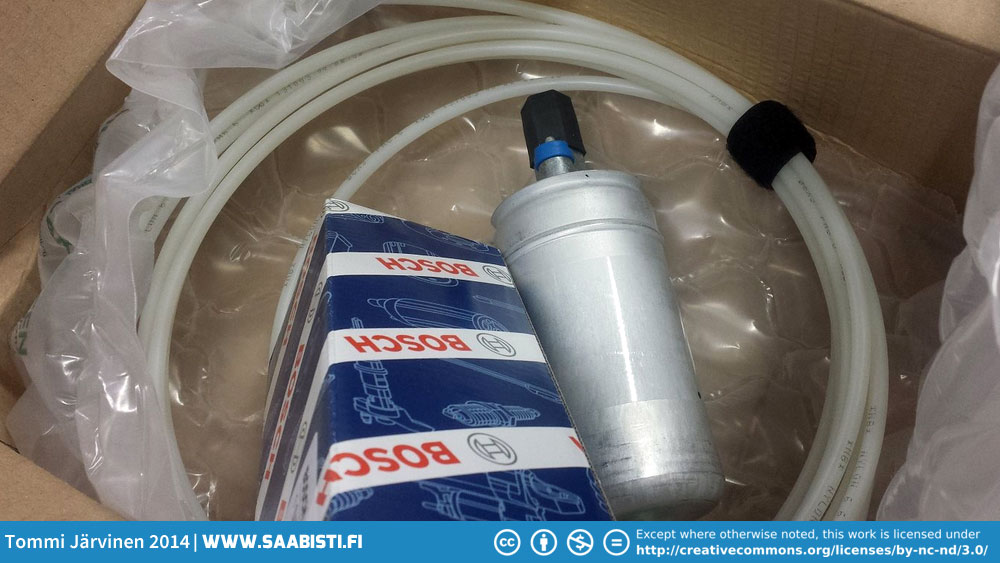
I bought a new Bosch original fuel pump and also a length of new polyamide fuel line for the injectors.
I also photographed and measured all the warning stickers in the engine compartment to make new ones.
I drew the stickers out in Adobe Illustrator and I’ll have them printed later.
So – there we go – this project is now officially started. I will finish the 96 Rally when I get the parts, but in the mean time I will move forward with the Turbo.
I still lust for the many SAABs I owned. Two were 1978 99 Turbos, one silver gray color code 2B, the other maroon metallic color code 3B. Guess what I called them? 2B and NOT 2B !!!
My all time favorite was my 1986 SPG, though I also miss my midnight blue 5-door 1980 900 Turbo.


Great Tommi…Most enjoyable. Well done
I still lust for the many SAABs I owned. Two were 1978 99 Turbos, one silver gray color code 2B, the other maroon metallic color code 3B. Guess what I called them? 2B and NOT 2B !!!
My all time favorite was my 1986 SPG, though I also miss my midnight blue 5-door 1980 900 Turbo.