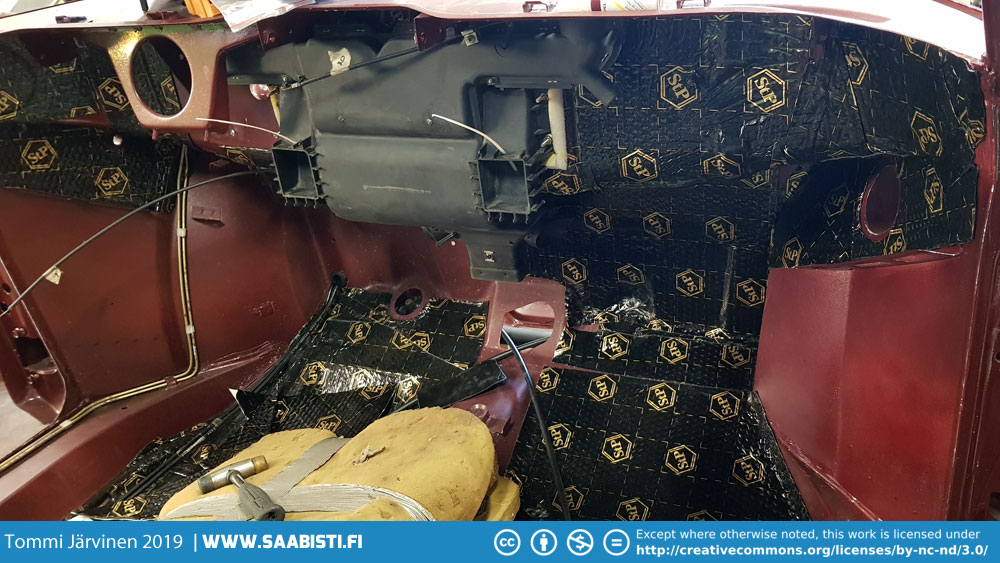
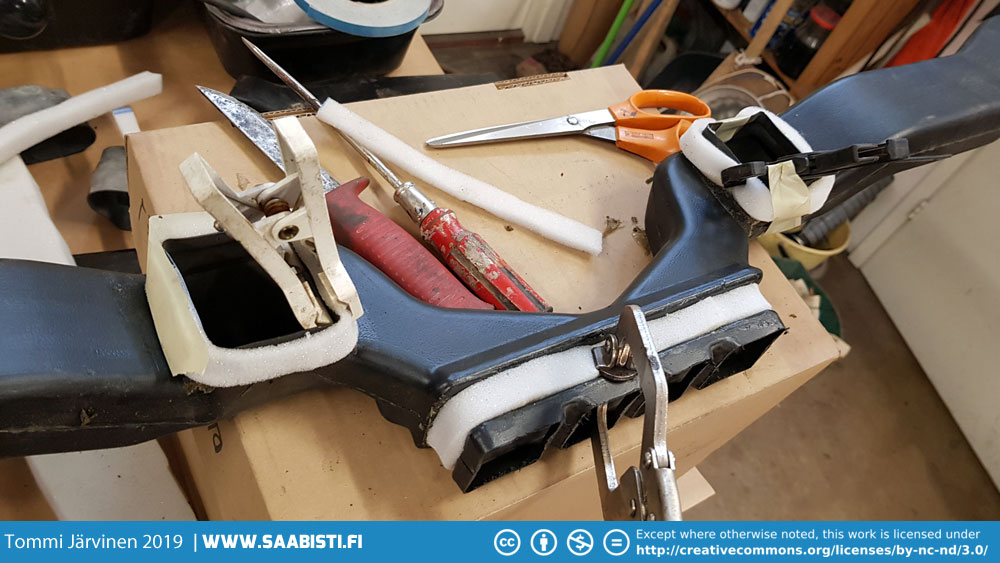
Next order of business was installing all the sound deadening materials and assembling the dashboard.
There were no major problems with the dash installation other than trying to remember what goes where and in which order. I had taken dozens of photos just this day in mind when taking the dash apart, so I had plenty of references. But of course I had missed some things and just had to figure them out. The Saab 99 parts catalog was a great help also.
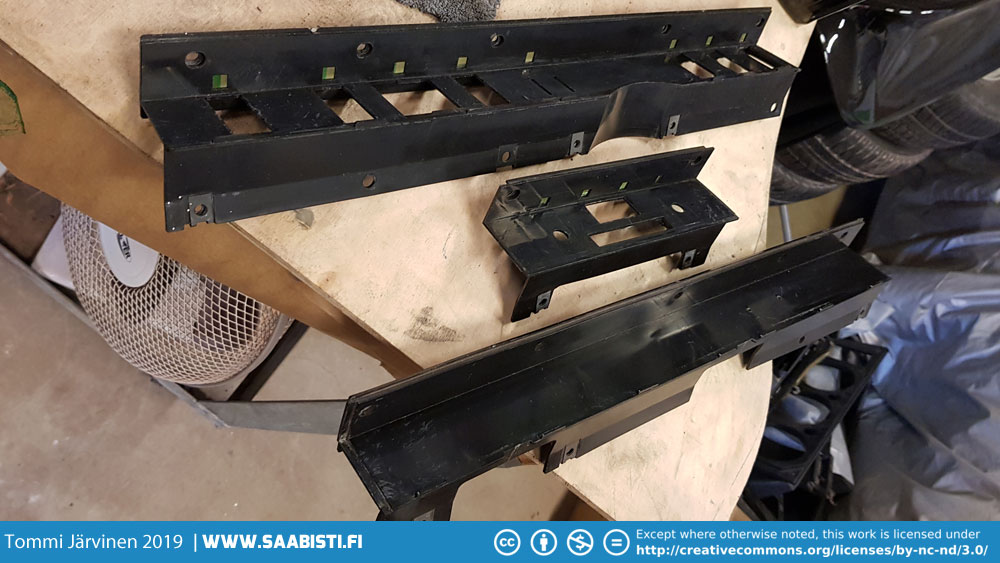
Sound deadening and air conditioning ducts
Installing the sound deadening mat behind the dash was a pretty piece meal operation since the shapes are pretty complex and so you need to cut the mat to manageable pieces. Nothing too complicated about it though. I tried to cover all exposed areas as well as possible while keeping any critical attachment points clear (mainly around the pedal box).
Also all the air conditioning ducts were thoroughly cleaned and all the gaskets were replaced.
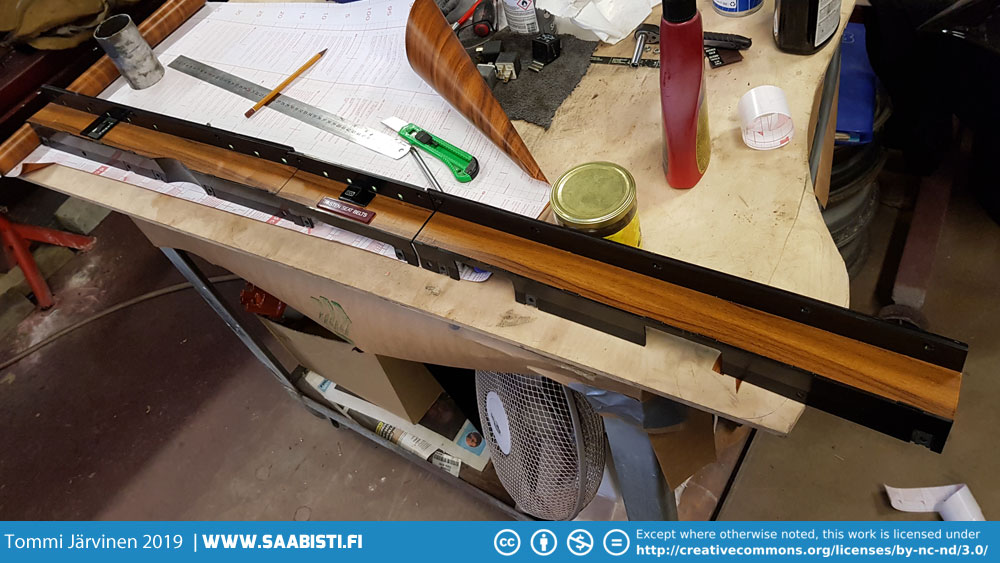
Dashboard wood grain restoration
The wood grain sticker on the Saab 99 dashboard usually perishes over time but it’s easy enough to replace. I used a wood grain sticker from a local interior design shop. They had a good selection of patterns that were pretty close to the original.
Removing the old sticker was not that difficult – it came off without too much of a fight. I then proceeded to cut suitable pieces while making sure that the pattern is as continuous as possible over the three dash pieces.
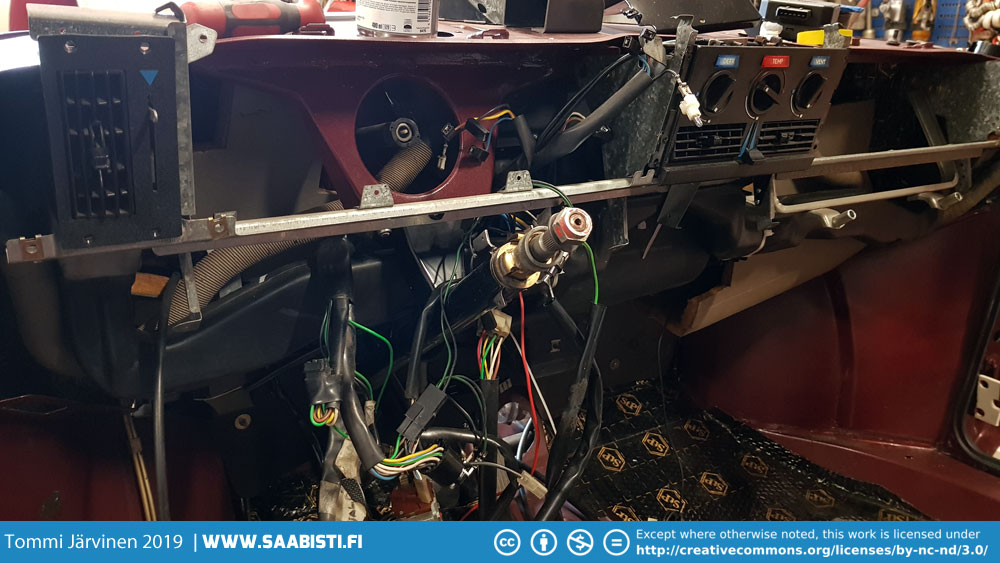
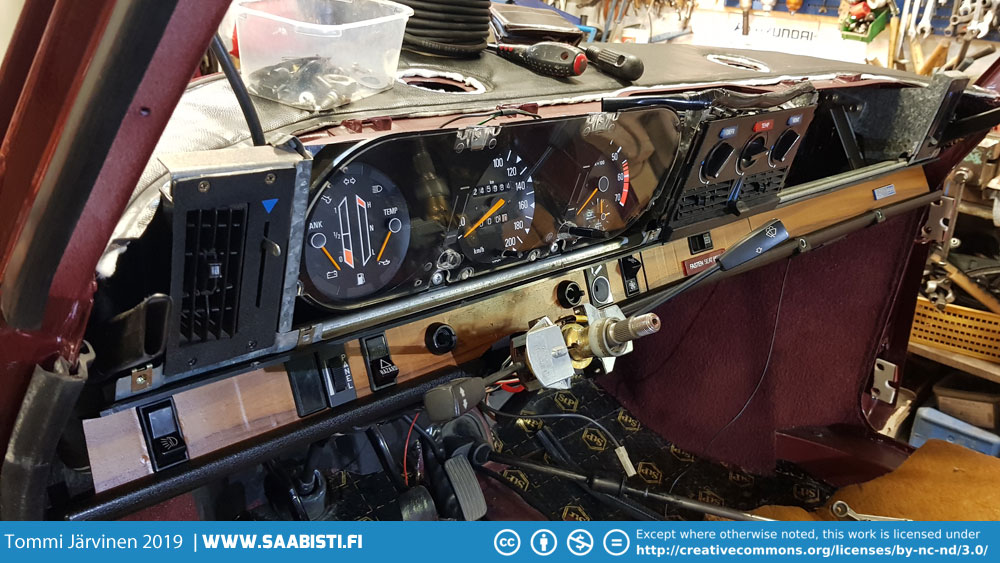
Fitting all the switches and what not on the wood grain area took a little bit effort since I had to replace the driver side section with a spare as it was broken. The spare had some extra holes and not all the holes that were needed. So I glued a plastic sheet over some of the holes and drilled holes for the electric mirror switches.
Unfortunately the back plates (they have little white four-way arrows printed on them) for the switches were too damaged to use and I couldn’t find any good ones. Ultimately I decided that if I some day find new back plates I will install them later and leave them out for now.
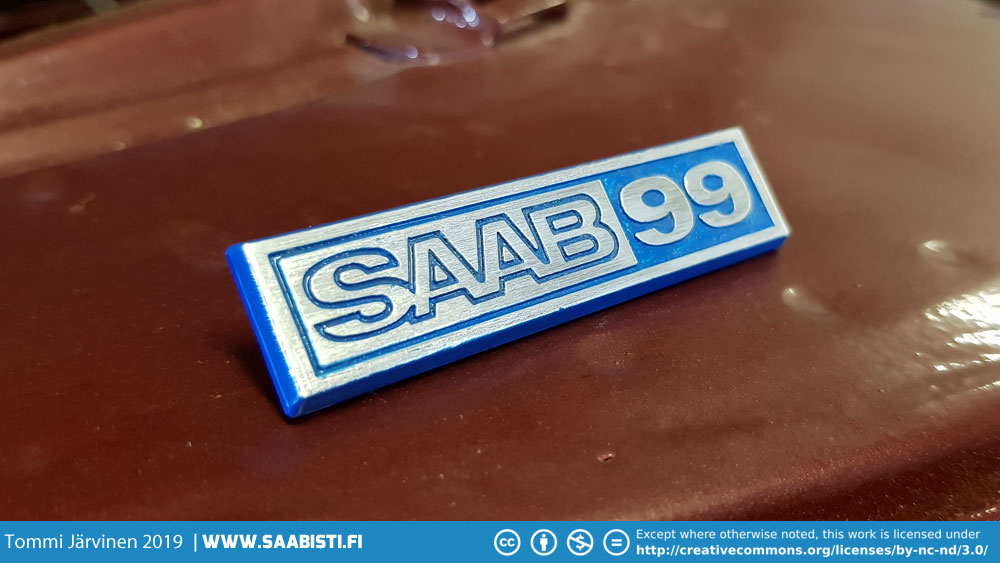
Fixing the Saab 99 emblem
The “Saab 99” dash emblem had lost almost all of it’s paint over the years. As I had to remove it anyway to replace the wood grain sticker I decided to fix it also.
I removed what little paint was left with a paint stripper. I then mixed some blue paint that was pretty close to the original hue and painted the piece over. The method used to expose the letters was same as Saab used with the Turbo badges – just sand the paint off with a coarse sand paper.


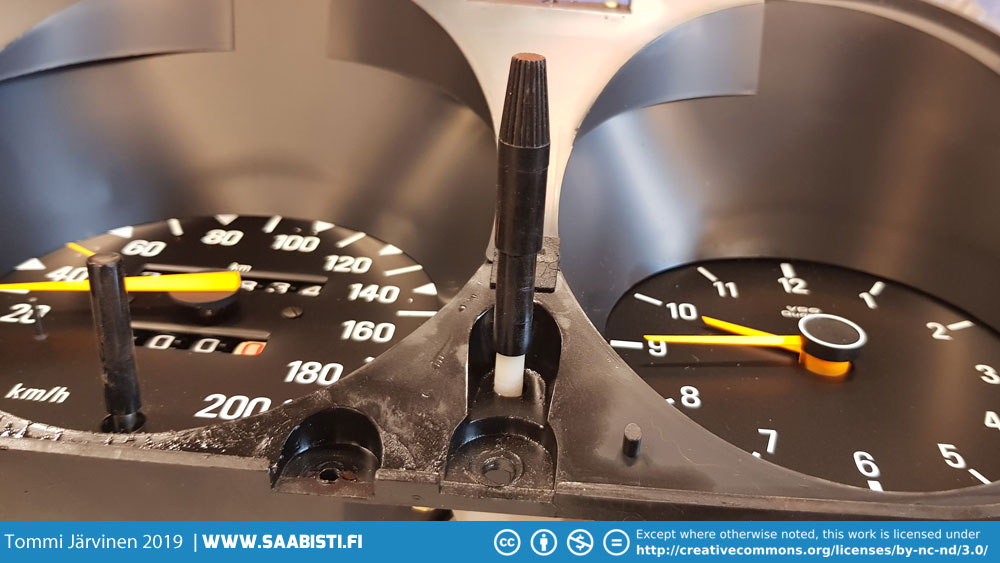
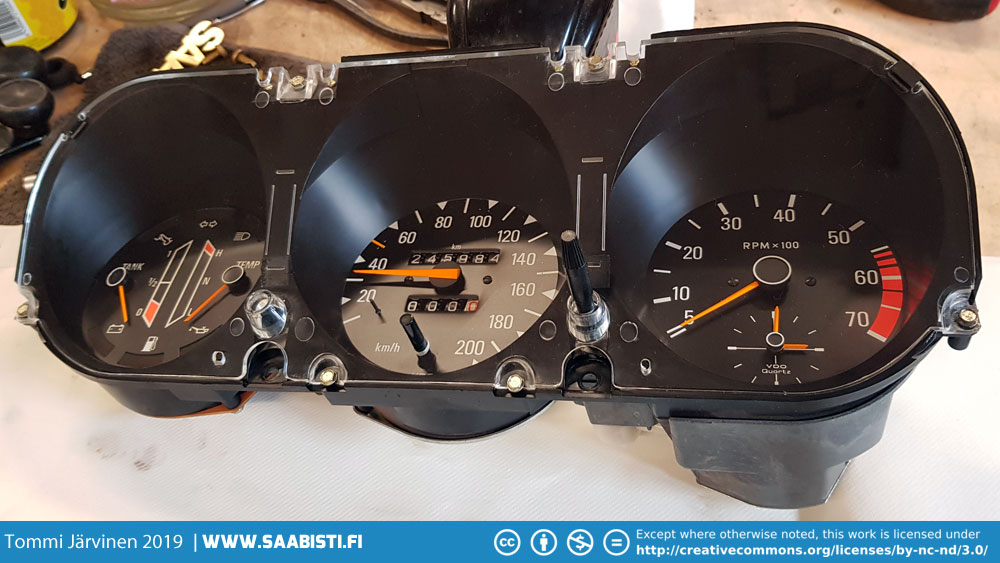
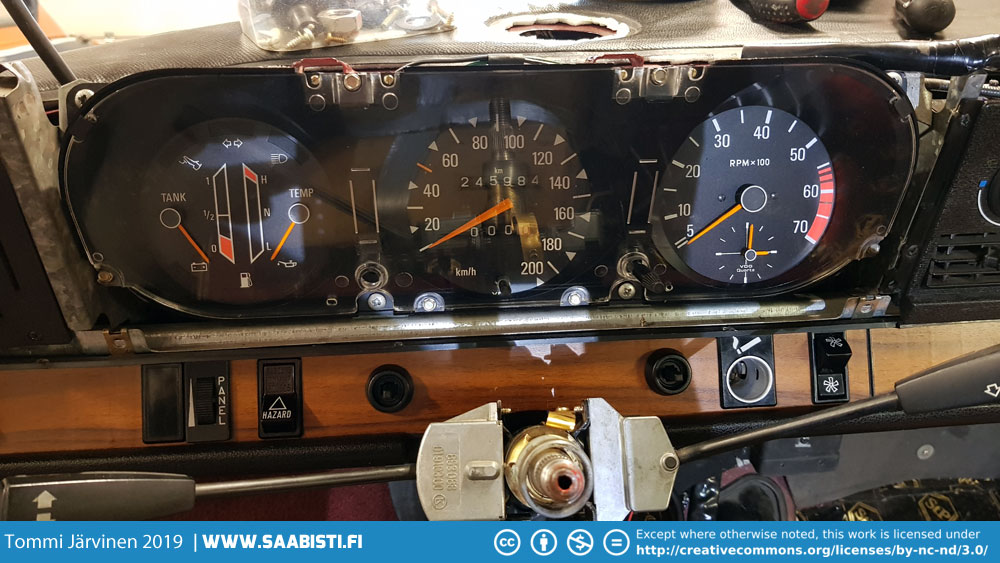
Instrument cluster
All the instruments worked on my car so no major overhaul was needed. There were basically two issues; The clock adjustment knob had broken off and the plexiglass over the instruments was just filthy with 40 years of dirt and grease.

I got a spare cluster from a friend and removed the clock knob off it and installed it on the Turbo cluster. The Saab 99 Turbo instrument cluster is essentially the same unit as in Saab EMS – having a rev counter in addition to the clock on the right hand side.
I removed the plexiglass proceeding to wash, polish and wax it. It came out way better than I expected – almost like new.
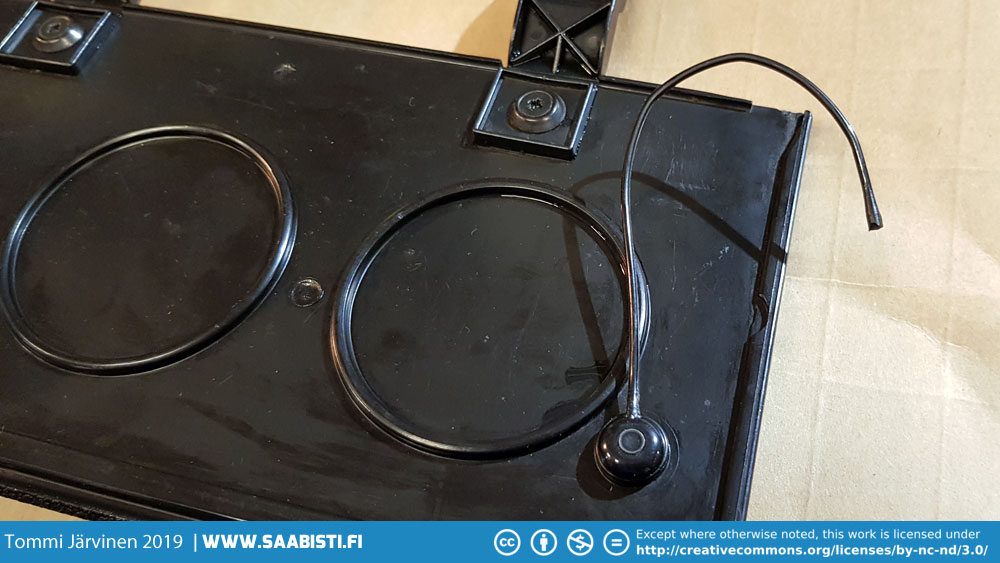
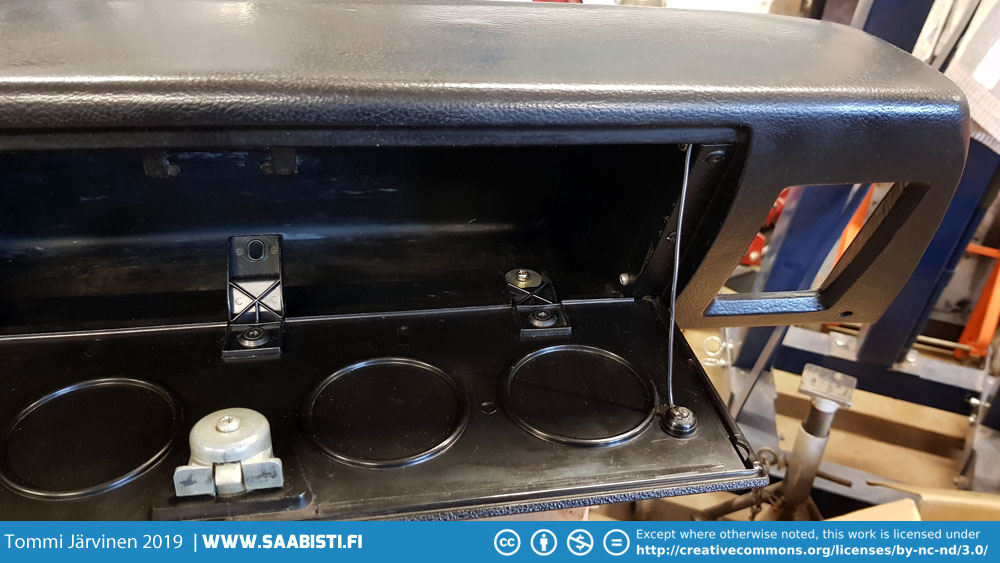
Glove box lid repair
A common problem with the 99 glove box is that the limiter wire that keeps the lid from opening too far gives up. It’s plastic wire and as such will not survive for too long.
I decided to replace the wire with some black electric wire of about same width. I drilled a small hole where the plastic wire is attached to the lid and a bigger hole through the bulbous section. I then tied a knot in the wire and pulled it through the bigger and smaller holes. The knot was thus deposited within the bulbous attachment point. I pulled the wire through the glove box side panel and tied a knot keeping it from slipping back and adjusting the length of the wire. When I was satisfied the lid opens the right amount I covered the bigger hole with some black silicon sealer. Looks pretty good.

As I was installing all the components of the dashboard I also replaced all the light bulbs with new ones. Hopefully this ensures I don’t need to change bulbs anytime soon.
Excellent work, as always.
The 99 badge looks fantastic.
“I then mixed up some blue paint which was pretty close to the original hue. . .”
I would have had to live with a close enough rattle can !
I love this stuff.
WoW!
This restoration of the 99 Turbo is mind boggling!
And daunting, to this old carpenter from the US Midwest. Perhaps I should just ship my car to you and you can send it back in four or five years?
Superb!
Kevin
I’m desperately looking for a clock knob like the one in the above picture…can you help me out?
Can i buy a sticker sheet for the cockpit?