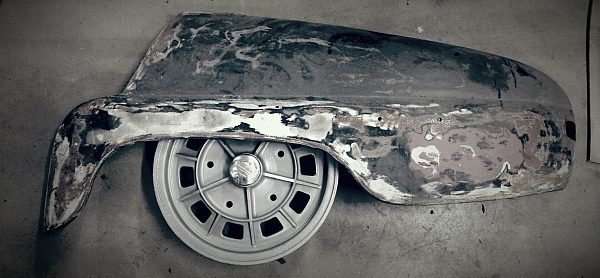
We sanded the filler today (the whole car, took about 5 hours with two men working…) But the car is now ready for overcoat!
Some photos:
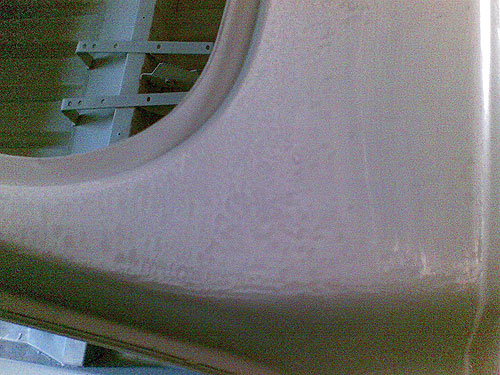
I said earlier that the area below the window frame was somewhat pitted – here’s a photo to illustrate.
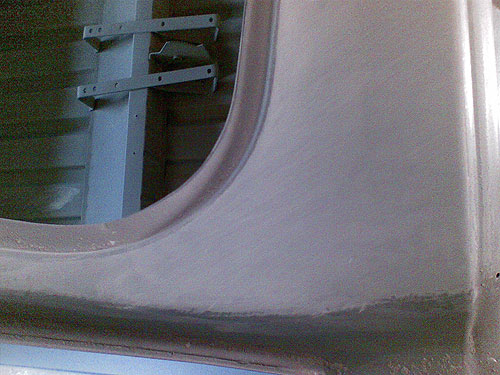
I had to sand a lot of the filler away to smooth this, but finally got it done.
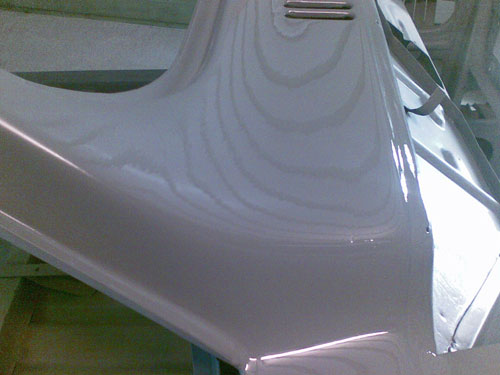
And here’s the area after a new coat of filler has been sprayed on (a thin layer this time).
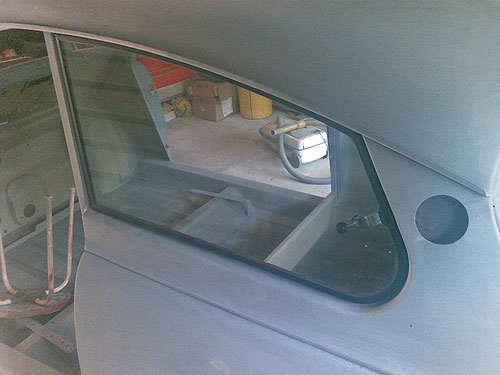
We also fitted the opening rear windows, as they needed some holes drilled (better do it before paint).
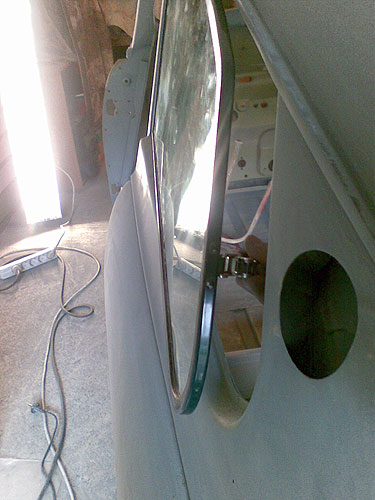
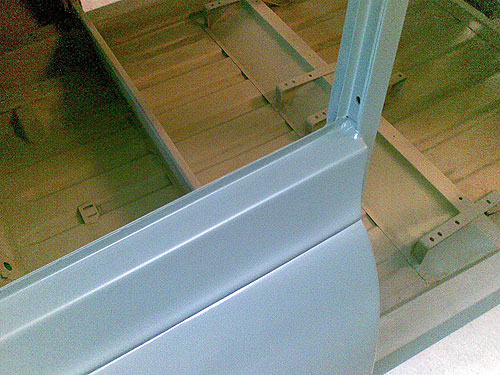
Two holes were drilled to B-pillar for the window frame attachments (only the lower one visible in the photo).
